

I’ll never forget the day I stumbled upon my great-aunt’s box of vintage canning books at a dusty estate sale. The pages were yellowed, the spines cracked with love, and the recipes inside—oh my goodness—were pure gold. There’s something magical about these old-timey instructions, you know? They’re not just recipes; they’re heirlooms. Back when “preserves” meant making summer last all winter, these books were the original Pinterest boards. I’m talking about fruit so vibrant it’ll make you swear off store-bought jam forever. That’s the thing about vintage canning books—they remind us that the best flavors don’t need shortcuts, just care and a little elbow grease. Let me show you why these techniques still work like a dream today.
Why You’ll Love This Vintage Canning Books Recipe
Trust me, once you try these old-school preserves, you’ll be hooked. Here’s why:
- Simplicity at its finest – No fancy gadgets needed, just good fruit, sugar, and patience. These recipes strip canning down to its joyful basics.
- Flavors that sing nostalgia – That first spoonful will taste like summer sunshine and grandma’s kitchen all at once.
- Time-tested techniques – These methods have kept pantries stocked for generations. If it worked in 1920, it’ll work in your kitchen today.
- Real food pride – There’s nothing like lining up those jewel-toned jars knowing exactly what’s inside (and what’s not).
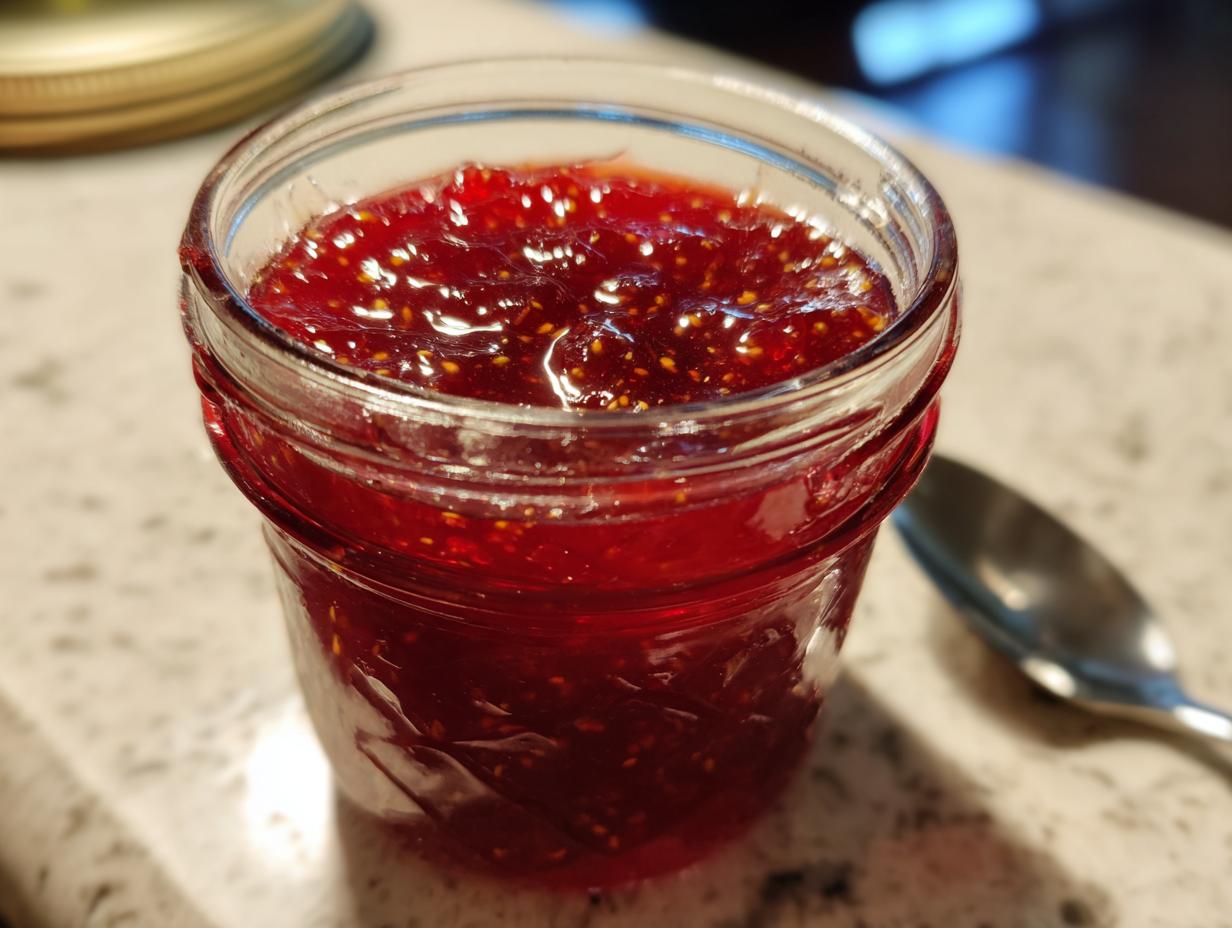
Ingredients for Vintage Canning Books Fruit Preserves
Now, here’s where the magic starts—with ingredients so simple you’ll wonder why you ever bought jam from the store. My great-aunt’s notes scribbled in the margins always said, “Use what’s ripe and ready.” Here’s exactly what you’ll need:
- 4 lbs fresh fruit (peaches, berries, or plums work beautifully—just make sure they’re ripe but firm)
- 2 cups granulated sugar (the vintage books insist on pure cane sugar, and who am I to argue?)
- 1 cup water (filtered if you’re fancy, tap if you’re practical like me)
- 1 tbsp lemon juice (fresh squeezed, please—those little yellow bottles just won’t do)
1 tsp cinnamon (optional, but oh-so-cozy)
See? Nothing complicated—just honest ingredients that let the fruit shine. If your berries are super sweet, you can cut the sugar to 1 1/2 cups. And if you’re feeling wild, swap cinnamon for a vanilla bean split down the middle. The old-timers would approve!
Equipment Needed for Vintage Canning Books Recipes
Don’t worry—you don’t need fancy gadgets to make these preserves sing! Here’s what my great-aunt’s handwritten notes swear by:
- A heavy-bottomed pot (big enough to prevent boil-overs when your fruit gets excited)
- Canning jars with new lids (those vintage books insist on Ball or Kerr—no ifs, ands, or buts)
- A wide-mouth funnel (unless you enjoy sticky countertops)
- A ladle that won’t melt (wooden spoons work wonders too)
- Jar lifter (trust me, your fingers will thank you later)
That’s it! Well, besides a clean kitchen towel for wiping rims—but that hardly counts as “equipment,” does it?
How to Make Vintage Canning Books Fruit Preserves
Alright, let’s roll up our sleeves and get to the good part—turning that beautiful fruit into jars of sunshine! Follow these steps exactly like my great-aunt’s notes taught me, and you’ll be rewarded with preserves that’ll make your toast sing.
Preparing the Fruit
First things first—give your fruit some love! Wash everything thoroughly (no one wants gritty jam). For peaches or plums, peel and pit them first—I like to blanch them in boiling water for 30 seconds, then shock them in ice water. The skins will slide right off! Berries just need a gentle rinse and pat dry. Chop larger fruit into bite-sized pieces—not too small, or they’ll turn to mush. Pro tip: Taste your fruit first. If it’s tart, you might want that extra sugar; if it’s super sweet, go easy on the sweet stuff.
Cooking the Preserves
Now for the alchemy! Combine sugar, water, and lemon juice in your heavy pot over medium heat. Stir just until the sugar dissolves—no need to rush this. When it’s bubbling happily, add your fruit and cinnamon if using. Here’s the key: Keep the heat at a steady simmer (not a rolling boil) for exactly 10 minutes. Stir occasionally with that wooden spoon, scraping the bottom to prevent sticking. You’ll know it’s ready when the fruit softens but still holds its shape, and the syrup thickens slightly. Overcooking turns preserves into candy—trust me, I’ve learned that the hard way!
Canning and Sealing
While your fruit simmers, sterilize your jars and lids in boiling water for 10 minutes—safety first! When everything’s ready, work quickly: Ladle the hot preserves into hot jars, leaving ¼-inch headspace. Run a chopstick around the inside to release any air bubbles (those sneaky things can ruin your seal). Wipe the rims spotless with a damp cloth—one stray seed can wreck everything! Screw on the lids fingertip-tight, then process in a boiling water bath for 10 minutes. The magic moment? When you hear those satisfying *pops* as the jars cool—that’s your golden ticket to pantry pride!
Tips for Success with Vintage Canning Books Recipes
After years of sticky fingers and trial-by-error, here are my hard-won secrets for perfect preserves every time:
- Listen for the pop! After processing, let jars cool undisturbed. That little “ping” means your seal is tight—no iffy seals allowed in this kitchen.
- Skim the foam with a chilled spoon right before canning—those bubbles won’t win any beauty contests in your jars.
- Label with love—write the date in permanent marker and list any spice tweaks (future you will be grateful).
- Store without rings once sealed—prevents rust and lets you spot any failed seals immediately.
And remember—if great-grandma could do it without digital thermometers, so can you!
Variations for Vintage Canning Books Preserves
Oh, the fun part—playing with flavors! Those old canning books loved their creative twists. Try adding a split vanilla bean to peach preserves for pure luxury, or stir in a pinch of cardamom with plums for something unexpected. My great-aunt’s secret? A splash of bourbon in apple butter—just enough to make you wink at the jars.
Storing and Reheating Vintage Canning Books Preserves
Properly sealed jars will keep their magic for a solid year in your cool, dark pantry—if you can resist cracking them open that long! Once opened, move them to the fridge where they’ll stay fresh for about a month. No reheating needed—just spoon that glorious jam straight from the jar onto your morning toast. But if you absolutely must warm it (maybe for a fancy cheese plate?), a quick zap in the microwave for 10 seconds brings back that just-made glow.
Vintage Canning Books Recipe FAQs
I’ve gotten so many questions since I started sharing these old-fashioned preserves—here are the ones that pop up most often!
Can I reduce the sugar? Absolutely! The vintage canning books often called for less sugar with tart fruits like blackberries. Start with 1 ½ cups and adjust to taste—just know it might affect shelf life slightly.
How long do these preserves last? Properly sealed jars are pantry rockstars for 12 months. Once opened, fridge them and use within a month (like that’ll be a problem!).
Can I use frozen fruit? The old-timers would say “fresh is best,” but thawed frozen berries work in a pinch—just drain excess liquid first.
Why no pectin? These recipes rely on natural fruit sugars to thicken—it’s slower but gives that glorious old-world texture store-bought jams can’t touch!
Nutritional Information
Nutrition varies based on ingredients. Values are estimates per 1 tbsp serving: 50 calories, 12g sugar, 0g fat. Remember—these preserves are meant to be enjoyed by the spoonful, not the jarful!
Share Your Vintage Canning Books Creations
Nothing makes me happier than seeing your bubbling pots and ruby-red jars! Tag your kitchen adventures so I can cheer you on—and who knows, your twist might end up in my next batch. Happy preserving, friends!
PrintUnlock 1920s Canning Magic: 4-Ingredient Vintage Preserves Hit

Discover classic recipes and techniques from vintage canning books.
- Prep Time: 20 mins
- Cook Time: 30 mins
- Total Time: 50 mins
- Yield: 4 pints 1x
- Category: Preserves
- Method: Water Bath Canning
- Cuisine: American
- Diet: Vegetarian
Ingredients
- 4 lbs fresh fruit
- 2 cups sugar
- 1 cup water
- 1 tbsp lemon juice
- 1 tsp cinnamon
Instructions
- Wash and prepare fruit.
- Combine sugar, water, and lemon juice in a pot.
- Bring mixture to boil.
- Add fruit and simmer for 10 minutes.
- Sterilize jars.
- Fill jars with hot fruit mixture.
- Seal jars and process in boiling water bath.
Notes
- Use ripe, blemish-free fruit.
- Adjust sugar based on fruit sweetness.
- Check seals after cooling.
Nutrition
- Serving Size: 1 tbsp
- Calories: 50
- Sugar: 12g
- Sodium: 0mg
- Fat: 0g
- Saturated Fat: 0g
- Unsaturated Fat: 0g
- Trans Fat: 0g
- Carbohydrates: 13g
- Fiber: 0g
- Protein: 0g
- Cholesterol: 0mg