
There’s something so satisfying about cracking open a jar of home-canned fish months after you packed it – that fresh-from-the-ocean taste still bursting with flavor! My love affair with fish canning recipes started years ago when my uncle brought over what felt like half the Pacific Ocean after a particularly lucky fishing trip. Instead of freezing everything, we spent a weekend canning salmon together, and wow – the difference in taste compared to store-bought was unbelievable. Home canning locks in that incredible freshness while giving you shelf-stable protein ready whenever you need it. Plus, you control exactly what goes in – no mystery additives here!
Why You’ll Love These Fish Canning Recipes
Trust me, once you try home-canned fish, you’ll never go back to store-bought! Here’s why this method wins every time:
- Flavor that lasts: Unlike freezing, canning preserves that fresh-caught taste for months. My jars from last summer still taste like we just pulled the fish from the water!
- Serious savings: When salmon’s in season or you’ve got a big catch, canning lets you stock up at peak freshness for pennies compared to supermarket prices.
- Pantry power: No freezer space needed! These shelf-stable jars mean quick meals are always ready – perfect for busy weeknights or unexpected guests.
- Total control: You choose the fish quality and seasonings. My family loves ours with lemon and dill, but the possibilities are endless!
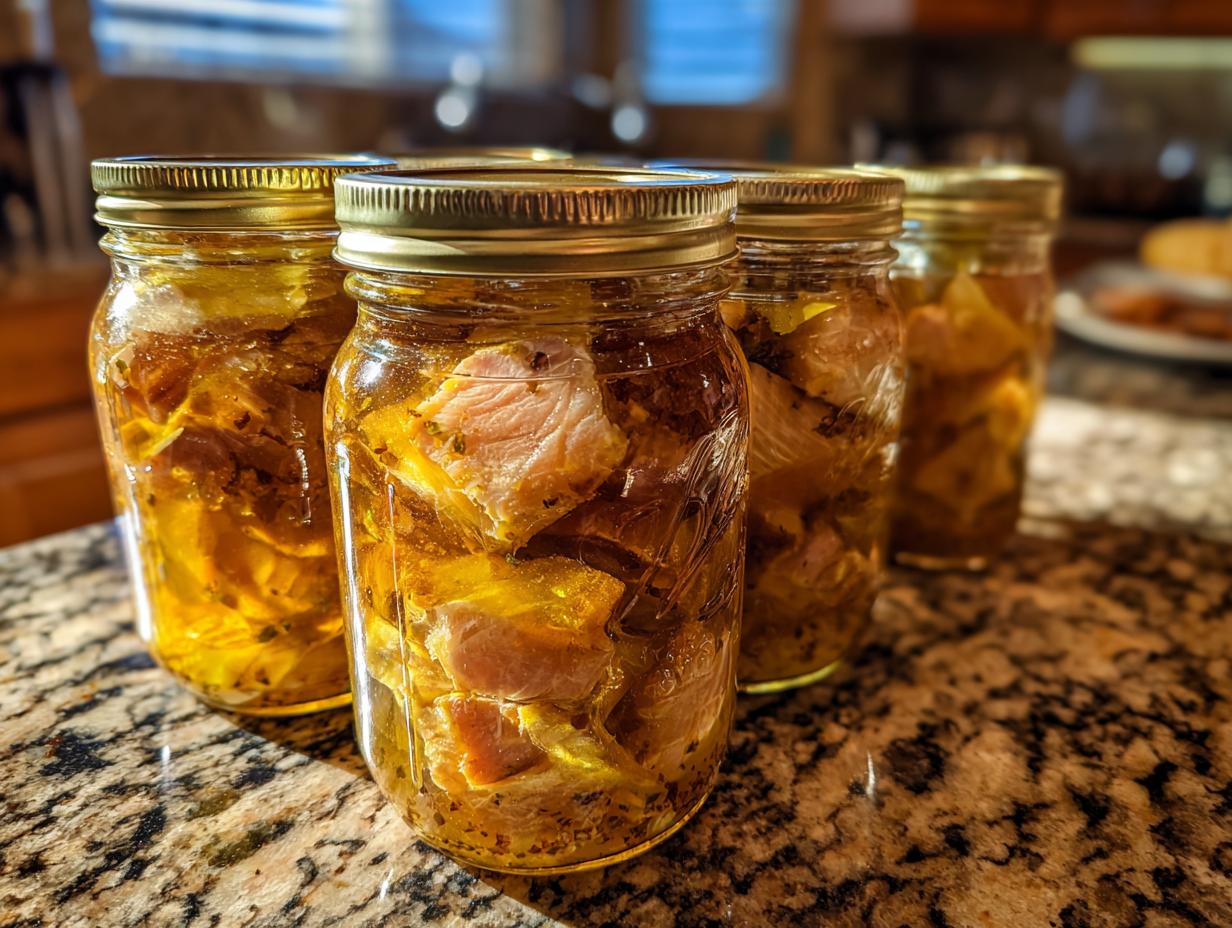
Plus, there’s something so rewarding about seeing those lined-up jars – like edible trophies of your fishing (or shopping) skills!
Ingredients for Fish Canning Recipes
Gathering the right ingredients is half the battle when canning fish – and luckily, this recipe keeps things wonderfully simple. Here’s what you’ll need for about 4 jars of perfectly preserved fish:
- 2 lbs fresh fish (salmon, tuna, or similar firm fish, cleaned and cut into 1-inch pieces)
- 1 tbsp salt (fine sea salt works best for even distribution)
- 1 tbsp lemon juice (freshly squeezed if possible)
- 1 tsp black pepper (freshly cracked gives the best flavor)
- 1 cup water (filtered is ideal)
- 1 tbsp olive oil (for light searing)
Ingredient Notes & Substitutions
That splash of lemon juice isn’t just for flavor – its acidity helps preserve the fish safely. If you’re out of lemons, apple cider vinegar works in a pinch. And here’s my golden rule: always use fresh fish for canning. Frozen fish can have texture issues and uneven cooking. For the salt, I’m partial to sea salt, but any non-iodized salt will do – just avoid anything with anti-caking additives that can cloud your jars.
Equipment Needed for Fish Canning Recipes
Canning fish requires a few key tools – but don’t worry, you probably have most already! Here’s what you’ll need:
- Pressure canner (must-have for safe fish canning – regular water bath won’t cut it!)
- Sterilized jars & lids (I use pint-sized wide-mouth jars for easy packing)
- Jar lifter & canning tongs (trust me, you don’t want to handle hot jars bare-handed)
- Large pot (for pre-sterilizing jars if you don’t have a dishwasher)
- Oven mitts (thick ones – that steam is no joke!)
- Bubble remover/chopstick (to release air pockets before sealing)
Pro tip: Keep a kitchen towel folded under your jars while filling – it prevents slipping and makes cleanup easier when (not if!) you spill!
Step-by-Step Fish Canning Recipes
Alright, let’s get down to business! Canning fish might seem intimidating at first, but once you get the hang of it, you’ll be putting up jars like a pro. Here’s exactly how I do it:
- Prep your fish: Start with fresh, cleaned fish cut into 1-inch pieces. Pat them dry – this helps the seasoning stick better.
- Season lightly: Toss the fish pieces with salt, pepper, and lemon juice. Don’t go overboard – the flavors intensify during canning!
- Sear quickly: Heat olive oil in a pan and sear the fish for just 30 seconds per side. We’re not cooking it through – just giving it a nice color.
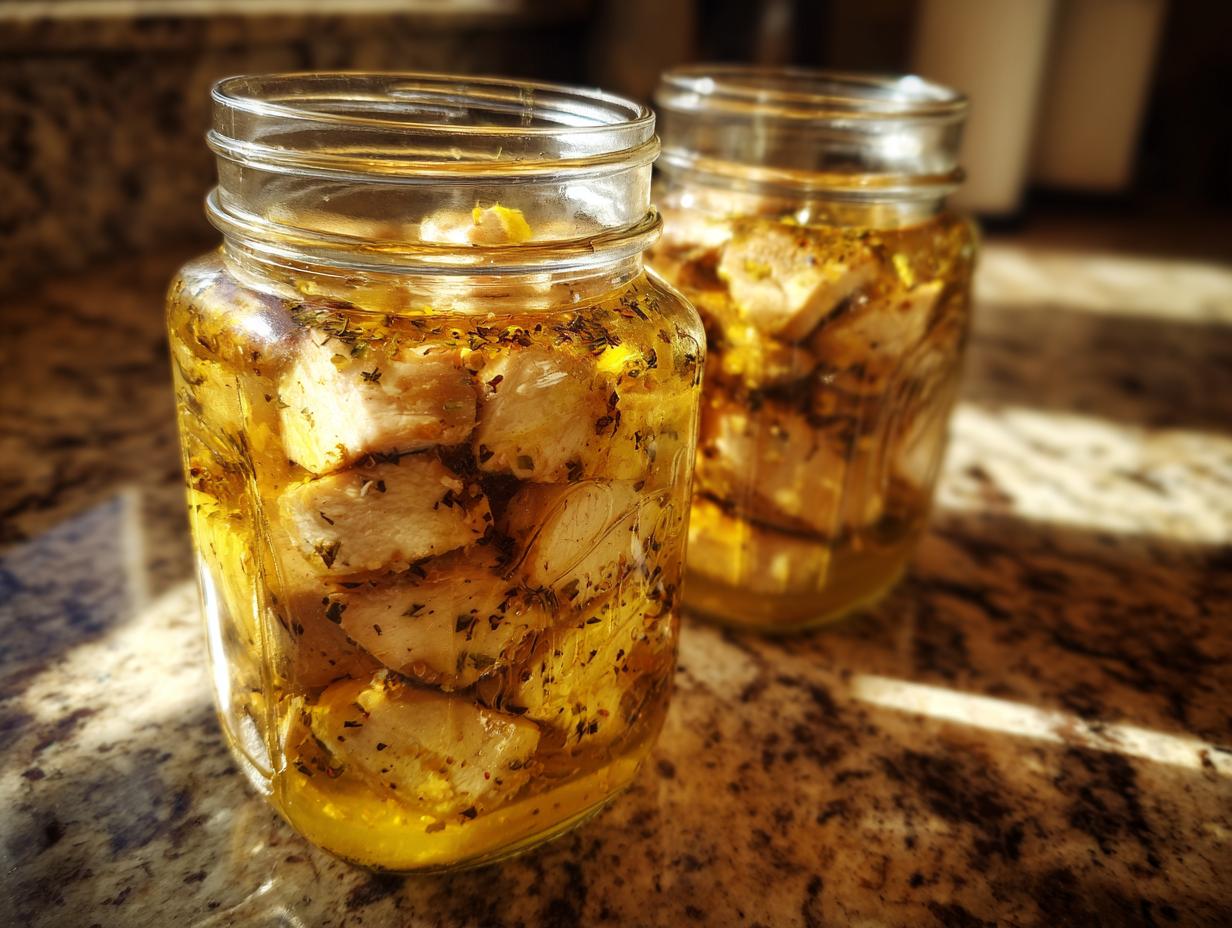
- Pack jars carefully: Fill sterilized jars with fish pieces, leaving about 1-inch headspace at the top. Don’t pack too tight – the fish needs room to expand.
- Add liquid: Pour water over the fish to cover completely, still maintaining that 1-inch space. Run a chopstick around the edges to release any air bubbles.
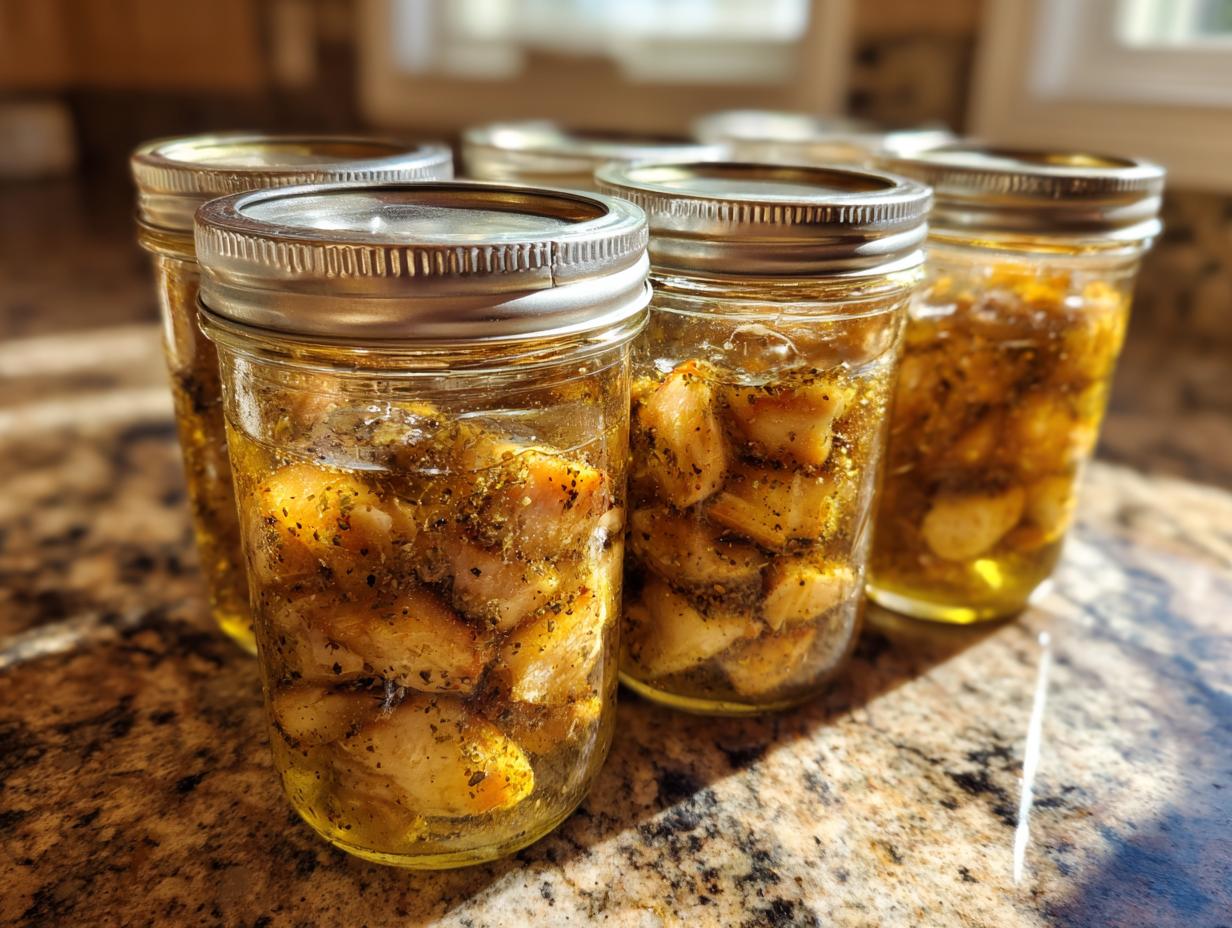
- Seal properly: Wipe jar rims clean (any residue can prevent sealing), then place lids and rings on finger-tight – not too loose, not too tight.
- Process safely: Process in a pressure canner at 10 psi for 90 minutes (adjust for altitude if needed). Let the pressure release naturally before opening.
- Cool completely: Remove jars and let them cool undisturbed for 12-24 hours. You’ll hear that satisfying “pop” as they seal!
Tips for Perfect Fish Canning
Here’s my hard-earned advice after years of canning fish:
- Always check seals after cooling – press the lid center; if it pops, refrigerate and eat within a week.
- Store jars in a cool, dark place – sunlight can affect flavor and color.
- Resist the urge to overfill jars! That 1-inch headspace is crucial for proper sealing.
- Label jars with the date – even though they last 1-2 years, it’s nice to know which batch is oldest.
Storing and Using Your Canned Fish
Properly canned fish will stay delicious for 1-2 years in your pantry – just keep those jars in a cool, dark spot. Before opening, always check for spoilage signs: bulging lids, strange odors, or cloudy liquid. When you’re ready to eat, the possibilities are endless! I love tossing flaked canned fish into pasta, whipping up quick fish cakes, or making elegant appetizers like smoked salmon spread. My favorite lazy meal? A jar stirred into warm rice with butter and herbs – instant comfort food!
Fish Canning Recipes FAQ
I get asked these questions all the time by friends trying fish canning recipes for the first time – here’s what you need to know:
Can I use frozen fish for canning?
Nope! Fresh is best for home canning. Frozen fish can have texture issues and might not process evenly in the jars. If you’ve already frozen your catch, just thaw it completely and use it fresh in another recipe.
How long does home-canned fish last?
Properly canned fish stays good 1-2 years in the pantry, but honestly? Mine never lasts that long because we eat it up too fast! Just store it in a cool, dark place.
Is a pressure canner really necessary?
Absolutely yes – and this isn’t the place to cut corners. Fish is low-acid, so water bath canning won’t make it safe. A proper pressure canner ensures harmful bacteria are destroyed.
Can I add other seasonings?
Oh yes! While this recipe keeps it simple, I often add garlic, dill, or even a bay leaf to jars. Just avoid thick sauces or dairy – they can interfere with safe preservation.
Nutritional Information
Just remember – these nutritional values are estimates and can vary based on your specific fish type and ingredients used, so always check labels if you’re tracking closely!
Final Thoughts
There you have it – my tried-and-true method for turning fresh fish into pantry gold! Once you taste that first bite of your own home-canned creation, you’ll be hooked. Ready to preserve your catch? Grab those jars and start canning today!
For more canning inspiration, check out our Pinterest boards!
Print2 Decadent Fish Canning Recipes You Must Try
Learn how to can fish at home with this simple recipe. Preserve your catch for long-term storage.
- Prep Time: 20 mins
- Cook Time: 90 mins
- Total Time: 110 mins
- Yield: 4 jars 1x
- Category: Preserving
- Method: Canning
- Cuisine: International
- Diet: Low Calorie
Ingredients
- 2 lbs fresh fish (salmon, tuna, or similar)
- 1 tbsp salt
- 1 tbsp lemon juice
- 1 tsp black pepper
- 1 cup water
- 1 tbsp olive oil
Instructions
- Clean and cut the fish into small pieces.
- Season the fish with salt, pepper, and lemon juice.
- Heat olive oil in a pan and lightly sear the fish.
- Pack the fish into sterilized canning jars.
- Add water to cover the fish, leaving 1-inch headspace.
- Seal the jars and process in a pressure canner for 90 minutes.
- Let the jars cool and check the seals before storing.
Notes
- Use only fresh, high-quality fish.
- Sterilize jars and lids before use.
- Store canned fish in a cool, dark place.
- Check for spoilage before consuming.
Nutrition
- Serving Size: 1 jar
- Calories: 250
- Sugar: 0g
- Sodium: 500mg
- Fat: 12g
- Saturated Fat: 2g
- Unsaturated Fat: 8g
- Trans Fat: 0g
- Carbohydrates: 1g
- Fiber: 0g
- Protein: 30g
- Cholesterol: 70mg