
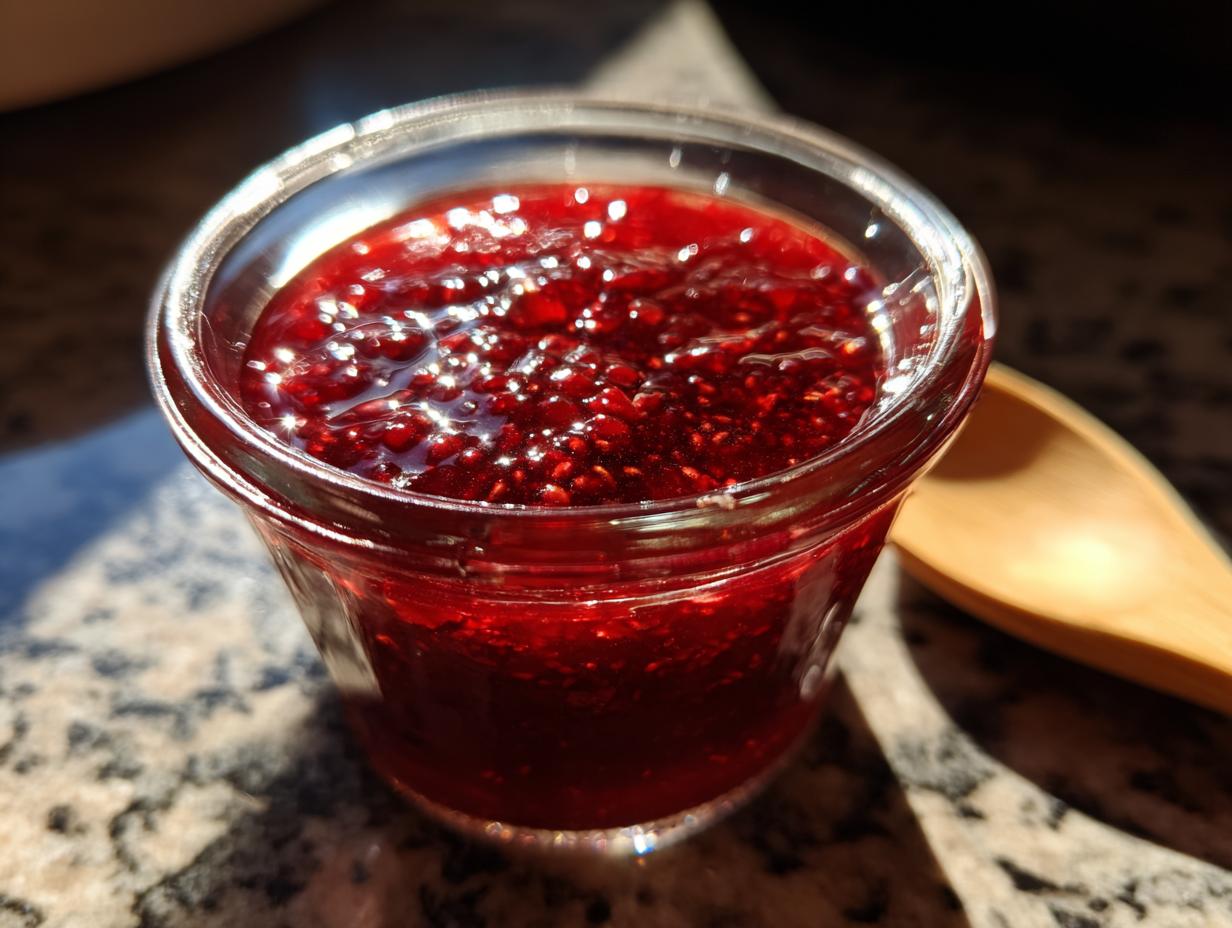
Oh, thimbleberries! If you’ve ever stumbled upon these wild little gems during a summer hike, you know their flavor is something special—sweet, tangy, and impossible to forget. But here’s the catch: they’re fleeting, only around for a few precious weeks each year. That’s why making Thimbleberry Jam is my go-to way to capture their magic. Trust me, this jam is worth the hunt. With just berries, sugar, and a splash of lemon, it’s simpler than you’d think, and it turns toast, pancakes, or even a spoonful straight from the jar into something extraordinary. My grandma used to say, “Good jam tastes like summer in a jar,” and she wasn’t wrong.
Why You’ll Love This Thimbleberry Jam
This isn’t just any jam—it’s a jar of summer magic. Here’s why it’ll become your new favorite:
Sweet and Tangy Flavor
Thimbleberries have this incredible balance that’s like nature’s perfect dessert—just sweet enough with a bright, almost citrusy tang. When cooked down with sugar, they develop this deep, rich berry flavor that makes store-bought jam taste flat. My kids swear it tastes like sunshine!
Simple Ingredients
No weird additives here—just berries, sugar, lemon, and pectin. That’s it! I love recipes where I can pronounce every ingredient, and this one lets the thimbleberries shine. Pro tip: The better your berries, the less sugar you’ll need.
Versatile Use
I’ve slathered this on everything from morning biscuits to late-night ice cream. It’s killer swirled into yogurt, makes a killer PB&J, and—don’t tell my grandma—I’ve even used it as a cake filling. The possibilities are endless once you’ve got a jar in the fridge.
Thimbleberry Jam Ingredients
Gathering the right ingredients is half the battle with jam-making, but don’t worry – this list couldn’t be simpler. Here’s what you’ll need to capture that perfect thimbleberry flavor:
- 4 cups thimbleberries – washed, drained, and gently patted dry (trust me, the extra minute drying them is worth it – wet berries make runny jam)
- 3 cups granulated sugar – measured exactly (I use a kitchen scale for this – too much and it’s cloying, too little and it won’t set right)
- 1 tablespoon fresh lemon juice – none of that bottled stuff! The acid helps the pectin work its magic
- 1 packet (1.75 oz) powdered pectin – this little powerhouse is what gives your jam that perfect spreadable texture
That’s it! No fancy extracts or secret ingredients – just pure, simple components that let the thimbleberries sing. Oh, and make sure your berries are ripe but firm – mushy ones will break down too much during cooking. I like to pick mine in the morning when they’re still cool from the night air.
How to Make Thimbleberry Jam
Okay, here’s where the magic happens! Don’t let the canning jargon intimidate you—this process is simpler than it looks. Just follow these steps, and you’ll have jars of ruby-red goodness in no time.
Preparing the Berries
First, give your thimbleberries one last gentle rinse (if you haven’t already) and let them drain well. Now for the fun part—crushing! I use a potato masher right in the pot, leaving some texture. You want about half crushed, half whole berries for that perfect jammy consistency. Add the lemon juice and pectin, then turn the heat to medium-high. Stir constantly until it comes to a full, rolling boil that doesn’t stop when you stir. That bubbling sound means we’re ready for the next step!
Cooking the Jam
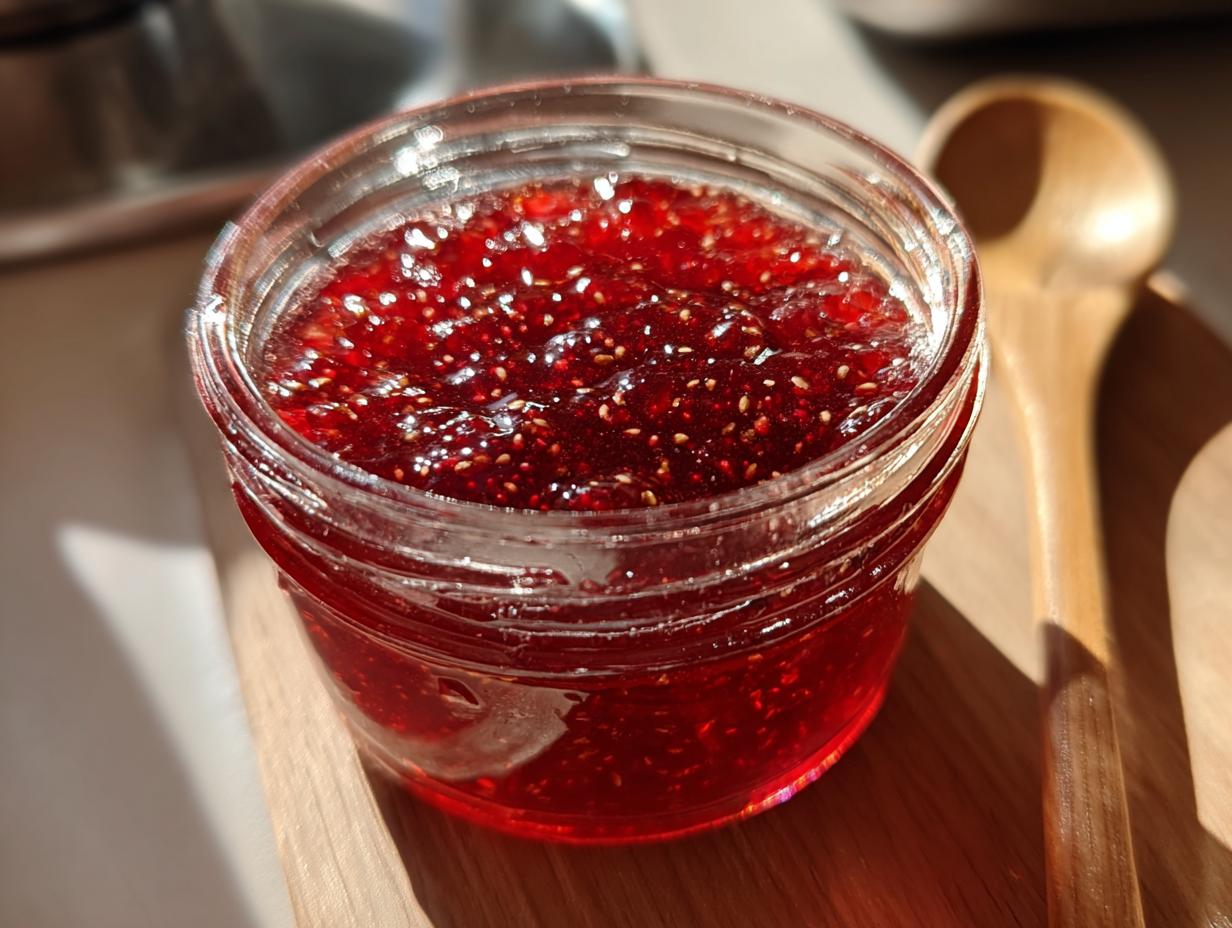
This is the make-or-break moment—add all the sugar at once (yes, all of it!) and stir like crazy until it dissolves completely. Keep stirring as the mixture returns to that vigorous boil, then set your timer for exactly 1 minute. Watch carefully—it’ll foam up dramatically (don’t panic, that’s normal!). When time’s up, pull it off the heat immediately. The jam should coat the back of a spoon thickly. Pro tip: If you’re unsure, do the freezer test—chill a spoonful for 2 minutes; if it wrinkles when pushed, it’s set!
Jarring and Sealing
While your jam cooks, keep your sterilized jars hot (I run mine through the dishwasher or submerge in boiling water). Carefully ladle the hot jam into jars, leaving ¼-inch headspace. Wipe the rims spotless (any stickiness prevents sealing), then screw on sterilized lids fingertip-tight. Process in a water bath for 10 minutes if canning long-term, or just let them cool upside down for short-term storage. That satisfying “pop” means you’ve succeeded!
Tips for Perfect Thimbleberry Jam
After years of sticky counters and the occasional too-runny batch, I’ve learned a few tricks to make foolproof thimbleberry jam every time:
- Test ripeness with your nose – Ripe berries smell like sunshine and give slightly when pressed. If they’re rock hard or smell like nothing, wait a day or two.
- Keep a cold spoon handy – To check thickness, chill a metal spoon in the freezer, then dip it in the boiling jam. If it runs off in drips, keep cooking; if it sheets off slowly, it’s ready.
- Skim fast but don’t obsess – Foam rises right after boiling – skim it quickly with a slotted spoon, but don’t worry about getting every bubble. The jam will still taste amazing.
- Listen to your berries – If they’re super sweet, reduce sugar by ¼ cup. Tart berries? Add an extra tablespoon of lemon juice to brighten the flavor.
Thimbleberry Jam Variations
Once you’ve mastered the classic recipe, it’s fun to play around with flavors! Here are my favorite ways to mix things up—each one keeps that wonderful thimbleberry taste while adding a little extra something special.
Spiced Thimbleberry Jam
A pinch of cinnamon or cardamom adds warmth that pairs beautifully with the berries’ natural tang. I add ½ teaspoon with the pectin—just enough to notice, not enough to overpower. For holidays, I’ll throw in a star anise pod while cooking (remove it before jarring!). The spice makes it incredible on morning scones.
Berry Blends
Short on thimbleberries? Mix in raspberries or blackberries (about 1 cup per 3 cups of thimbleberries). The combo creates complex flavors—raspberries boost sweetness, while blackberries add depth. My neighbor swears by adding a handful of wild blueberries for extra “pop.” Just adjust sugar slightly based on the new berries’ sweetness.
Citrus Zest Twist
For a brighter jam, stir in 2 teaspoons of orange or lemon zest with the lemon juice. The oils in the zest make the berry flavor sparkle. This version is heavenly on pancakes or stirred into plain yogurt. If you’re feeling fancy, a splash of orange liqueur at the end (after removing from heat) takes it next-level.
The beauty of thimbleberry jam? It’s like a blank canvas—feel free to experiment until you find your perfect match. Just remember: when trying new additions, make small batches first. You can always tweak, but you can’t un-add that tablespoon of lavender that overwhelmed your berries! (Yes, I learned that the hard way.)
Storing and Reheating Thimbleberry Jam
Now that you’ve made this gorgeous jam, let’s talk about keeping it tasting fresh. Proper storage makes all the difference between jam that lasts and jam that loses its sparkle. Here’s how I keep my thimbleberry jars at their best—whether I’m saving them for winter or diving in right away.
Shelf Life and Storage Tips
If you’ve processed your jars in a water bath (that 10-minute boil we talked about), they’ll stay fresh in a cool, dark pantry for up to a year. But here’s my rule—once opened, refrigerate and use within 3 weeks. I always label mine with the date because, trust me, you’ll forget whether that jar is from last June or the one before!
Metal lids are fine for the initial canning, but for long-term fridge storage, swap them for plastic ones. The acid in the jam can react with metal over time, giving your precious berries a funny taste. I save those white plastic lids from store-bought jars—they fit perfectly and don’t rust.
Reheating Like a Pro
Found a jar that’s crystallized or separated? No panic! Scoop what you need into a small saucepan and warm it gently over low heat, stirring constantly. Add a teaspoon of water if it seems too thick. The key is low and slow—high heat destroys that fresh berry flavor. I microwave mine in 15-second bursts if I’m in a hurry, but stovetop always gives better results.
For frozen jam (yes, you can freeze it!), thaw overnight in the fridge first. Stir well before using—sometimes the texture changes slightly, but the taste stays amazing. My freezer stash gets me through winter when I’m craving that summer berry goodness!
Thimbleberry Jam Nutrition
Now, let’s be real—jam isn’t exactly health food, but when you’re using real berries and controlling the sugar yourself, it’s miles better than anything from the store. These numbers are estimates (berries vary, and so do our measuring cups!), but they’ll give you a good idea of what’s in that delicious spoonful.
- Serving Size: 1 tablespoon (about 20g)
- Calories: 50
- Total Sugar: 12g (mostly from the natural berries and added sugar)
- Sodium: 0mg
- Fat: 0g
- Carbohydrates: 13g
- Fiber: 1g (thank those berry seeds!)
- Protein: 0g
A few things to remember: Thimbleberries themselves are packed with vitamin C and antioxidants—way more than your average strawberry. The sugar acts as a preservative, but if you’re watching intake, you can reduce it slightly (just know the jam might not set as firmly). My grandma always said, “Eat the jam, skip the guilt”—words to live by when you’re savoring something this good!
Thimbleberry Jam FAQs
Over the years, I’ve gotten so many great questions about making thimbleberry jam—here are the ones that come up most often. If you’re wondering about something, chances are someone else has too!
Substituting Thimbleberries
“What if I can’t find thimbleberries?” Don’t worry—you can absolutely use raspberries instead (they’re in the same family!). The flavor will be slightly different—raspberries are more tart and less floral—but still delicious. Use the same measurements, and maybe add an extra teaspoon of lemon juice to brighten it up. Blackberries or boysenberries work too, though they’ll make a darker, richer jam. My rule? Whatever berries you use, make sure they’re ripe and fragrant—that’s what really makes the jam shine.
Troubleshooting Runny Jam
“Help! My jam didn’t set!” Been there, sticky spoon in hand. First, don’t panic—runny jam still tastes amazing on pancakes or yogurt. If you want it thicker, pour it back into the pot with another 1/4 teaspoon of pectin (mixed with a tablespoon of sugar first to prevent clumping). Bring it to a full rolling boil for 1 minute, then test the set again. Pro tip: If it’s only slightly loose, just call it “thimbleberry syrup” and enjoy it over ice cream—no one will complain!
Can I use frozen berries?
Yes! Frozen thimbleberries work just fine—thaw them first and drain any excess liquid (you might need to reduce the lemon juice slightly). The color might be a tad darker, but the flavor stays true. I freeze summer berries in 4-cup portions just for jam-making when the craving hits in January. Just don’t skip the pectin—frozen berries sometimes need a little extra help setting up.
How long does homemade jam last?
Properly canned jars keep for a year in the pantry, but once opened, use within 3 weeks (if it lasts that long!). You’ll know it’s gone bad if you see mold or smell anything “off”—but honestly, I’ve never had a jar last long enough to find out! For shorter-term storage, skip the water bath and just refrigerate for up to a month, or freeze for 6 months. I write “EAT ME FIRST!” on my fridge jars—a reminder that good jam waits for no one.
Print3-Ingredient Thimbleberry Jam – A Luscious Summer Treat
Thimbleberry jam is a sweet and tangy spread made from wild thimbleberries. It pairs well with toast, pancakes, and desserts.
- Prep Time: 15 minutes
- Cook Time: 20 minutes
- Total Time: 35 minutes
- Yield: 3 jars (8 oz each) 1x
- Category: Preserves
- Method: Stovetop
- Cuisine: American
- Diet: Vegetarian
Ingredients
- 4 cups thimbleberries
- 3 cups sugar
- 1 tbsp lemon juice
- 1 packet (1.75 oz) pectin
Instructions
- Wash and drain the thimbleberries.
- Crush the berries in a large pot.
- Add lemon juice and pectin, then bring to a boil.
- Stir in sugar and boil for 1 minute.
- Remove from heat and skim off foam.
- Pour into sterilized jars and seal.
Notes
- Use ripe berries for the best flavor.
- Adjust sugar based on berry sweetness.
- Store in a cool, dark place.
Nutrition
- Serving Size: 1 tbsp
- Calories: 50
- Sugar: 12g
- Sodium: 0mg
- Fat: 0g
- Saturated Fat: 0g
- Unsaturated Fat: 0g
- Trans Fat: 0g
- Carbohydrates: 13g
- Fiber: 1g
- Protein: 0g
- Cholesterol: 0mg