
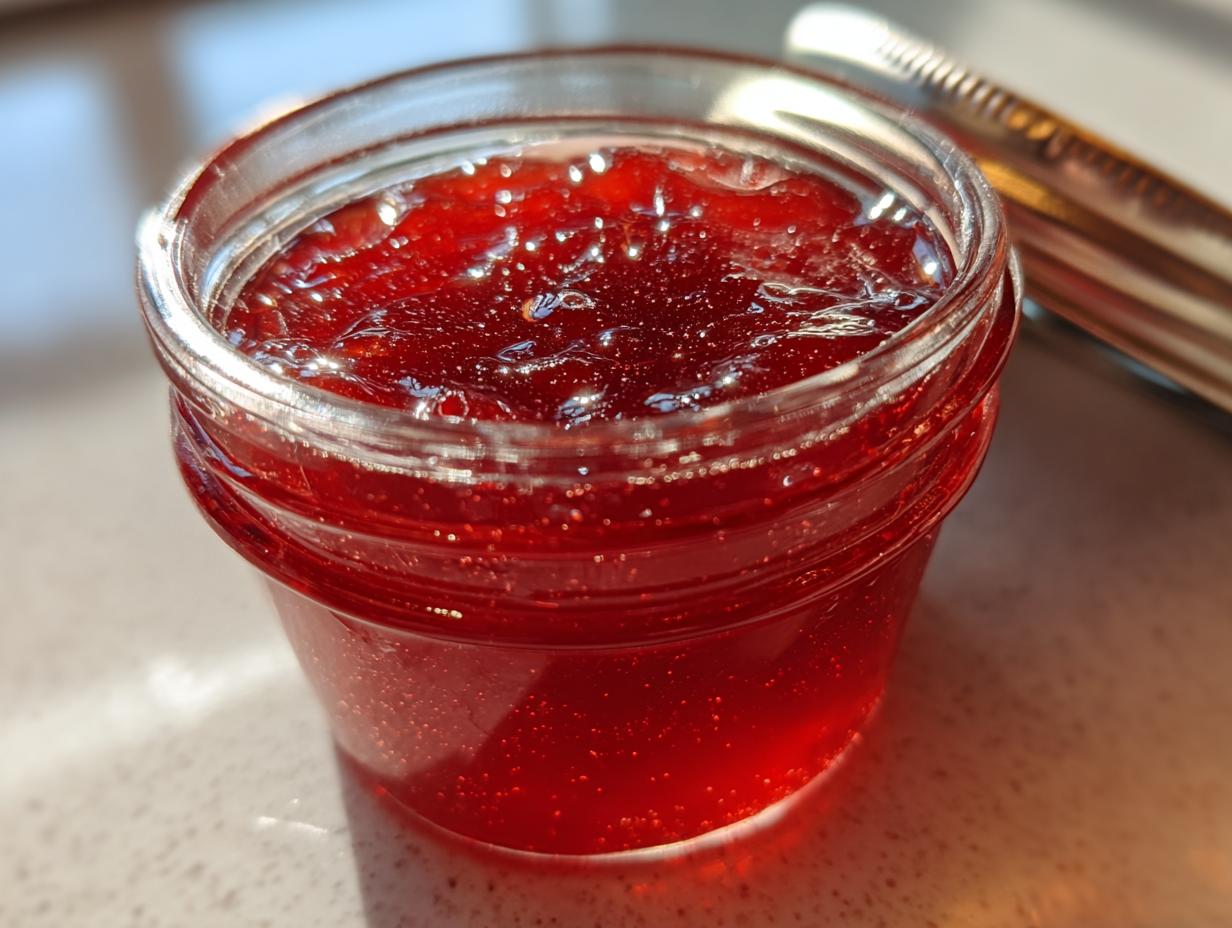
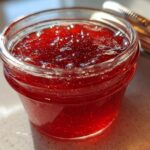
There’s something magical about turning fresh cherries into glossy, ruby-red cherry jelly that spreads like a dream. I still remember my first batch – I was convinced I’d messed it up when it started bubbling like a science experiment, but oh, that moment when it set perfectly? Pure kitchen triumph! This cherry jelly recipe is my go-to when summer cherries are at their peak, though honestly, I’ve been known to raid the freezer mid-winter for a taste of that bright fruit flavor.
What I love most is how versatile it is – yes, it’s heavenly on toast, but wait until you try it swirled into yogurt, dolloped on pancakes, or even as a glaze for roasted meats. The best part? With just five simple ingredients and about half an hour, you’ll have jars of homemade goodness that puts store-bought jelly to shame. Trust me, once you taste that perfect balance of sweet-tart cherry flavor with just a hint of lemon, you’ll be hooked.

Ingredients for Cherry Jelly
Here’s what you’ll need to make that perfect jar of cherry jelly – I’ve made this so many times I could probably recite these in my sleep!
- 4 cups fresh cherries – pitted (about 2 pounds whole cherries)
- 1 cup granulated sugar – don’t skimp here, it helps with setting
- 1 tablespoon lemon juice – fresh squeezed is best for that bright tang
- 1 packet (1.75 oz) powdered pectin – our secret weapon for perfect jiggle
- 1/2 cup water – just enough to get things going
Choosing the Right Cherries
I swear by Bing cherries for their deep color and sweet-tart flavor, but don’t stress if you can’t find them – any ripe cherries will work. Sour cherries make a fantastic tangy jelly too! In a pinch, frozen cherries (thawed first) work nearly as well as fresh. Just avoid maraschino cherries – trust me, that’s a mistake you’ll only make once.
How to Make Cherry Jelly
Okay, let’s get cooking! Here’s my tried-and-true method for perfect cherry jelly every time:
- Prep those cherries: Wash them thoroughly, then pit them (I use a paperclip in a pinch!). Don’t worry about chopping – we’re straining them later.
- Start simmering: Toss the cherries, water, and lemon juice into a heavy-bottomed saucepan. Medium heat for about 10 minutes should do it – you want them nice and soft.
- The big strain: Here’s where the magic happens. Pour your cherry mixture through a fine-mesh sieve, pressing gently with a wooden spoon to extract all that gorgeous juice. (More on this crucial step below!)
- Jelly time: Return the beautiful red liquid to the pan. Whisk in your sugar and pectin until dissolved – this is no time for lumps!
- Boil like crazy: Bring it to a full rolling boil that can’t be stirred down. Set your timer for 1 minute exactly – overboiling makes jelly tough.
- Skim and pour: Use a spoon to skim off any foam (pretty, but makes cloudy jelly), then quickly pour into your sterilized jars.
Pro tip: Have everything ready before you start boiling – things move fast once the pectin kicks in!
Straining for Smooth Texture
Don’t rush the straining! I use a fine-mesh sieve over a bowl and let gravity do most of the work. Press gently – too much force makes cloudy jelly. For super-smooth results, line your sieve with cheesecloth. Those tiny bits left behind? Perfectly fine to snack on!
Testing the Jelly Set
Worried about whether it’ll set? Try the spoon test: Dip a cold metal spoon in, then let the jelly drip off. If two drops run together and “sheet” off the spoon, you’re golden! If not, boil another minute and test again.
Tips for Perfect Cherry Jelly
After countless batches (and a few hilarious failures), here are my can’t-live-without tips for cherry jelly success:
- Watch that boil! Once it reaches a full rolling boil, set your timer for exactly 1 minute – overboiling makes rubbery jelly.
- Pectin power: Always whisk pectin with a bit of sugar first to prevent clumping. Nobody wants lumpy jelly!
- Sweetness swap: For less sugar, use special low-sugar pectin – but don’t reduce sugar in regular recipes or it won’t set.
- Foam be gone: A pat of butter added at the end reduces foam without affecting flavor.
- Jar prep: Warm your jars in a 200°F oven while cooking – cold jars can crack when filled with hot jelly.
Remember: Good jelly waits for no one – work quickly once it’s ready to pour!
Storing and Using Cherry Jelly
Fresh cherry jelly keeps beautifully in the fridge for about 2 weeks – if it lasts that long in your house! For longer storage, process filled jars in a boiling water bath for 10 minutes to seal them properly. But here’s where it gets fun: beyond toast, try it as a glaze for pork chops, swirled into oatmeal, or even as a filling for thumbprint cookies. My latest obsession? A spoonful whisked into salad dressings for a sweet-tart kick!
Cherry Jelly Variations
Want to play with flavors? Try these easy twists on classic cherry jelly that I’ve fallen in love with over the years! A pinch of cinnamon or almond extract adds warmth, while swapping lemon for orange juice gives a sunnier vibe. For grown-up jelly, stir in a splash of bourbon after cooking – just enough to whisper through the cherry flavor without overpowering it. My wildcard? A teaspoon of vanilla bean paste swirled in at the end for a sophisticated dessert jelly that’s unreal on cheesecake.
Nutritional Information
Just so you know what you’re enjoying, here’s the scoop on cherry jelly nutrition (per tablespoon). These are estimates – your exact numbers might dance a bit depending on your cherries’ sweetness and how much you sample while cooking!
- Calories: 50
- Sugar: 12g
- Carbs: 13g
- Fat: 0g
Not too shabby for something that tastes like summer in a jar, right? Remember, a little goes a long way with this flavorful jelly!
Frequently Asked Questions
Over the years, I’ve gotten the same great questions about cherry jelly – here are the answers that’ll save you from making my early mistakes!
Can I use frozen cherries?
Absolutely! Frozen cherries work beautifully – just thaw them first and drain any excess liquid. The flavor might be slightly less bright than fresh, but it’s a fantastic way to make jelly year-round. I always keep a bag in my freezer for jelly emergencies!
Why didn’t my jelly set?
Oh honey, we’ve all been there! Usually it’s one of three things: not enough pectin, undercooking (that full rolling boil is crucial!), or inaccurate measurements. The good news? You can often fix it by reheating with a bit more pectin. If all else fails, call it cherry syrup – it’s still delicious on ice cream!
Can I reduce the sugar?
Sugar isn’t just for sweetness – it helps the jelly set and preserves it. For less sugar, use special low-sugar pectin (follow its instructions exactly). Regular recipes need the full sugar amount or they won’t gel properly. A small sacrifice for that perfect wobble!
How long does homemade cherry jelly last?
In the fridge, about 2 weeks (if you don’t eat it all first!). Properly canned jars last up to a year in a cool, dark pantry. Either way, always check for mold or off smells before using. When in doubt, toss it out – better safe than sorry!
Tried this recipe? I’d love to hear how your cherry jelly turned out – leave a note in the comments! You can find more delicious recipes on Pinterest.
Print3-Ingredient Cherry Jelly Recipe for a Sweet Summer Treat
A simple and delicious cherry jelly recipe perfect for spreading on toast or using as a dessert topping.
- Prep Time: 15 minutes
- Cook Time: 20 minutes
- Total Time: 35 minutes
- Yield: 2 cups 1x
- Category: Condiment
- Method: Stovetop
- Cuisine: American
- Diet: Vegetarian
Ingredients
- 4 cups fresh cherries, pitted
- 1 cup granulated sugar
- 1 tablespoon lemon juice
- 1 packet (1.75 oz) powdered pectin
- 1/2 cup water
Instructions
- Wash and pit the cherries.
- Combine cherries, water, and lemon juice in a saucepan. Simmer for 10 minutes.
- Strain the mixture through a fine-mesh sieve to remove solids.
- Return the liquid to the saucepan. Add sugar and pectin.
- Bring to a boil, stirring constantly. Boil for 1 minute.
- Remove from heat and skim off any foam.
- Pour into sterilized jars and let cool.
Notes
- Store in the refrigerator for up to 2 weeks.
- For longer storage, process jars in a water bath canner.
Nutrition
- Serving Size: 1 tablespoon
- Calories: 50
- Sugar: 12g
- Sodium: 0mg
- Fat: 0g
- Saturated Fat: 0g
- Unsaturated Fat: 0g
- Trans Fat: 0g
- Carbohydrates: 13g
- Fiber: 0g
- Protein: 0g
- Cholesterol: 0mg