

There’s something magical about opening a jar of home-canned sausages months after you’ve put them up—it’s like tasting summer in the middle of winter! I’ll never forget my first batch; I was so nervous about using the pressure canner, but when those golden-brown sausages came out perfectly preserved, I was hooked. Canning sausage is one of those old-fashioned skills that feels intimidating until you try it, but trust me, once you taste how rich and flavorful they stay, you’ll be stuffing jars every chance you get. Whether you’re stocking up for emergencies or just love having ready-to-eat protein on hand, this method locks in all that juicy goodness for months (or even years!).
Why You’ll Love Canning Sausage
Oh, where do I even start? Canning sausages is one of those kitchen tricks that feels almost too good to be true. Here’s why I’m obsessed:
- Flavor that lasts: Unlike freezing, canning locks in that rich, meaty taste so every bite bursts with flavor—even a year later!
- Instant meals: Nothing beats grabbing a jar for quick pasta dishes, soups, or breakfast scrambles when you’re in a pinch.
- Pantry pride: Seeing those beautiful jars lined up gives me the same satisfaction as my grandma’s jam shelves used to.
- Budget-friendly: When sausages go on sale, I stock up and can them—no more wasted meat or last-minute grocery runs.
Trust me, once you try your first jar of home-canned sausage, you’ll wonder how you ever lived without this trick.
The Simple Ingredients You’ll Need
Here’s the beautiful part – you only need a few basic things to make magic happen. I keep it simple, just like my grandma taught me:
- 2 lbs fresh sausages (your favorite kind – Italian, breakfast, bratwurst, whatever makes you happy!)
- 1 tsp salt (optional, but I always add it for extra flavor)
- 1 cup water or broth (I use homemade chicken stock when I’m feeling fancy)
- Canning jars with lids and bands (pint jars for small batches, quarts when I’m going big)
That’s it! No fancy ingredients, no complicated shopping lists – just good, honest food preserved the old-fashioned way.
The Must-Have Tools for Canning Sausage
Don’t worry – you don’t need fancy equipment to start canning sausages! Here’s what I always have ready:
- A good pressure canner – This isn’t optional, friends. Water bath canning won’t cut it for meats. I use my grandma’s old Presto, but any 16-quart model works.
- Glass canning jars – Pint or quart size, with new lids and bands each time. Those old mayonnaise jars? Toss ’em!
- Basic kitchen tools – A jar lifter (trust me, burns aren’t fun), bubble remover, and clean towels for wiping rims.
That’s really it! No special gadgets needed – just solid, reliable equipment that’ll last for years of canning adventures.
How to Prepare Canning Sausage
Okay, let’s get down to business! I know pressure canning can seem intimidating, but follow these steps and you’ll have perfect jars of sausage every time. Just take it slow – I promise it’s easier than it looks!
Step 1: Sterilize Jars
First things first – we need sparkling clean jars! I submerge mine in boiling water for a full 10 minutes (set a timer – no shortcuts here!). This kills any nasty bacteria that could spoil our precious sausages.
Step 2: Prepare Sausages
Now for the fun part! You can leave sausages whole for dramatic presentation (my husband loves seeing full links in his stew), but I usually cut them into 3-4 inch pieces – they’re easier to pack that way.
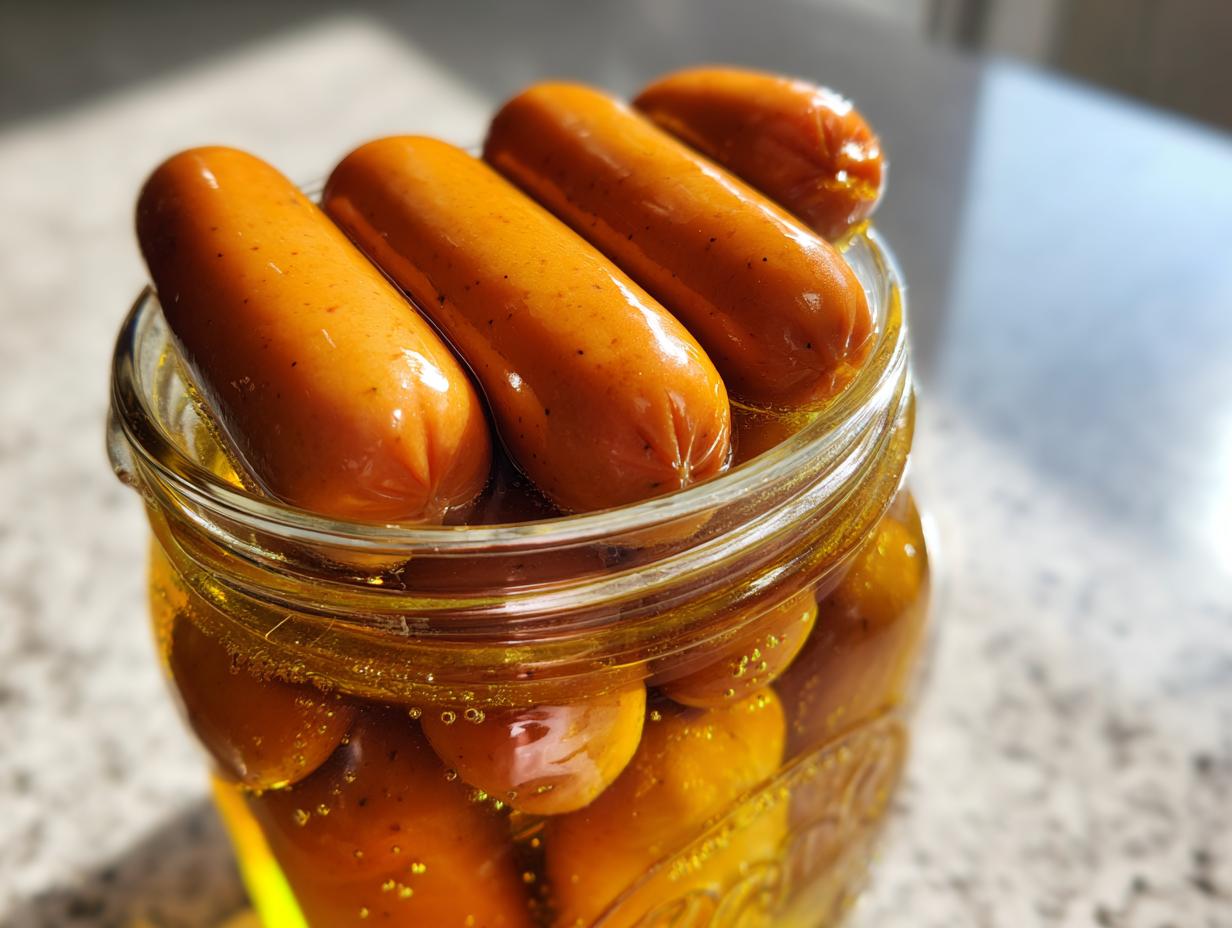
Step 3: Pack Jars
Here’s where the magic happens! Pack those sausages in tight – like sardines! – leaving 1 inch of headspace at the top. Pro tip: Use a wooden spoon to gently press them down without smashing. Then pour in your boiling liquid (water or broth) to cover, keeping that same 1-inch space.
Step 4: Process in Pressure Canner
Now the big moment! Process pints for 75 minutes and quarts for 90 minutes at 10 psi. Heads up – if you’re above 1,000 feet in altitude, you’ll need to adjust your pressure (check your canner manual). The wait is worth it – that “ping” of sealing lids is music to my ears!
My Best Tips for Perfect Canned Sausage Every Time
After years of trial and (delicious) error, I’ve picked up some tricks that’ll make your canning adventures foolproof:
- Seal check is sacred: After processing, press each lid’s center – if it pops, it didn’t seal! Refrigerate those jars immediately.
- Label religiously: Write dates AND sausage type on lids with permanent marker. Future-you will thank past-you!
- Fresh is best: Never can sausages more than 2 days old. That grocery store “sell by” date? Your new expiration clock starts NOW.
- Altitude matters: Living in the mountains? Add 1 psi pressure per 2,000 feet – my Colorado cousin learned this the hard way!
Remember – good canning is equal parts science and love. Follow these tips, and your jars will be pantry gold!
Storing and Using Canned Sausage
Oh honey, let me tell you – those beautiful jars deserve prime real estate in your pantry! Store them in a cool, dark place (my basement shelves are perfect), and they’ll stay good for at least a year – though mine never last that long! When you’re ready to use them, just pop open a jar, drain the liquid, and toss those savory sausages straight into soups, pastas, or my favorite – sizzled in a skillet with potatoes and onions. The juice makes amazing gravy too – waste not, want not!
Nutritional Information for Canned Sausage
Now, let’s talk nutrition – but remember, these numbers dance around depending on your sausage type! Generally, each link keeps its original protein punch and fat content through canning (that’s the magic of pressure processing). My homemade chicken-apple sausages run leaner than store-bought brats, so your mileage may vary. The canning liquid adds minimal extra sodium unless you go wild with the salt. Bottom line? It’s still sausage – delicious, protein-packed, and perfect for fueling your adventures!
FAQs About Canning Sausage
I get asked these questions all the time – let me save you the frantic Google searches!
Can I use smoked sausages? Absolutely! Smoked sausages can beautifully, but skip any extra salt since they’re already seasoned. My smoked kielbasa jars disappear fastest at potlucks.
How long does canned sausage last? Properly sealed jars stay good 1-2 years, but honestly? Mine never make it past six months before getting devoured in chili or breakfast skillets.
Can I can sausage with other ingredients? Oh honey, yes! I often add garlic cloves or peppercorns to jars for extra flavor. Just maintain proper headspace and processing times.
Is the liquid safe to use? That golden broth is liquid gold! Use it in soups or gravies – just bring it to a rolling boil first for safety.
Share Your Canning Sausage Experience
I’d love to hear about your canning adventures! Did your jars seal perfectly? Create a killer recipe with your sausages? Drop a comment below – your tips might help another home canner find their confidence! You can also find more inspiration on Pinterest.
PrintEasy Canning Sausage Recipe for Lasting Flavor in 5 Steps

A simple guide to canning sausages at home for long-term storage.
- Prep Time: 20 mins
- Cook Time: 90 mins
- Total Time: 110 mins
- Yield: 4-5 jars 1x
- Category: Preserving
- Method: Pressure Canning
- Cuisine: General
- Diet: Low Lactose
Ingredients
- 2 lbs fresh sausages (any variety)
- 1 tsp salt (optional)
- 1 cup water or broth (optional for added flavor)
- Canning jars with lids and bands (pint or quart size)
Instructions
- Prepare your canning jars by washing and sterilizing them in boiling water for 10 minutes.
- Cut sausages into 3-4 inch lengths or leave whole if preferred.
- Pack sausages tightly into sterilized jars, leaving 1-inch headspace.
- Add salt or broth if using, then fill jars with boiling water or broth, maintaining 1-inch headspace.
- Remove air bubbles with a clean utensil, wipe jar rims, and secure lids and bands.
- Process pints for 75 minutes and quarts for 90 minutes in a pressure canner at 10 psi.
- Let jars cool naturally, check seals, and store in a cool, dark place.
Notes
- Use only fresh, high-quality sausages for best results.
- Adjust processing time for altitude if over 1,000 feet.
- Label jars with date and contents.
Nutrition
- Serving Size: 1 sausage link
- Calories: 180
- Sugar: 1g
- Sodium: 480mg
- Fat: 15g
- Saturated Fat: 5g
- Unsaturated Fat: 8g
- Trans Fat: 0g
- Carbohydrates: 2g
- Fiber: 0g
- Protein: 10g
- Cholesterol: 45mg