

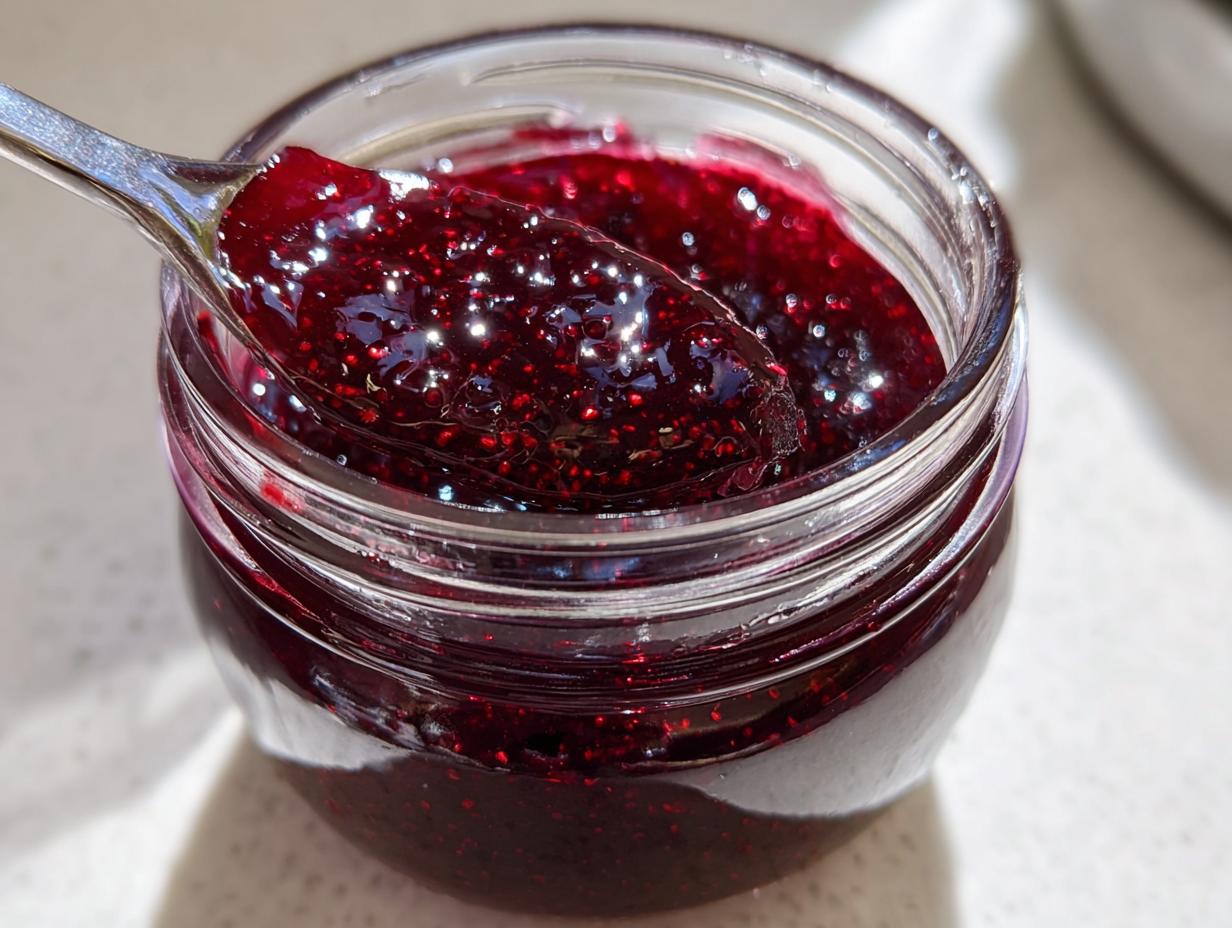
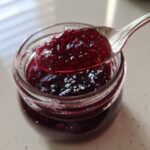
Oh, let me tell you about my love affair with aronia jelly! Those little berries pack such a punch—tart yet sweet, with this deep, almost wine-like flavor that makes ordinary toast feel fancy. I first discovered them at my aunt’s farm years ago, and now I’m hooked on turning them into this gorgeous purple jelly that glistens in the jar.
What I adore most is how versatile this stuff is. Sure, it’s heavenly on warm biscuits (trust me, you’ll want to slather it thick), but wait till you try it as a glaze for roasted chicken or swirled into yogurt. The balance of flavors just sings. And the best part? It comes together faster than you’d think—just berries, sugar, and a bit of patience while that magical pectin works its jelly-making wonders.
Why You’ll Love This Aronia Jelly Recipe
This jelly is one of those recipes that just works—simple enough for beginners but impressive enough to make you feel like a kitchen wizard. Here’s why I keep making batch after batch:
Perfect Balance of Sweet and Tart
Aronia berries have this bold, almost puckery tartness that makes your taste buds sit up straight. But when you simmer them down with just the right amount of sugar? Magic. It’s like capturing summer’s brightness in a jar—bright enough to wake up your morning toast but mellow enough to spoon straight from the fridge (not that I’ve done that… often).
Simple Ingredients, Big Flavor
Four ingredients. That’s it! No fancy extracts or hard-to-find thickeners—just berries, water, sugar, and trusty pectin. The berries do all the heavy lifting, giving you this rich, almost jammy flavor that puts store-bought jelly to shame. And that color? Deep purple with ruby glints—it’s practically jewelry for your breakfast table.
Long Shelf Life
Properly sealed, these jars will keep smiling at you from the pantry for a solid year (though good luck making them last that long). They’re my go-to “oh-crap-I-need-a-gift” solution—tie a ribbon around the lid, and suddenly you’re the most thoughtful person at the potluck.
Ingredients for Aronia Jelly
Gather these simple staples—you probably have most in your pantry already! The magic happens when these four humble ingredients come together:
Essential Ingredients
- 4 cups aronia berries – washed well and stems removed (trust me, fresh is best here)
- 1 cup water – just enough to help those berries release their gorgeous juice
- 1 package (1.75 oz) powdered pectin – our trusty jelly-making helper
- 4 cups granulated sugar – the sweet counterpoint to aronia’s natural tartness
That’s it! No fancy extracts or secret ingredients—just pure berry goodness waiting to transform into jewel-toned jelly.
Equipment You’ll Need
You don’t need anything fancy—just grab these basics from your kitchen:
- A large heavy-bottomed pot (for bubbling up that berry goodness without scorching)
- Cheesecloth or fine mesh sieve (to strain out every last drop of that gorgeous juice)
- Sterilized jars with lids (half-pints are perfect for gifting!)
- Ladle and funnel (unless you enjoy sticky countertops)
That’s it—now let’s make some jelly magic!
How to Make Aronia Jelly
Okay, let’s dive into the fun part—turning those humble berries into glistening jars of jelly! Don’t worry, it’s easier than you think. Just follow these steps, and you’ll be spreading aronia magic on everything in no time.
Preparing the Berries
First things first—give your berries a good rinse under cool water (I like to swish them around in a colander to catch any stray stems). Dump them into your big pot and get ready to crush! I use a potato masher, but the back of a wooden spoon works too—you’re not making paste here, just breaking them up enough to release their juices. Pour in that cup of water, crank the heat to medium-high, and let it come to a lively simmer. Set your timer for 10 minutes and stir occasionally while your kitchen fills with that incredible berry aroma.
Straining the Juice
Here’s where patience pays off. Line a fine mesh strainer with cheesecloth (or use a jelly bag if you’re fancy) and set it over a big bowl. Carefully pour your cooked berry mash into the strainer and let gravity do its thing—no squeezing or you’ll get cloudy jelly! I usually let mine drip for a good 30 minutes while I prep the jars. You should end up with about 3.5 cups of deep purple nectar that’ll make your mouth water just looking at it.
Cooking the Jelly
Pour that gorgeous juice back into your cleaned pot and whisk in the pectin. Now crank that heat to high until you get a rolling boil that won’t stop bubbling when you stir—this is crucial for the pectin to activate. Quickly dump in all the sugar at once (yes, all of it!) and stir like your jelly dreams depend on it. Keep it boiling hard for exactly 1 minute—set a timer! You’ll see it transform before your eyes, thickening slightly and turning glossy. Pull it off the heat and skim off any foam with a spoon (unless you like the rustic look—I sometimes do!).
Jarring and Sealing
While your jelly was cooking, those jars should’ve been sterilized and kept warm (I run mine through the dishwasher’s sanitize cycle). Carefully ladle the hot jelly into the jars, leaving about 1/4 inch headspace. Wipe the rims with a damp cloth—any stickiness here can ruin your seal. Screw on the lids fingertip-tight and process them in a boiling water bath for 10 minutes (start timing when the water returns to boiling). That satisfying “ping” as they cool? Music to a home canner’s ears!
Tips for Perfect Aronia Jelly
After making countless batches, here are my hard-won secrets for jelly that sets just right every time:
- Pick peak berries – Wait until they’re deeply colored and slightly soft for maximum flavor (underripe ones taste like regret).
- Sugar control – If your berries are extra tart, add an extra 1/4 cup sugar—taste the juice before adding pectin!
- Foam be gone – Skim quickly with a metal spoon, or add a tiny pat of butter to dissolve bubbles magically.
- Jelly test – Chill a spoonful in the freezer for 2 minutes—if it wrinkles when pushed, you’ve nailed the set.
And the golden rule? Don’t panic if it’s not perfect—even “failed” jelly makes incredible pancake syrup!
Serving Suggestions for Aronia Jelly
Oh, the possibilities! This jelly shines brightest on warm buttermilk biscuits (the butter melting through is *chef’s kiss*), but don’t stop there—swirl it into oatmeal, glaze pork chops, or stir a spoonful into vinaigrettes for a fruity kick. My secret? A dollop in marinades—trust me, it’s a game-changer!
Storing and Preserving Aronia Jelly
Once those jars have cooled, tuck them away in a cool, dark pantry—they’ll keep beautifully for up to a year! Opened jars live happily in the fridge for about a month (if you can resist eating it all sooner). Pro tip: Label your lids with the date—future you will thank past you when reaching for that perfect jar mid-winter!
Aronia Jelly FAQs
Over the years, I’ve gotten all sorts of questions about this jelly—here are the ones that pop up most often!
Can I use frozen aronia berries?
Absolutely! Thaw them first and drain any extra liquid—you’ll still get that gorgeous flavor. Frozen berries actually break down easier when cooking, so your jelly might turn out even smoother.
Help—my jelly didn’t set! What now?
First, don’t panic! Runny jelly happens to the best of us. You can reprocess it with a bit more pectin (follow package instructions), or embrace it as syrup—divine over ice cream!
Is there a low-sugar version?
You can try special pectins designed for low-sugar jams, but aronia berries are naturally tart—I’d recommend reducing sugar by no more than 1/4 cup for best flavor.
How do I know if my jars sealed properly?
After cooling, press each lid’s center—if it doesn’t flex or pop, you’ve got a good seal! Unsealed jars should go straight to the fridge.
Nutritional Information
Now, I’m no nutritionist—just a home cook who loves making (and eating!) delicious things. But here’s the general scoop on what makes aronia jelly a treat you can feel good about: It’s packed with antioxidants from those gorgeous berries, has no fat, and gives you a little fiber boost too. The sugar content comes mostly from natural fruit sugars and what we add for that perfect set, but a little goes a long way flavor-wise.
Keep in mind, these numbers can wiggle around depending on your exact berries and sugar measurements—nature doesn’t follow strict recipes! What matters most is that this jelly lets you enjoy aronia berries’ goodness in ways that make everyday meals feel special. Whether you’re dolloping it on toast or gifting jars to friends, it’s all about savoring those vibrant flavors.
Share Your Aronia Jelly Experience
Did you make this jelly? I’d love to hear how it turned out! Leave a comment below or snap a photo of your ruby-hued jars—nothing makes me happier than seeing others fall for aronia berries too. You can also find more canning inspiration on Pinterest.
PrintIrresistible 4-Ingredient Aronia Jelly Recipe You’ll Crave
Aronia jelly is a sweet and tangy spread made from aronia berries. It’s perfect for toast, pancakes, or as a glaze for meats.
- Prep Time: 20 minutes
- Cook Time: 25 minutes
- Total Time: 45 minutes
- Yield: 5 half-pint jars 1x
- Category: Preserves
- Method: Stovetop
- Cuisine: American
- Diet: Vegetarian
Ingredients
- 4 cups aronia berries
- 1 cup water
- 1 package (1.75 oz) powdered pectin
- 4 cups granulated sugar
Instructions
- Wash and crush the aronia berries in a large pot.
- Add water and bring to a boil. Simmer for 10 minutes.
- Strain the juice through a cheesecloth or fine mesh sieve.
- Measure 3.5 cups of juice and return to the pot.
- Stir in pectin and bring to a rolling boil.
- Add sugar and boil for 1 minute, stirring constantly.
- Remove from heat, skim off foam, and pour into sterilized jars.
- Seal and process in a water bath for 10 minutes.
Notes
- Use ripe aronia berries for the best flavor.
- Adjust sugar to taste if berries are too tart.
- Store in a cool, dark place for up to a year.
Nutrition
- Serving Size: 1 tbsp
- Calories: 50
- Sugar: 12g
- Sodium: 0mg
- Fat: 0g
- Saturated Fat: 0g
- Unsaturated Fat: 0g
- Trans Fat: 0g
- Carbohydrates: 13g
- Fiber: 1g
- Protein: 0g
- Cholesterol: 0mg