
Oh, dilly beans – that satisfying *crunch* and tangy punch that makes you reach for just one more! My love affair with these pickled green beans started at my grandma’s farm stand, where she’d stash jars between the tomatoes and cucumbers. “Snack time,” she’d whisper, handing me a bean with that garlicky dill kick. Now, my kitchen smells like summer every time I whip up a batch. Dilly beans are my go-to for picnics, bloody mary garnishes, or sneaking straight from the jar at midnight. And the best part? They’re embarrassingly easy to make. Just wait till you taste how that brine transforms humble green beans into something magical.
Why You’ll Love These Dilly Beans
Trust me, once you try homemade dilly beans, you’ll wonder why you ever settled for store-bought pickles. Here’s what makes them irresistible:
- That addictive crunch – fresh green beans stay snappy even after pickling, giving you the most satisfying bite
- Tangy, garlicky goodness – the dill and garlic combo is downright magical after a few days in the brine
- Effortless prep – no fancy canning equipment needed, just a jar and 15 minutes of hands-on time
- Endless uses – toss them in salads, pair with sandwiches, or (my favorite) eat them straight from the jar
Seriously, these might just become your new fridge staple.
Ingredients for Dilly Beans
Gather these simple ingredients – I promise your pantry probably has most of them already! The magic happens when these humble items come together:
- 1 pound fresh green beans, ends trimmed (look for slender, crisp ones that snap when bent)
- 2 cloves garlic, peeled and lightly smashed (more if you’re garlic-obsessed like me)
- 2 sprigs fresh dill (or 1 teaspoon dill seeds if you can’t find fresh)
- 1 teaspoon mustard seeds (they add this wonderful subtle tang)
- 1 teaspoon black peppercorns (whole, not ground – trust me on this)
- 1 cup white vinegar (the clear kind works best for that classic pickle color)
- 1 cup water (filtered if your tap water has strong flavors)
- 1 tablespoon salt (I use kosher salt for the purest flavor)
- 1 teaspoon sugar (just enough to balance the tartness without making it sweet)
See? Nothing fancy – just honest ingredients that transform into something amazing together.
Equipment You’ll Need
No fancy gadgets required here – just a few kitchen basics to make these dilly beans shine. Here’s what you’ll grab:
- 1 clean quart-sized jar (mason jars are perfect, but any glass jar with a tight lid works)
- Medium saucepan (for that quick brine simmer)
- Sharp knife and cutting board (to trim those green bean ends with ease)
- Measuring cups and spoons (precision matters with pickling!)
That’s it! Now let’s get those beans pickling.
How to Make Dilly Beans
Alright, let’s get these beans pickling! Don’t let the word “pickling” intimidate you – this is one of those foolproof recipes where a little patience gets you big rewards. Follow these simple steps, and in just a few days, you’ll have the crispiest, tangiest dilly beans imaginable.
Step 1: Prep the Green Beans
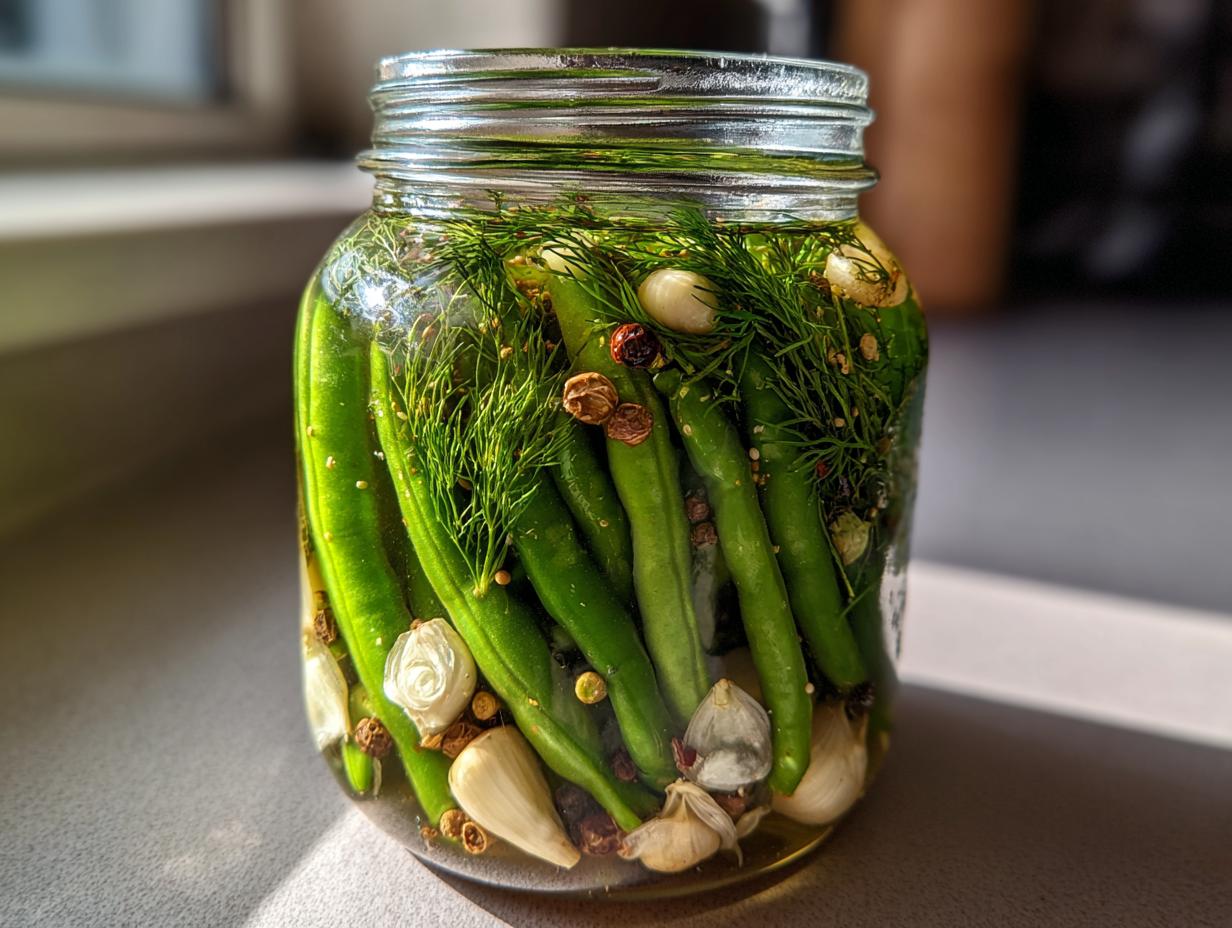
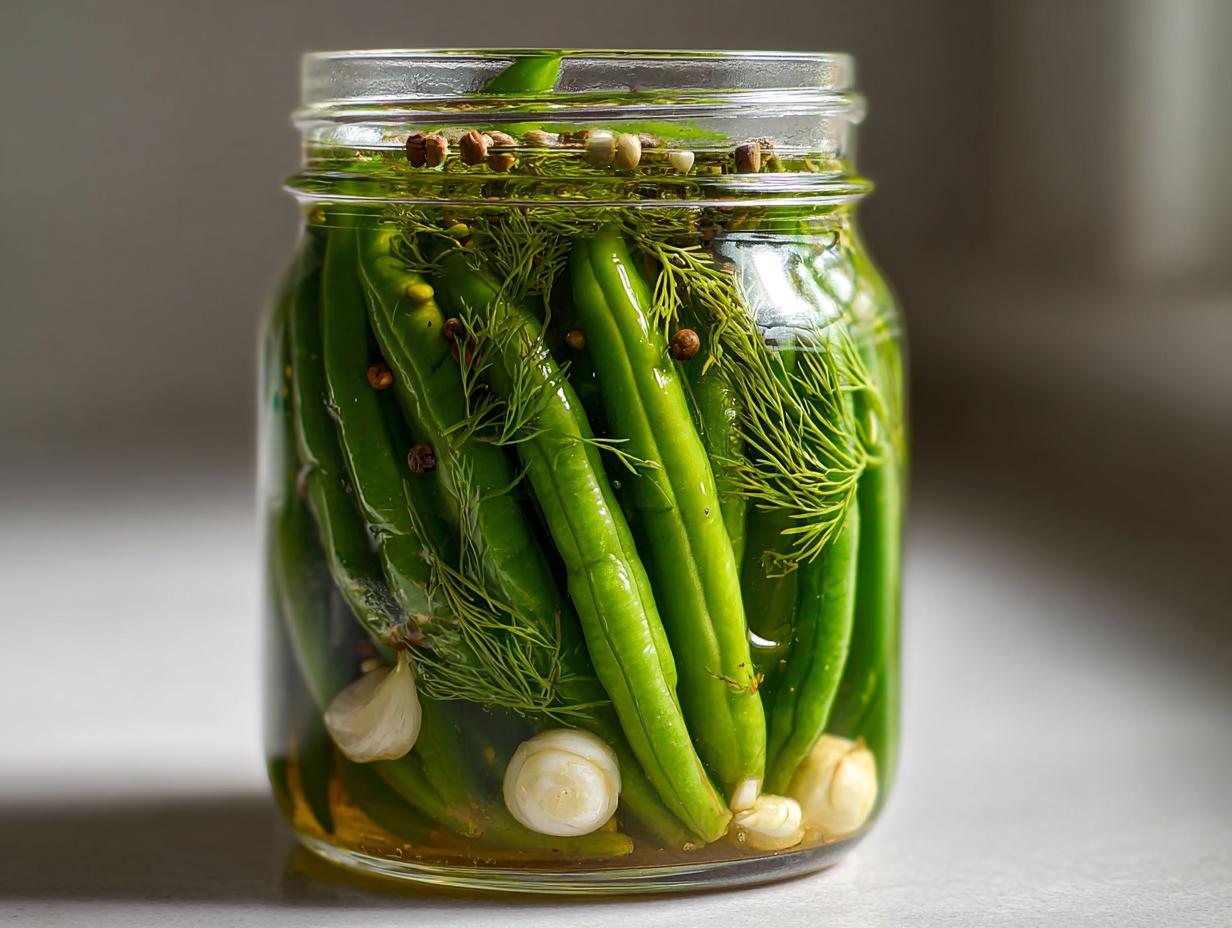
First things first – give those green beans some love! Rinse them under cold water, then trim off the stem ends. I like to leave them whole if they fit in my jar (about 4 inches long), but you can halve them if needed. Pack them vertically into your clean jar like little soldiers – this helps fit more in! Tuck the garlic cloves, dill sprigs, mustard seeds, and peppercorns between the beans. Pro tip: Smash the garlic lightly with the flat of your knife first to release more flavor.
Step 2: Make the Brine
Now for the magic potion! In your saucepan, combine the vinegar, water, salt, and sugar. Bring it to a rolling boil over medium-high heat, stirring just until the salt and sugar dissolve. This takes about 2-3 minutes. Be careful when handling the hot brine – I always use oven mitts when pouring. That vinegar steam is potent stuff!
Step 3: Jar and Cool
Here’s where the transformation begins! Slowly pour the hot brine over the beans, leaving about ½ inch of space at the top (this is called headspace, and it’s important for safety). Use a chopstick to release any air bubbles trapped between the beans. Seal the jar tightly and let it cool to room temperature on your counter – about 1-2 hours. Then, tuck it into the fridge for at least 3 days before eating. I know waiting is hard, but trust me, those extra days let the flavors develop into something magical!
Tips for Perfect Dilly Beans
Want dilly beans that’ll make your taste buds sing? Here are my hard-earned secrets after many (many!) batches:
- Pick crisp, fresh beans – they should snap when bent, not bend limply (older beans turn mushy in the brine)
- Sterilize your jar – a quick boil or run through the dishwasher prevents funky bacteria from crashing the party
- Taste the brine after 2 days – if you want more garlic or dill, add another clove or sprig right into the jar
- Wait the full 3 days – I know it’s tempting, but patience rewards you with that perfect tangy crunch
Follow these, and you’ll be the dilly bean hero of your next picnic!
Variations for Dilly Beans
Once you’ve mastered the classic, try these fun twists! Add ½ teaspoon red pepper flakes for heat, swap in apple cider vinegar for extra tang, or toss in fresh jalapeño slices if you’re feeling bold. My neighbor swears by adding a bay leaf for earthy depth – give it a try!
Serving and Storing Dilly Beans
Oh, the possibilities! These dilly beans shine as a crispy snack straight from the jar (my midnight guilty pleasure), but they’re also killer chopped into potato salad or perched atop a grilled burger. The flavors keep getting better for about 2 weeks in the fridge, though they’ll stay crunchy and tasty for up to 2 months. Pro tip: Label your jar with the date – if they last that long!
Dilly Beans FAQs
Over the years, I’ve gotten all sorts of questions about my dilly beans from curious friends and family. Here are the answers to the ones that pop up most often:
Can I use frozen green beans instead of fresh?
Oh honey, I wouldn’t recommend it. Frozen beans turn mushy in the brine – that satisfying crunch comes from fresh, crisp beans. If you’re desperate, blanch fresh beans for 30 seconds first, but really, fresh is best!
How long do homemade dilly beans last?
These little guys keep beautifully! They’re at their peak crunch for about 2 weeks in the fridge, but they’ll stay tasty (if slightly less crisp) for up to 2 months. Just make sure they’re always submerged in brine.
Can I make these shelf-stable for pantry storage?
This recipe is for refrigerator pickles only – no proper canning here! For shelf-stable versions, you’d need to process the jars in a water bath canner. I stick with fridge pickles because they’re foolproof and stay extra crunchy.
Why do my beans float in the jar?
Don’t panic! This happens to me too. The air pockets inside the beans make them buoyant. Just turn the jar upside down every day to keep all beans getting brine love. Packing them tightly helps too.
Can I double the recipe?
Absolutely! Just use two jars instead of cramming everything into one. The brine-to-bean ratio is important for proper flavor and safety. I often make multiple small batches with different spice levels – my husband likes his extra garlicky!
Nutritional Information
Now, I’m no dietitian, but I’ll give you the scoop on what’s in these tangy treats! Keep in mind that nutrition can vary based on your exact ingredients and how much brine you drink (kidding… mostly). Here’s the general breakdown per ¼ cup serving:
- Calories: About 20 per serving
- Carbs: 4g (including that lovely 2g of fiber)
- Sodium: Around 300mg (from our essential brine)
Not too shabby for something that satisfies those salty-crunchy cravings! They’re naturally fat-free and low-calorie, which means I can snack guilt-free while pretending I’m eating something virtuous (all those garlic health benefits, right?). Just remember – these numbers are estimates, so don’t @ me if your garlic-heavy batch skews the charts!
PrintCrunchy Dilly Beans Recipe: 3-Day Pickled Perfection
Dilly beans are pickled green beans flavored with dill and garlic. They make a crunchy, tangy snack or side dish.
- Prep Time: 10 minutes
- Cook Time: 5 minutes
- Total Time: 15 minutes
- Yield: 1 quart 1x
- Category: Pickles
- Method: Pickling
- Cuisine: American
- Diet: Vegetarian
Ingredients
- 1 pound fresh green beans, trimmed
- 2 cloves garlic, peeled
- 2 sprigs fresh dill
- 1 teaspoon mustard seeds
- 1 teaspoon black peppercorns
- 1 cup white vinegar
- 1 cup water
- 1 tablespoon salt
- 1 teaspoon sugar
Instructions
- Wash and trim the green beans to fit your jar.
- Pack the beans, garlic, dill, mustard seeds, and peppercorns into a clean quart-sized jar.
- In a saucepan, bring vinegar, water, salt, and sugar to a boil.
- Pour the hot liquid over the beans, leaving ½ inch of headspace.
- Seal the jar and let it cool to room temperature.
- Refrigerate for at least 3 days before eating.
Notes
- Use fresh, firm green beans for best results.
- Adjust garlic and dill to taste.
- Store in the refrigerator for up to 2 months.
Nutrition
- Serving Size: ¼ cup
- Calories: 20
- Sugar: 1g
- Sodium: 300mg
- Fat: 0g
- Saturated Fat: 0g
- Unsaturated Fat: 0g
- Trans Fat: 0g
- Carbohydrates: 4g
- Fiber: 2g
- Protein: 1g
- Cholesterol: 0mg