
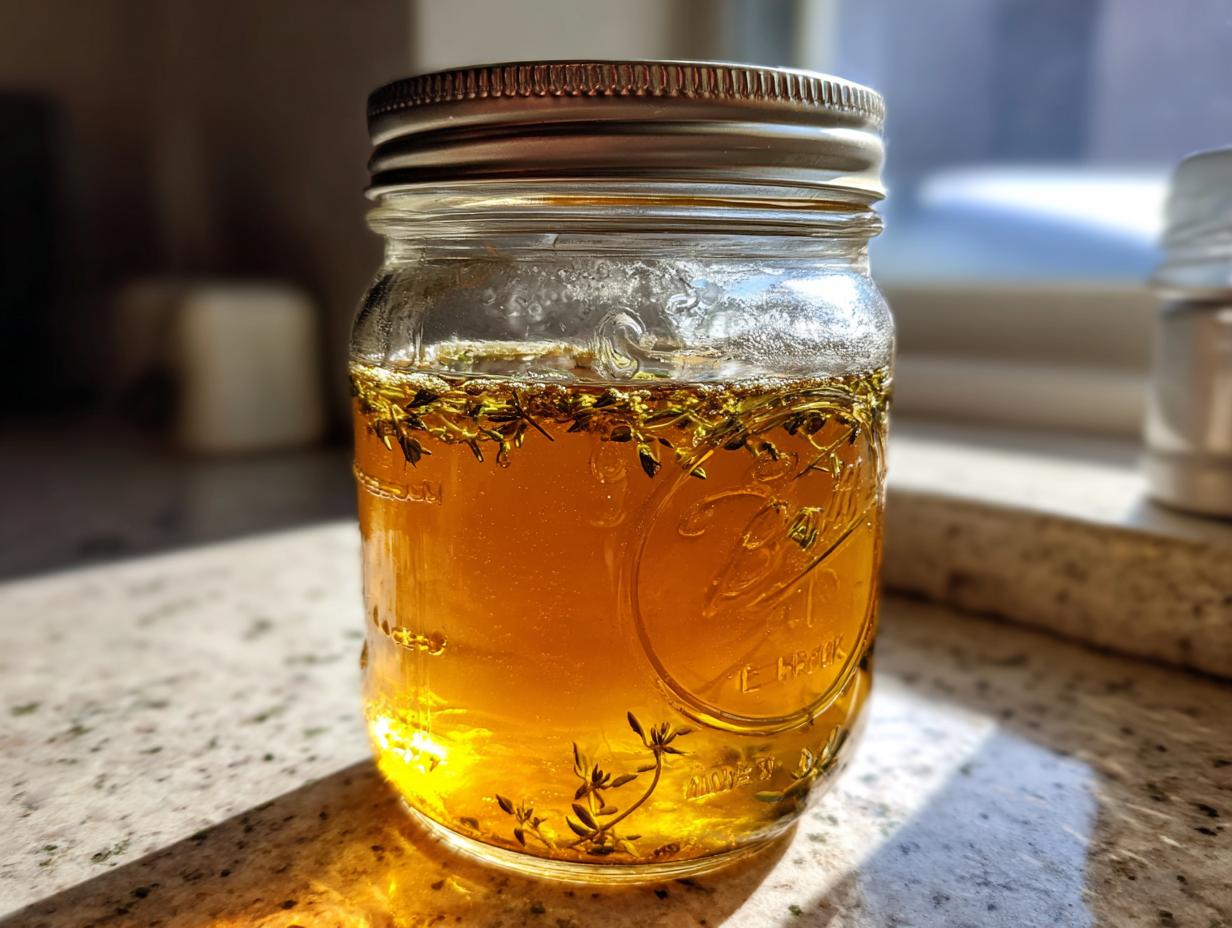
There’s nothing like the rich, savory flavor of homemade vegetable broth—especially when you can enjoy it year-round! Canning vegetable broth is my secret to always having this kitchen staple on hand without wasting a single scrap. I started doing this years ago when I realized how much money I was throwing away on store-bought cartons (and how much better my own broth tasted!).
Trust me, once you taste the difference between homemade and store-bought, you’ll never go back. And guess what? It’s way easier than you think to preserve. Just a few simple steps transforms those leftover veggie scraps into golden jars of liquid gold that’ll make your soups, stews, and sauces sing. I always feel so accomplished when I hear those satisfying “pops” as the jars seal—it’s like the sound of future deliciousness!

Why You’ll Love Canning Vegetable Broth
Here’s why this method became my absolute favorite kitchen hack:
- Save money like crazy – Those expensive store-bought cartons add up fast. This uses scraps you’d normally toss!
- Control every flavor – Hate too much celery? Love extra garlic? Make it exactly how you want.
- Zero waste magic – Those onion peels and carrot tops suddenly become valuable ingredients.
- Emergency kit ready – Power outage? Snowed in? You’ve got homemade broth at your fingertips.
- Instant flavor boost – Need to jazz up rice or deglaze a pan? Just pop open a jar.
Seriously, once you start, you’ll wonder how you ever cooked without stocked jars of this golden goodness!
Ingredients for Canning Vegetable Broth
Here’s the beautiful part – you only need three simple things to make this work! I’ve learned through trial and error (and one memorable “oops” moment with weak broth flavor) that quality matters most here.
- 8 cups vegetable broth – Homemade is best (save those veggie scraps all week!), but store-bought works in a pinch. Just make sure it’s fresh – trust your nose!
- 1 tablespoon salt – Totally optional, but I love how it enhances the flavors. I use sea salt, but any kind works.
- 2 tablespoons vinegar – This little trick is my canning lifesaver. The acidity helps preserve everything beautifully. White vinegar works perfectly.
Pro tip from my kitchen disasters: If using homemade broth, strain it through cheesecloth first. I learned this after finding tiny carrot bits floating in my jars – still tasty, but not as pretty!
Equipment Needed for Canning Vegetable Broth
Gather these kitchen helpers before you start – they make all the difference between an easy canning day and a sticky mess (ask me how I know!). Here’s what you absolutely need:
- Pressure canner – This is non-negotiable for safety with low-acid foods like broth. My trusty old Presto gets used weekly!
- Glass canning jars – Pint or quart sizes work best. I always sterilize a couple extra because spills happen.
- Magnetic lid lifter – Saves your fingers from boiling water burns. Worth every penny.
- Wide-mouth funnel – No more dribbling broth down jar sides. Game changer.
Quick note: A boiling water bath ONLY works for high-acid foods – don’t risk it with broth! I learned this lesson the hard way with a questionable batch of mushroom broth years ago.
How to Prepare Canning Vegetable Broth
Alright, let’s get to the good stuff – turning that beautiful broth into shelf-stable gold! I’ve streamlined this process after many canning sessions (and yes, a few learning moments). Follow these steps for perfect jars every time:
Sterilizing Jars and Lids
First rule of canning club – everything must be SPOTLESS. Here’s how I do it:
- Wash jars and lids in hot, soapy water – no need to dry them.
- Submerge everything in a large pot of boiling water for 10 full minutes (I set a timer because I always forget!).
- Use that handy magnetic lifter to remove lids – never touch the inside where the seal happens!
- Let jars air-dry upside down on a clean towel. No wiping – those dish towels can harbor bacteria.
Filling and Sealing Jars
Now for the satisfying part! Keep your broth at a gentle simmer while you work:
- Place your funnel in the first jar and ladle in hot broth, leaving 1-inch headspace (that’s about the width of your thumb).
- Wipe the rim with a vinegar-dampened paper towel – one missed crumb can ruin the seal!
- Center the lid and screw on the band fingertip-tight – not Hercules-tight. The jars need to “breathe” during processing.
Processing in Pressure Canner
Here’s where the magic happens – don’t skip these details:
- Place jars in the canner with 2-3 inches of water (follow your canner’s manual).
- Process pints for 25 minutes at 10 PSI (adjust for altitude – I’m at sea level).
- Turn off heat and let pressure drop naturally – no peeking!
- After 10 minutes, remove jars to a towel-lined counter. The satisfying “ping” of sealing lids is your reward!
Let jars cool undisturbed for 24 hours – I know it’s hard to wait, but it’s crucial for the seal to set properly!
Tips for Perfect Canning Vegetable Broth
After years of trial and error (and yes, a few failed batches), I’ve gathered these canning truths that make all the difference:
- Listen for the music – That satisfying “ping” means your seal worked! No sound after 24 hours? That jar goes in the fridge.
- Label everything – Trust me, you will forget what’s in those jars. I date mine with a grease pencil – broth is best within a year.
- Leave breathing room – Overcrowding the canner leads to uneven processing. I do two batches if needed – patience pays off!
- Test your seals – Press the center of cooled lids. If it pops, it’s not safe. When in doubt, throw it out!
My golden rule? Always can when you’re not rushed. Good preserving is about attention, not speed!
Storing and Using Canned Vegetable Broth
Now for the best part – enjoying your homemade broth whenever inspiration strikes! Store sealed jars in a cool, dark place (my pantry shelf works perfectly) and they’ll stay fresh for up to a year. That first time you grab a jar mid-recipe instead of running to the store? Pure kitchen victory!
When you’re ready to use it, just give the jar a quick sniff test – it should smell fresh and savory. I pop the lid and heat it gently on the stove (never in the microwave – glass jars can crack!). The flavor actually improves after canning, making it perfect for everything from risotto to quick noodle bowls.
Vegetable Broth Canning FAQs
Over the years, I’ve gotten the same great questions from friends learning to can broth. Here are the answers that’ll save you from my early mistakes!
Can I skip the vinegar?
Technically yes, but I don’t recommend it! The vinegar isn’t for flavor – it helps create the right acidity for safe preserving. I once tried skipping it to make “pure” broth and ended up with cloudy jars. Not dangerous, but not pretty either!
How do I know if my jars sealed properly?
After cooling, press the lid’s center. If it stays down, you’re golden! If it pops, refrigerate and use within a week. My first batch had two unsealed jars – turns out I didn’t wipe the rims well enough. Live and learn!
Can I use different size jars?
Pints and quarts both work, but adjust processing time. Quarts need 30 minutes instead of 25. Just never use jars larger than a quart – the center might not heat enough to be safe.
Why does my broth look cloudy?
Totally normal! Homemade broth often clouds when canned. It doesn’t affect flavor or safety. My clearest batches come when I double-strain through cheesecloth.
How long does canned broth last?
Properly sealed jars keep for 12-18 months in a cool, dark place. I mark mine with the month/year using a grease pencil. After opening, use within 5 days – if it lasts that long in your fridge!
Nutritional Information
Just a quick note – these numbers are estimates since your homemade broth’s nutrition will vary based on which veggies you use. But generally, per 1-cup serving you’re looking at:
- 15 calories – Basically guilt-free flavor!
- 2g sugar – All natural from the vegetables
- 300mg sodium – Less than most store-bought versions
What I love is you control everything – skip the salt entirely or load up on garlic and herbs for even more nutritional benefits. That’s the beauty of homemade!
Share Your Experience
I’d love to hear how your canning adventure goes! Did your jars seal with that perfect “ping”? What veggies made your broth extra special? Tell me all about it! You can also find more canning inspiration on Pinterest.
PrintSavory 4-Point Guide to Canning Vegetable Broth Perfectly
A simple method to preserve homemade vegetable broth by canning.
- Prep Time: 10 mins
- Cook Time: 25 mins
- Total Time: 35 mins
- Yield: 4 pints 1x
- Category: Preserving
- Method: Pressure Canning
- Cuisine: International
- Diet: Vegetarian
Ingredients
- 8 cups vegetable broth
- 1 tablespoon salt (optional)
- 2 tablespoons vinegar (for acidity)
Instructions
- Sterilize canning jars and lids in boiling water.
- Heat vegetable broth to a simmer.
- Pour hot broth into jars, leaving 1-inch headspace.
- Wipe jar rims clean.
- Secure lids and process in a pressure canner for 25 minutes.
- Remove jars and let cool for 24 hours.
Notes
- Use fresh vegetables for best flavor.
- Adjust salt to taste.
- Check seals before storing.
Nutrition
- Serving Size: 1 cup
- Calories: 15
- Sugar: 2g
- Sodium: 300mg
- Fat: 0g
- Saturated Fat: 0g
- Unsaturated Fat: 0g
- Trans Fat: 0g
- Carbohydrates: 3g
- Fiber: 1g
- Protein: 0g
- Cholesterol: 0mg