
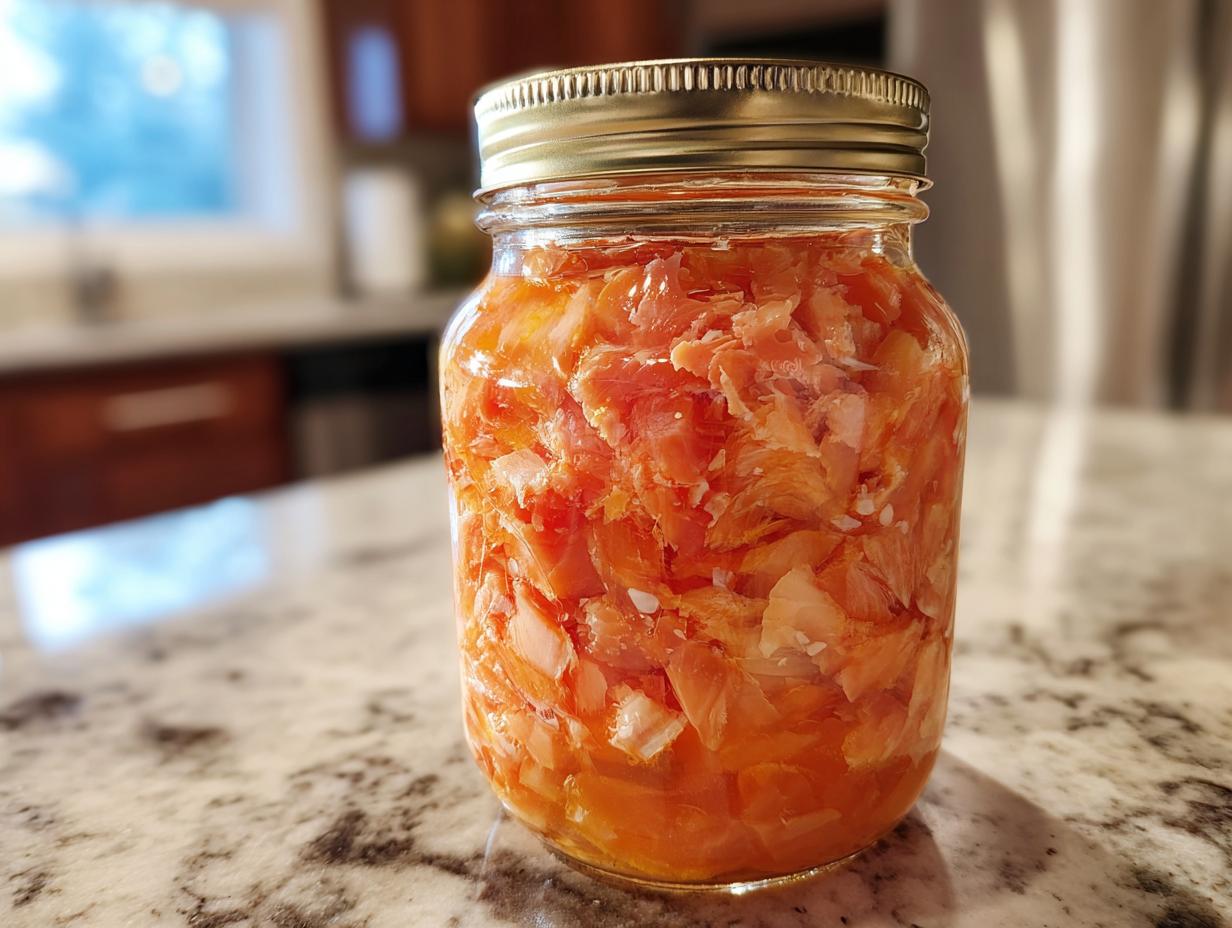
There’s nothing quite like cracking open a jar of home-canned salmon months after you’ve packed it and finding that rich, fresh flavor still perfectly preserved. I’ll never forget the first time I tried my grandma’s canned salmon – it tasted like it had just come off the boat! Canning salmon at home lets you lock in that incredible freshness while keeping all the amazing nutrients intact.
I’ve been canning salmon for years now, ever since my neighbor showed me her foolproof method. Once you get the hang of it, you’ll wonder why you ever bought the store-bought stuff. Nothing beats having your own supply of wild-caught salmon ready to toss into salads, pasta, or just enjoy straight from the jar. And trust me, once you taste your homemade version, you’ll be hooked!
Why You’ll Love Canning Salmon
Here’s why this method is my absolute favorite way to preserve salmon:
- Year-round freshness: Your canned salmon stays delicious for up to a year – no freezer burn or funky flavors!
- Nutrient powerhouse: All those amazing omega-3s and proteins stay locked in, just waiting for when you need them.
- Instant meals: Got a jar? You’ve got the base for salads, pastas, or sandwiches in seconds flat.
- Budget saver: When salmon’s in season (or on sale), you can stock up big time!
Honestly, I feel like I’ve hacked the system every time I pop open one of my jars. It’s that good.
Ingredients for Canning Salmon
Here’s all you need to transform fresh salmon into shelf-stable goodness:
- Fresh salmon fillets (2-3 lbs): Skin-on or skinless both work – I usually leave the skin on for extra flavor and nutrients. Just make sure it’s the freshest fish you can find!
- Salt (1-2 tsp, optional): I always add a pinch – it enhances the natural flavors without making it too salty.
- Water (2 cups): Just plain water for processing – no fancy broths needed!
Pro tip: Cut your salmon into jar-sized pieces before starting – about 1-inch thick chunks fit perfectly in pint jars.
Equipment Needed for Canning Salmon
Gather these trusty tools before you start – they’re the backbone of safe salmon canning:
- Pressure canner: This isn’t optional, friends! Regular water bath canners won’t cut it for low-acid foods like fish.
- Canning jars (pint or quart): I’m partial to wide-mouth pints – easier packing!
- Lids and bands: Always use new lids for that perfect seal.
- Jar lifter: Saves your fingers from boiling water burns.
- Bubble remover: A chopstick works in a pinch!
Preparing Your Canning Equipment
Here’s my sterilization ritual: First, wash jars and lids in hot soapy water (no scratches allowed!). Then submerge everything in boiling water for 10 minutes – I use my canner for this. While they boil, I check my pressure canner’s gauge and safety valve (a must-do!). Everything stays hot until I’m ready to pack – cold jars + hot food = cracked glass!
Step-by-Step Guide to Canning Salmon
Okay, let’s get down to business! Canning salmon might seem intimidating at first, but once you’ve done it a couple times, it becomes second nature. Just follow these steps carefully – I’ve learned a few tricks over the years that’ll help you nail it on your first try.
Preparing the Salmon for Canning
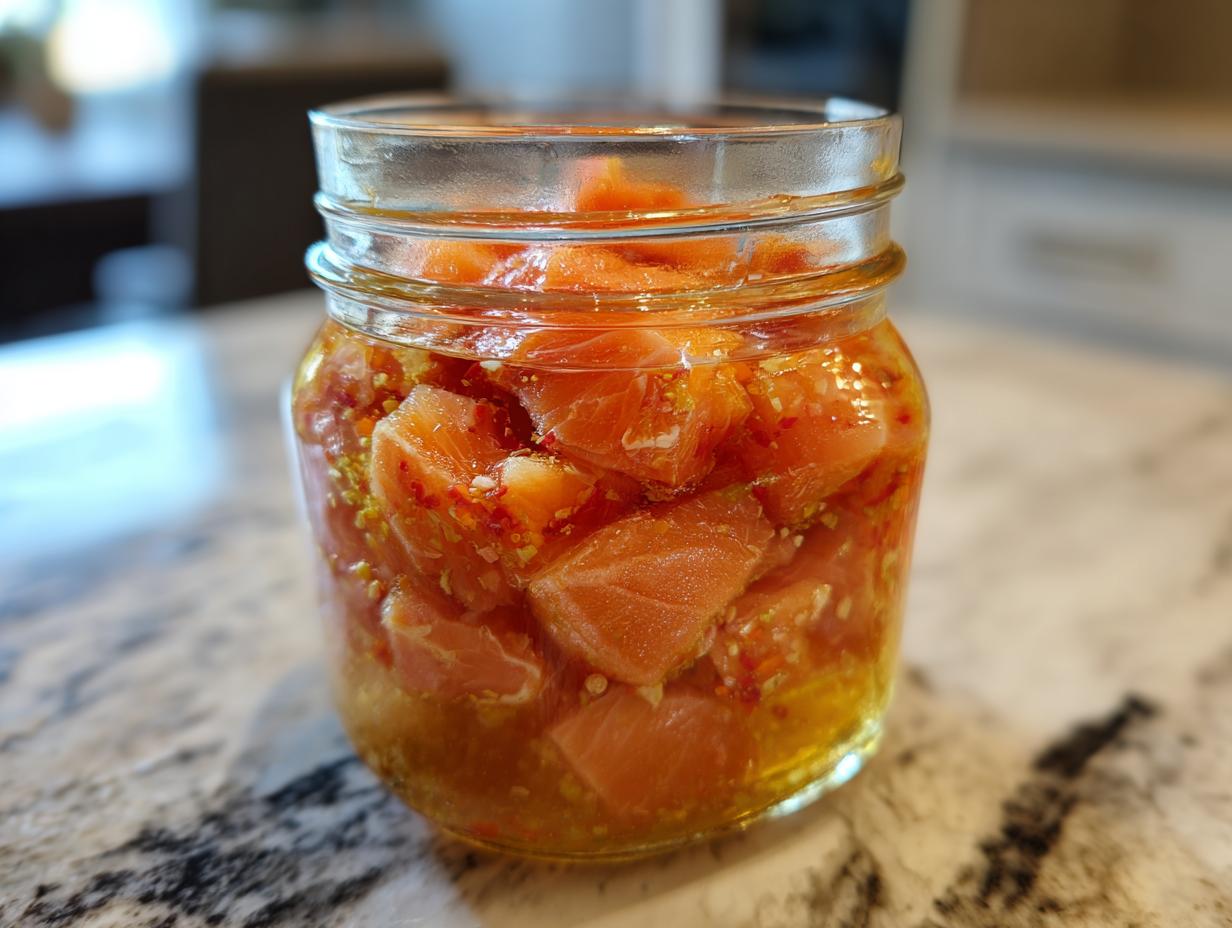
First things first – give your salmon a quick rinse under cold water and pat it dry. I like to cut mine into chunks about 1-inch thick – they’ll shrink a bit during processing, so don’t make them too small! Pack those beauties tightly into your sterilized jars, leaving about 1 inch of headspace. Here’s my secret: alternate the pieces skin-side in and out so they fit together like a puzzle. Add ½ teaspoon of salt per pint if you’re using it – trust me, it makes all the difference in flavor. Wipe the rims spotless with a damp cloth before placing the lids on finger-tight.
Processing Salmon in the Pressure Canner
Now for the magic! Place your jars in the pressure canner with 2-3 inches of boiling water (follow your canner’s manual for exact amounts). Lock that lid on tight and let it vent steam for 10 full minutes – no cheating on this step! Then pop the weight on and bring it up to 10 pounds pressure. Here’s where patience pays off: pints need 100 minutes and quarts need 115 minutes at steady pressure. Keep an eye on that gauge – if it dips, you’ll need to restart your timing. And listen up, mountain-dwellers: if you’re above 1,000 feet elevation, you’ll need to adjust your pressure – check your canning guide for specifics!
Cooling and Storing Canned Salmon
When time’s up, turn off the heat and let the canner depressurize naturally – don’t try to rush this part! Once the pressure’s gone, crack the lid and wait 10 more minutes before removing the jars. Set them on a towel in a draft-free spot and resist the urge to touch them for 12-24 hours. You’ll hear the most satisfying “pop” as they seal! Before storing, press each lid to check for a tight seal (no flexing allowed). Label with the date and stash your jars in a cool, dark place – they’ll keep beautifully for up to a year.
Tips for Successful Canning Salmon
After years of trial and error (and a few messy kitchen disasters!), here are my golden rules for perfect canned salmon every time:
- Fresh is best: Use salmon within 24 hours of catching or buying – that bright color and firm texture makes all the difference!
- Don’t overstuff: Leave that 1-inch headspace – I learned the hard way what happens when jars explode from being too full.
- Check your gear: Test your pressure canner’s gauge yearly – inaccurate pressure = unsafe food. Not worth the risk!
- Label everything: Write the date and fish type on lids with permanent marker – future you will thank past you!
- Safety first: If a jar doesn’t seal properly, refrigerate and eat within 2 days – better safe than sorry!
Follow these tips and you’ll be a salmon canning pro in no time!
Nutritional Information for Canned Salmon
Now here’s the best part – all that incredible nutrition gets preserved right along with the flavor! While exact numbers vary slightly by salmon type, here’s what you typically get in a ½ cup serving of home-canned salmon:
- 200 calories of pure protein power
- 25g protein to keep you fueled
- 10g healthy fats (including those amazing omega-3s!)
- 0g carbs – perfect for low-carb lifestyles
It’s like nature’s perfect protein snack, ready whenever you are!
Frequently Asked Questions About Canning Salmon
I get asked these questions all the time – here’s what I’ve learned from years of canning salmon:
Can I use frozen salmon?
Technically yes, but fresh is always better! If you must use frozen, thaw it completely first and pat it dry. Frozen fish tends to get mushy after canning though – I learned this the hard way with a batch that turned out like salmon pudding!
How long does canned salmon last?
Properly sealed jars keep for up to a year in a cool, dark place. Once opened, refrigerate and use within 3-4 days. My grandma swore her 2-year-old jars were still good, but I don’t recommend pushing your luck!
Is a pressure canner necessary?
Absolutely! Salmon is low-acid, so water bath canning isn’t safe. Don’t risk botulism – borrow or buy a proper pressure canner. It’s the only way to guarantee safe home-canned fish.
Can I add other seasonings?
You can, but keep it simple! A bay leaf or peppercorn per jar works nicely. Avoid fresh herbs or garlic though – they can affect acidity and safety. I stick with salt for pure salmon flavor.
Serving Suggestions for Canned Salmon
Oh, the possibilities! Here are my favorite ways to enjoy home-canned salmon:
- Straight from the jar: My guilty pleasure – just fork out a chunk with some crackers. The flavor is incredible!
- Salmon salad sandwiches: Mix with mayo, celery, and lemon juice for the easiest lunch ever.
- Pasta toss: Flake it into warm pasta with olive oil, garlic, and parsley – dinner in 10 minutes flat.
- Protein-packed salads: Toss it into greens or potato salad for an instant nutrition boost.
Honestly, I’ve never met a dish that couldn’t be improved by adding some canned salmon!
Share Your Canning Salmon Experience
Did you try canning salmon my way? I’d love to hear about your results! Leave a comment below with your tips, tricks, or questions – let’s keep this salmon-canning conversation going! Share your creations!
Print“Master Canning Salmon in 5 Simple Steps for Year-Rich Flavor”
Learn how to can salmon at home with this simple guide. Preserve fresh salmon for long-term storage while keeping its flavor and nutrients intact.
- Prep Time: 30 mins
- Cook Time: 100 mins
- Total Time: 130 mins
- Yield: 4-6 pints 1x
- Category: Preserving
- Method: Pressure Canning
- Cuisine: American
- Diet: Low Calorie
Ingredients
- 2–3 lbs fresh salmon fillets
- 1–2 tsp salt (optional)
- 2 cups water (for processing)
Instructions
- Clean and cut salmon into jar-sized pieces.
- Pack salmon tightly into sterilized canning jars.
- Add 1/2 tsp salt per pint jar if desired.
- Wipe jar rims clean and seal with lids.
- Process in a pressure canner at 10 lbs pressure for 100 minutes (pints) or 115 minutes (quarts).
- Let jars cool completely before storing.
Notes
- Use only fresh, high-quality salmon.
- Follow proper canning safety guidelines.
- Check jar seals before storage.
- Store in a cool, dark place for up to 1 year.
Nutrition
- Serving Size: 1/2 cup
- Calories: 200
- Sugar: 0g
- Sodium: 300mg
- Fat: 10g
- Saturated Fat: 2g
- Unsaturated Fat: 6g
- Trans Fat: 0g
- Carbohydrates: 0g
- Fiber: 0g
- Protein: 25g
- Cholesterol: 60mg