 Skip to content
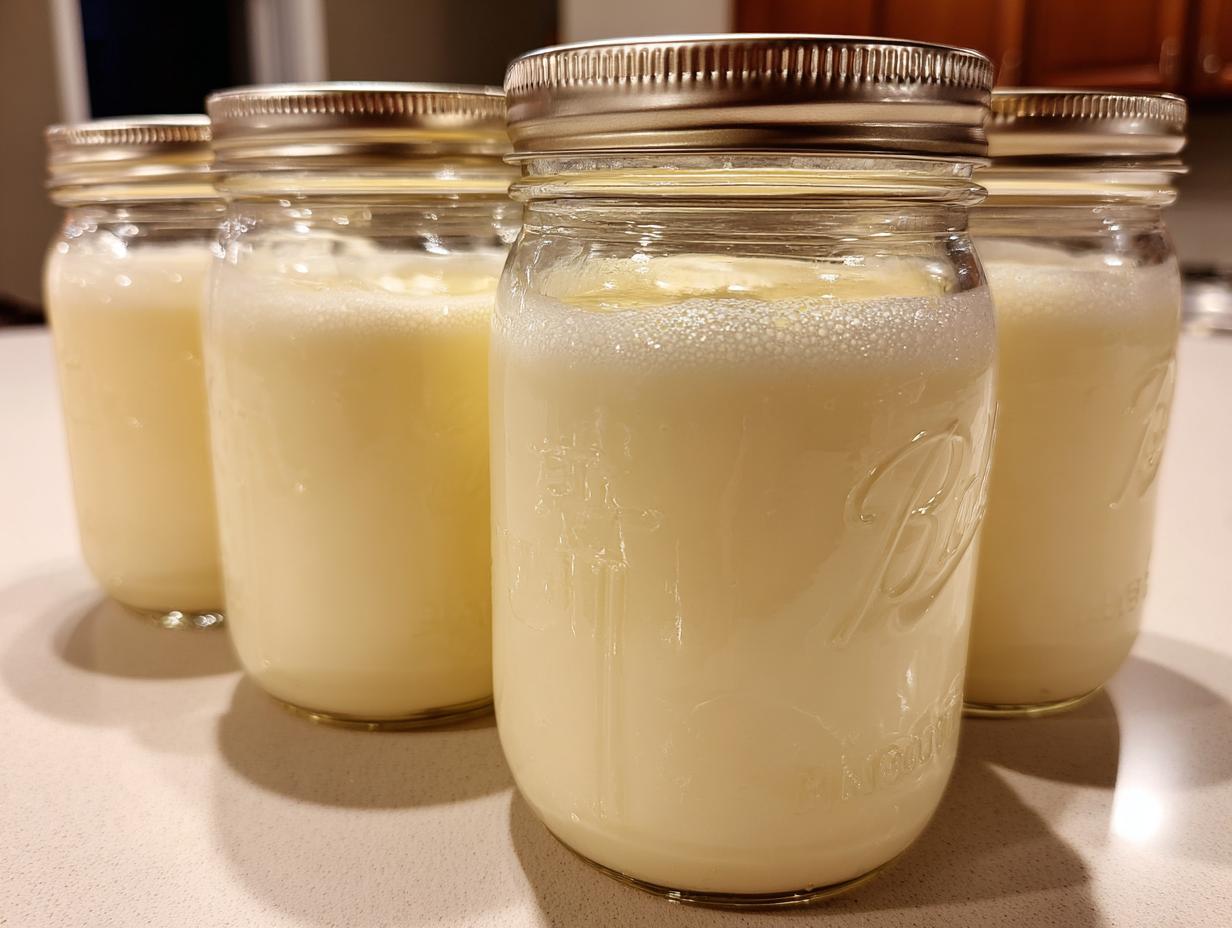
You know that panic when you’re halfway through a recipe and realize you’re out of milk? That’s exactly why I fell in love with canning milk years ago. It’s not just about emergency pancakes—having jars of perfectly preserved milk means never worrying about expiration dates again. I learned this trick from my great-aunt who lived on a dairy farm, where they’d can their summer milk surplus to last through winter. Now I always keep a few jars in my pantry; they’re lifesavers for baking, cooking, or even that midnight cup of cocoa. Canning milk might sound old-fashioned, but trust me—once you try it, you’ll wonder how you ever lived without this simple preservation method.
Why You’ll Love Canning Milk
Once you start canning milk, you’ll never look at dairy the same way again! Here’s why it’s become my go-to kitchen hack:
- Shelf-stable magic: No more spoiled milk—properly canned milk lasts up to a year in your pantry
- Always ready: Grab a jar whenever recipes call for milk—no last-minute store runs
- Budget-friendly: Preserve milk when it’s on sale, or when your cow/goat gives extra
- Rustic charm: There’s something deeply satisfying about seeing those golden jars lined up on your shelf
I especially love reaching for my canned milk during snowstorms—when the roads are bad but my baking cravings aren’t!
Ingredients for Canning Milk
You won’t believe how simple the ingredient list is for canning milk—just three things stand between you and pantry-ready dairy! Here’s exactly what you’ll need:
- 4 cups fresh milk (whole or reduced-fat—just make sure it’s the freshest you can find)
- Canning jars with lids (I prefer pint-sized jars—they’re the perfect amount for most recipes)
- Plenty of water (for both sterilizing and processing—I keep my kettle humming during canning sessions)
That’s it! Though I sometimes add a pinch of salt if I’m planning to use the milk for savory dishes later.
Equipment Needed for Canning Milk
Don’t worry—you probably already have most of what you need! Here’s my trusty canning toolkit:
- Large pot (deep enough to fully submerge jars with 1-2 inches of water above)
- Jar lifter (those rubber-coated tongs saved my fingers countless times!)
- Wide-mouth funnel (makes pouring milk into jars a no-spill breeze)
- Candy thermometer (crucial for hitting that perfect 180°F sweet spot)
Bonus tip: Keep a clean kitchen towel handy for wiping jar rims—it makes all the difference for good seals!
How to Can Milk Step by Step
After years of trial and error (and a few messy kitchen experiments), I’ve perfected my canning milk routine. Follow these steps exactly, and you’ll have shelf-stable dairy that would make my great-aunt proud!
Step 1: Sterilize Jars and Lids
Cleanliness is everything when canning milk! I wash my jars and lids in hot soapy water, then submerge them in boiling water for a full 10 minutes. That bubbling bath kills any bacteria that could spoil your milk later. Keep the jars in hot (but not boiling) water until you’re ready to fill them—cold jars meeting hot milk can lead to cracks, and nobody wants that mess!
Step 2: Heat the Milk
Here’s where my candy thermometer becomes my best friend. Pour your fresh milk into a heavy-bottomed pot and heat it slowly to 180°F (82°C)—that magical temperature where harmful bacteria die but the milk doesn’t boil. Stir constantly with a wooden spoon to prevent scorching on the bottom. You’ll know it’s ready when tiny bubbles form around the edges and that sweet, toasty milk smell fills your kitchen.
Step 3: Fill and Seal Jars
Grab those sterilized jars with your jar lifter and set them on a towel-lined surface. Using your wide-mouth funnel, pour the hot milk into each jar, leaving 1-inch of headspace at the top. Wipe the rims with a clean, damp cloth—this simple step ensures a perfect seal. Screw the lids on finger-tight; don’t over-tighten or the lids might buckle during processing!
Step 4: Process in Water Bath
Lower the filled jars gently into your boiling water bath, making sure they’re fully submerged with 1-2 inches of water above them. Set your timer for 10 minutes—the water should maintain a steady boil the whole time. CAUTION: Always use your jar lifter to handle hot jars, and work slowly to avoid burns or spills!
Step 5: Cool and Store
After processing, transfer your jars to a towel-lined counter where they won’t be disturbed. As they cool over the next 12-24 hours, you’ll hear satisfying “pops” as the lids seal. Test each seal by pressing the center—if it doesn’t flex, you’ve succeeded! Label with the date (I use cute chalkboard stickers), and store your canned milk in a cool, dark place. That first time you crack open a jar months later and smell fresh milk? Pure kitchen magic.

Tips for Successful Canning Milk
After canning more milk than I can count, here are my hard-earned secrets for perfect results every time:
- Start with the freshest milk possible—I always can mine within 48 hours of purchase for best flavor
- Watch that headspace! Too little and your jars might burst; too much and they won’t seal properly
- Store like a pro—keep your canned milk in a dark cupboard away from heat sources (my basement pantry works wonders)
- Label religiously with dates—even though it lasts a year, I use older jars first
Bonus tip: If a jar doesn’t seal, just refrigerate and use that milk within a week—no waste!
Storing and Using Canned Milk
Properly sealed jars of canned milk will stay fresh in your pantry for up to a year—just store them in a cool, dark place away from direct sunlight. I keep mine in the back of my kitchen cupboard where it stays consistently cool. The beauty of canned milk? It works exactly like fresh milk once opened! I use it for everything from morning coffee (shake the jar first!) to creamy soups, baking disasters averted, and even homemade yogurt. Just remember to refrigerate after opening and use within a week.
Canning Milk FAQs
Over the years, I’ve gotten the same great questions about preserving milk—here are the answers that’ll help you can with confidence!
Can I use ultra-pasteurized milk for canning?
Oh honey, I made this mistake once—ultra-pasteurized milk just doesn’t behave the same! Fresh, regular pasteurized milk works best for canning because it hasn’t had its proteins altered by ultra-high heat. That farm-fresh gallon from the local dairy? Perfect. The shelf-stable carton? Save it for your coffee.
How long does canned milk last?
Properly processed jars will stay good in your pantry for a full year—I mark mine with bold dates so I remember to use the oldest first. After opening, treat it like fresh milk and use within 5-7 days (if it lasts that long in your fridge!).
Is canned milk safe for drinking?
Absolutely! As long as you followed the processing steps correctly and the seal stayed intact, it’s just as safe as fresh milk. My kids actually prefer the slightly caramelized flavor in their cereal. Just give the jar a good shake before pouring—sometimes the cream separates a bit during storage.
Why did my canned milk turn yellow?
Don’t panic—that gorgeous golden color is totally normal! The heat processing causes a slight Maillard reaction (that’s just fancy talk for browning). It doesn’t affect safety or taste one bit. My grandma called it “sunshine milk” and swore it made better biscuits!
Nutritional Information for Canned Milk
Here’s the scoop on what’s in that creamy goodness! Canned milk keeps nearly all the nutrition of fresh milk—though exact numbers vary slightly depending on whether you used whole or reduced-fat. Per cup, expect about:
- 150 calories (for whole milk varieties)
- 8g protein (perfect for post-workout shakes!)
- All the original calcium and vitamin D (the heat processing doesn’t zap the good stuff)
Note: Skim milk versions will have fewer calories and fat, but that rich canned milk flavor? That stays magical either way!
Share Your Canning Milk Experience
I’d love to hear about your canning adventures! Did your jars seal perfectly? Found a genius way to use your preserved milk? Drop me a comment below—let’s swap stories and tips! You can also find more canning inspiration on Pinterest.
PrintThe Essential Guide to Canning Milk for 1-Year Freshness

Learn how to can milk for long-term storage.
- Prep Time: 15 minutes
- Cook Time: 10 minutes
- Total Time: 25 minutes
- Yield: 4 cups 1x
- Category: Preserving
- Method: Boiling Water Bath
- Cuisine: General
- Diet: Low Lactose
Ingredients
- 4 cups fresh milk
- Canning jars with lids
- Water for boiling
Instructions
- Sterilize canning jars and lids in boiling water.
- Heat milk to 180°F (82°C) without boiling.
- Pour hot milk into sterilized jars, leaving 1-inch headspace.
- Seal jars tightly with lids.
- Process jars in a boiling water bath for 10 minutes.
- Remove jars and let them cool.
- Check seals before storing.
Notes
- Use only fresh, high-quality milk.
- Store canned milk in a cool, dark place.
- Consume within 1 year for best quality.
Nutrition
- Serving Size: 1 cup
- Calories: 150
- Sugar: 12g
- Sodium: 120mg
- Fat: 8g
- Saturated Fat: 5g
- Unsaturated Fat: 2g
- Trans Fat: 0g
- Carbohydrates: 12g
- Fiber: 0g
- Protein: 8g
- Cholesterol: 24mg