
No heading needs to be written for the introduction.
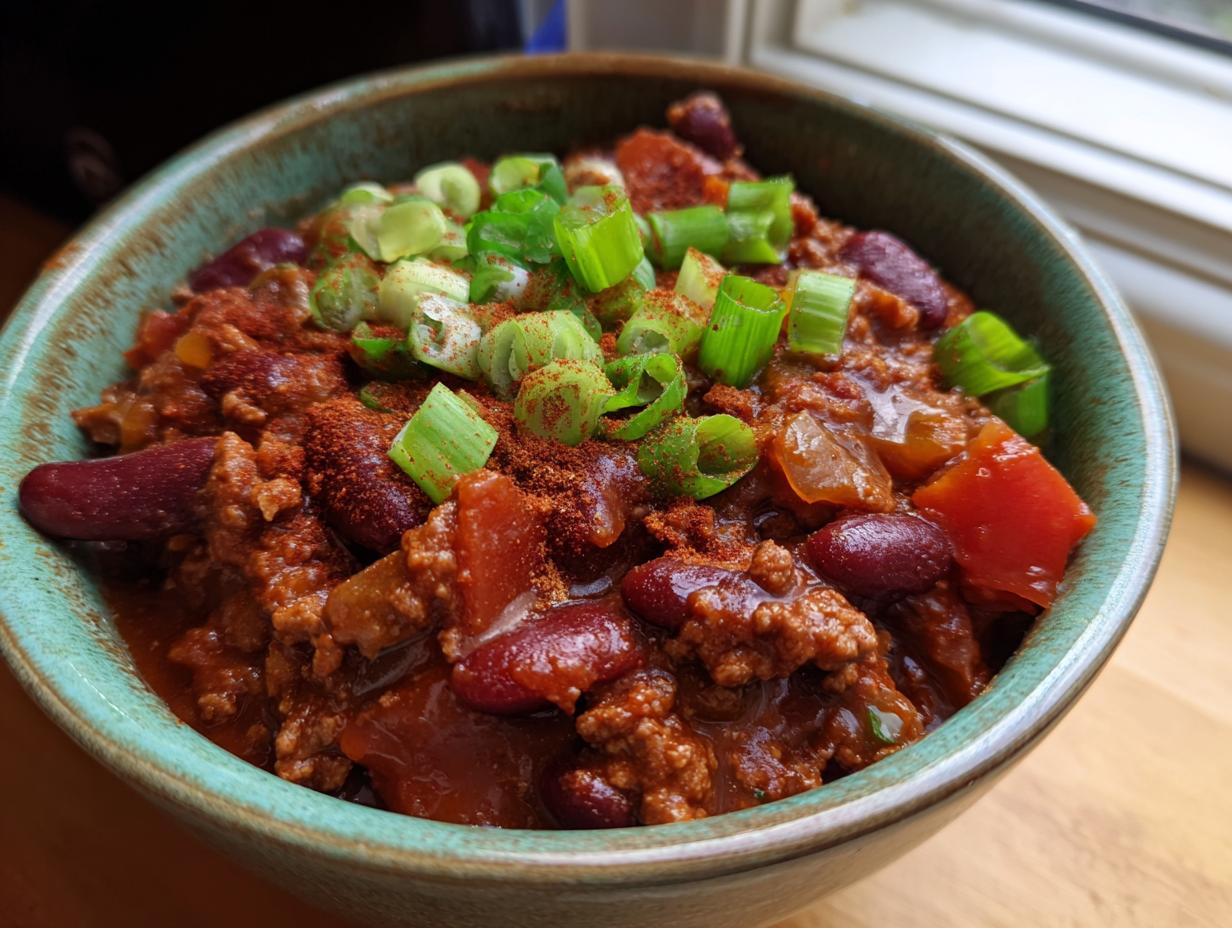
Let me tell you about the time I accidentally made enough chili con carne to feed a small army—and how canning saved the day! I was experimenting with spices one weekend, got carried away (as usual), and suddenly had gallons of this rich, spicy goodness bubbling away. Instead of freezing it all, I grabbed my canning jars and preserved batch after batch. Now, whenever a busy weeknight hits or unexpected guests drop by, I just pop open a jar of homemade chili con carne and dinner’s ready in minutes.
Canning this hearty dish is easier than you’d think, and oh-so rewarding. That deep, slow-cooked flavor gets locked in perfectly—like capturing lightning in a jar (but tastier!). Whether you’re stocking your pantry for winter or just want ready-to-eat meals at your fingertips, this chili con carne recipe is about to become your new best friend.

Why You’ll Love Canning Chili Con Carne
Let me count the ways this spicy, meaty goodness will change your kitchen game forever:
- Emergency meals sorted – When you’re too tired to cook, grab a jar and dinner’s ready in 5 minutes flat
- Flavor that gets better – Those spices mingle and deepen while sealed away like a delicious time capsule
- No freezer burn worries – Unlike frozen meals, canned chili keeps its perfect texture for a whole year
- Gift goldmine – Friends go crazy when I hand them homemade jars (way better than store-bought!)
Honestly? The first time you hear that satisfying “pop” of a perfect seal, you’ll be hooked. It’s like putting summer tomatoes up—but with way more kick!
Ingredients for Canning Chili Con Carne
Okay, let’s talk ingredients – and I mean the good stuff that makes this chili con carne worth preserving. After years of trial and error (and a few epic fails), I’ve nailed down exactly what works for safe, flavorful canning:
- 1 lb ground beef (80% lean) – That 20% fat is crucial for flavor and texture, trust me!
- 1 large onion, chopped (about 2 cups) – I prefer yellow onions for their sweetness
- 2 cloves garlic, minced – Fresh is best, no powder substitutes here
- 1 can (15 oz) kidney beans, drained – Must be drained or your jars won’t seal properly
- 1 can (15 oz) diced tomatoes – With juices! That liquid gold helps the canning process
- 1 can (6 oz) tomato paste – Our flavor concentrator
- 2 tbsp chili powder – The backbone of our spice profile
- 1 tsp cumin – Non-negotiable earthy warmth
- 1 tsp salt – Adjust after canning if needed
- 1/2 tsp black pepper – Freshly cracked if you’re fancy
- 1 cup water – For that perfect saucy consistency
Quick safety note: Don’t swap fresh tomatoes for canned or reduce the acid ingredients – canning requires precise acidity for food safety. Everything else? Well, that’s where your personal chili magic comes in!
Equipment Needed for Canning Chili Con Carne
Before we dive in, let’s talk tools! Canning chili con carne isn’t complicated, but you do need the right gear to keep things safe and easy. Here’s what’s sitting on my counter every time I preserve a batch:
- Large, heavy pot – For cooking your chili (I use my trusty 8-quart Dutch oven)
- Pressure canner – Regular pots won’t cut it – you need that high heat for safe preservation
- Canning jars with new lids – Pint jars work perfectly for single servings
- Jar lifter – Unless you enjoy playing “hot potato” with scalding jars!
- Headspace tool – That little plastic ruler prevents messy overflows
- Bubble remover – A chopstick works in a pinch
Pro tip: Keep everything sparkling clean – I run my jars through the dishwasher right before filling for extra peace of mind!
How to Make Chili Con Carne for Canning
Alright, let’s get down to business! Making chili con carne for canning is like conducting a delicious symphony – each step builds on the last to create something amazing. Follow along closely, and you’ll be rewarded with jars of spicy perfection that’ll make your future self do a happy dance.
Browning the Meat and Vegetables
First things first – grab that heavy pot and crank the heat to medium. Toss in your ground beef and break it up with a wooden spoon (metal can scrape your pot). Here’s my golden rule: don’t overcrowd! If you’re doubling the recipe, cook in batches. We want that beautiful caramelization, not gray meat swimming in juices.
When the beef’s halfway done (about 3 minutes), add your chopped onions and garlic. Now the magic happens – that sizzle releases their sweetness and fills your kitchen with the best aroma. Cook until the onions turn translucent, stirring occasionally. This step builds the flavor foundation, so don’t rush it!
Simmering the Chili
Time to bring the party together! Dump in those drained kidney beans, diced tomatoes (with their juices!), tomato paste, water, and all your spices. Give everything a good stir – I like to pretend I’m stirring a cauldron of magic potion.
Reduce the heat to low and let it bubble gently for 30 minutes. Stir every 5-10 minutes to prevent sticking (trust me, burnt chili is tragic). This is when flavors marry beautifully. Taste and adjust spices now – remember, flavors intensify during canning, so go slightly milder than you think.
Canning the Chili Con Carne
While the chili simmers, prep your jars. Sterilize them in boiling water or run through a dishwasher cycle. Keep everything hot – cold jars meeting hot chili equals broken hearts (and glass).
Fill each jar, leaving 1-inch headspace – that’s about the width of your thumb from the rim. Run your bubble remover around the edges to release trapped air. Wipe the rims spotless (any residue prevents sealing), then cap with sterilized lids.
Process in your pressure canner at 10 lbs pressure for 75 minutes (adjust for altitude if needed). When time’s up, turn off heat and let pressure drop naturally. Those satisfying “pops” mean you’ve just created pantry gold!
Tips for Perfect Canned Chili Con Carne
After canning more batches than I can count, here are my hard-won secrets for chili con carne that’ll make your jars the envy of the pantry:
- Test your spice mix first – Cook a small stovetop batch before committing gallons to jars (I learned this after one painfully spicy “oops”)
- The finger tap test – After cooling, press lids – if they flex, refrigerate immediately
- Label with love – Include batch date and spice level (you will forget by month three)
- Altitude adjustments matter – Add 1 lb pressure for every 2,000 ft above sea level
- Wait two weeks – Flavors develop beautifully – resist opening that first jar!
Remember: if a seal fails or something smells off, toss it. Safety first with home canning!
Serving Suggestions for Canned Chili Con Carne
Oh, the possibilities when you pop open a jar of this chili con carne! My favorite way? Dump it over a pile of crispy tortilla chips with all the fixings – sour cream, shredded cheese, maybe some jalapeños if I’m feeling brave. But that’s just the start!
- Cornbread buddies – Nothing beats chili with a hunk of sweet, buttery cornbread for dipping
- Rice bowl magic – Spoon it over fluffy white rice for an instant Tex-Mex feast
- Baked potato topper – Turns sad potatoes into loaded flavor bombs
- Omelette surprise – My secret breakfast trick (add some right before folding)
Seriously, this stuff is like the Swiss Army knife of meals – ready to rescue any hungry moment! For more recipe inspiration, check out our Pinterest boards.
Storing and Reheating Canned Chili Con Carne
Here’s the beautiful part – all that hard work pays off big time when you’ve got jars of chili con carne ready whenever hunger strikes! Store your sealed jars in a cool, dark place (my pantry shelf works perfectly) and they’ll stay fresh for up to a year. Just check for any bulging lids or funky smells before opening – that’s your safety checkpoint.
When it’s time to eat, I always go for stovetop reheating – just dump the chili into a saucepan over medium heat and stir occasionally until piping hot. Microwave works in a pinch (use a microwave-safe bowl!), but the stovetop keeps that thick, rich texture perfect. Add a splash of water if it seems too thick after storage – those flavors will still be incredible!
Nutritional Information for Canning Chili Con Carne
Alright, let’s talk numbers – but remember these are just estimates (your mileage may vary depending on ingredients and brands). Per 1-cup serving, this chili con carne packs about 320 calories with 22g protein to keep you full. You’re looking at 30g carbs (8g fiber!), 12g fat, and that perfect spicy kick. Sodium lands around 800mg – easy to adjust if you’re watching salt. Pro tip: Those kidney beans add a hefty 8g of fiber per serving – gut-friendly and delicious!
FAQs About Canning Chili Con Carne
Over the years, I’ve fielded every chili con carne question imaginable from friends and family (usually while handing them jars!). Here are the ones that come up most often:
Can I use ground turkey instead of beef?
You bet! Just be sure to use at least 85% lean turkey – anything leaner dries out during canning. The flavor’s different but still delicious. I’ve even used venison when my hunting buddies share their bounty!
How long does canned chili last?
Properly sealed jars keep for 12 months in a cool, dark place. After opening, refrigerate and eat within 4 days. (Though in my house, it never lasts that long!)
Why can’t I just water bath can this chili?
Meat and low-acid foods must be pressure canned – water bathing won’t reach the high temps needed to kill dangerous bacteria. Don’t risk it!
Can I add extra veggies like bell peppers?
Absolutely! Just keep them finely chopped (no big chunks) and limit to 1 cup max per batch to maintain proper acidity for safe canning.
Canning Chili Con Carne: Preserve 12 Perfect Jars Effortlessly

A hearty and flavorful chili con carne recipe perfect for canning. Enjoy this spicy dish anytime by preserving it for future meals.
- Prep Time: 15 minutes
- Cook Time: 45 minutes
- Total Time: 60 minutes
- Yield: 4 pints 1x
- Category: Main Dish
- Method: Canning
- Cuisine: Mexican-American
- Diet: Low Lactose
Ingredients
- 1 lb ground beef
- 1 large onion, chopped
- 2 cloves garlic, minced
- 1 can (15 oz) kidney beans, drained
- 1 can (15 oz) diced tomatoes
- 1 can (6 oz) tomato paste
- 2 tbsp chili powder
- 1 tsp cumin
- 1 tsp salt
- 1/2 tsp black pepper
- 1 cup water
Instructions
- Brown the ground beef in a large pot over medium heat.
- Add chopped onion and minced garlic. Cook until softened.
- Stir in kidney beans, diced tomatoes, tomato paste, and water.
- Add chili powder, cumin, salt, and black pepper. Mix well.
- Simmer for 30 minutes, stirring occasionally.
- Prepare canning jars by sterilizing them.
- Fill jars with hot chili, leaving 1-inch headspace.
- Process in a pressure canner for 75 minutes at 10 lbs pressure.
Notes
- Adjust spice levels to your preference.
- Use fresh ingredients for best flavor.
- Store canned chili in a cool, dark place.
Nutrition
- Serving Size: 1 cup
- Calories: 320
- Sugar: 6g
- Sodium: 800mg
- Fat: 12g
- Saturated Fat: 4g
- Unsaturated Fat: 6g
- Trans Fat: 0g
- Carbohydrates: 30g
- Fiber: 8g
- Protein: 22g
- Cholesterol: 50mg