
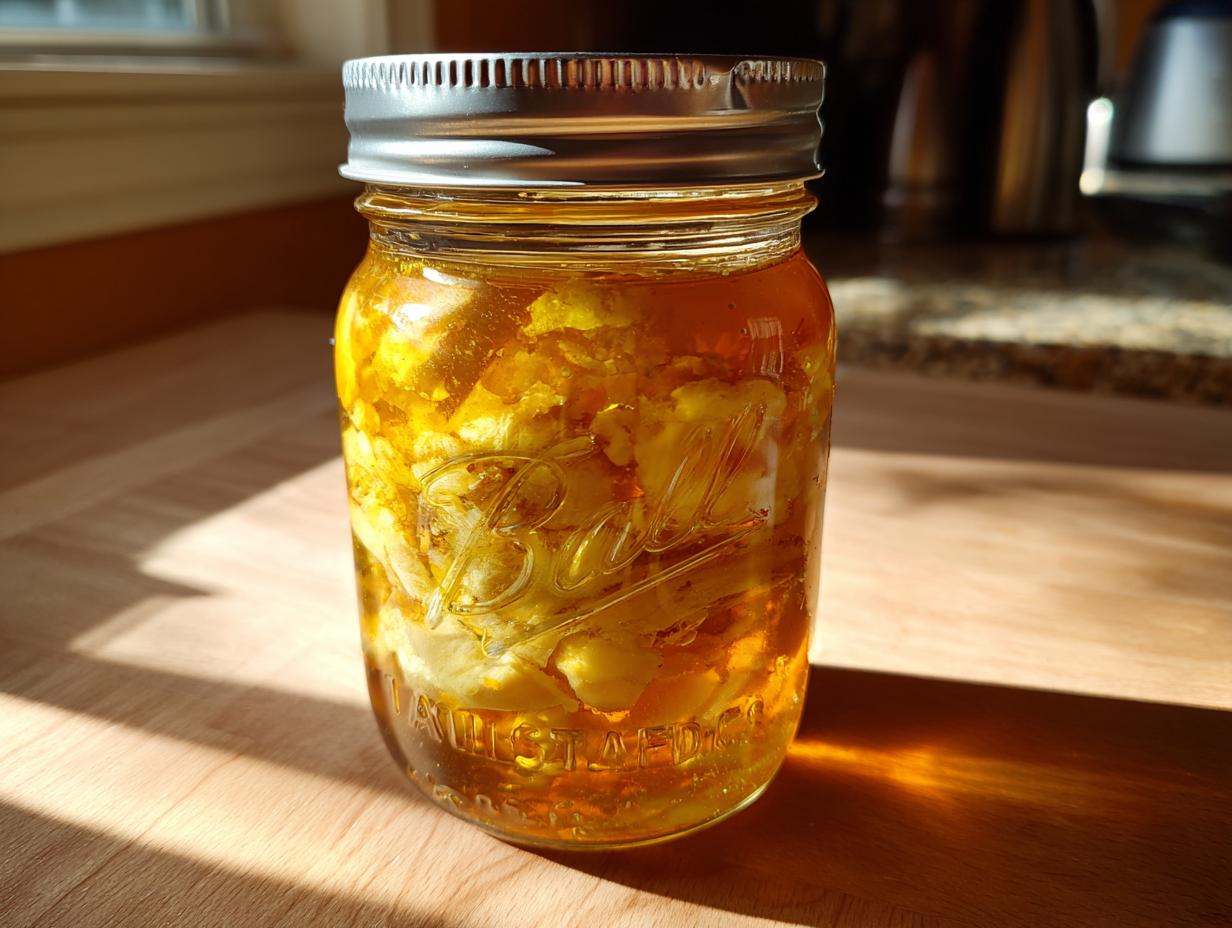
There’s something so satisfying about opening a jar of home-canned chicken months later and knowing you’ve got a delicious, ready-to-use protein at your fingertips. I remember the first time I tried canning chicken—I was nervous about doing it safely, but once I got the hang of it, wow! Now my pantry always has a few jars waiting for busy nights or unexpected guests. Canning chicken the right way means you lock in that fresh flavor while ensuring it’s shelf-stable for years. Just imagine pulling out perfectly preserved chicken for quick soups, tacos, or casseroles anytime. But here’s the key: safety comes first. Follow proper methods, and you’ll be amazed at how this simple skill transforms your meal prep game.
Why You’ll Love Canning Chicken
Trust me, once you start canning chicken, you’ll wonder how you ever lived without it! Here’s why it’s become my kitchen secret weapon:
- Year-round convenience: Busy night? Grab a jar instead of thawing meat – it’s already cooked and ready to use
- Amazing flavor: Somehow the canning process makes the chicken taste richer, almost like it’s been slow-cooked for hours
- Pantry power: Properly canned chicken stays good for years – no freezer burn worries like with frozen meat
- Emergency ready: When storms hit or the power goes out, those jars become pure gold in your pantry
My favorite part? Opening a jar mid-winter to make chicken noodle soup that tastes like I just cooked a fresh bird.
Ingredients for Canning Chicken
Here’s what you’ll need for perfect canned chicken every time – I’ve learned through trial and error that quality ingredients make all the difference:
- Fresh chicken: 2-3 pounds per batch (I prefer bone-in thighs for flavor, but boneless breasts work too)
- Salt: Just 1 teaspoon per quart jar (optional, but it really enhances the flavor)
- Liquid: Boiling water or homemade chicken broth (trust me, broth makes it taste incredible)
- Acidifier: A splash of lemon juice or vinegar if you’re below 1,000 feet elevation
That’s it! Simple ingredients, amazing results. Just make sure everything’s fresh – this isn’t the time to use chicken that’s been sitting in your fridge for days.
Equipment Needed for Canning Chicken
Listen, you can’t just wing it with canning chicken – you need the right tools to keep things safe and easy. Here’s what I always have ready before starting:
- Pressure canner: Not a water bath canner – this is non-negotiable for meat (my trusty Presto gets used weekly)
- Glass jars: Quart or pint mason jars with no chips or cracks (I hoard these like gold)
- New lids & rings: Never reuse lids – the seals won’t hold properly
- Jar lifter & funnel: Saves your hands from burns and keeps rims clean
Bonus tip? Keep a magnetic lid wand handy – it’s a game changer for fishing hot lids out of boiling water!
How to Can Chicken Step by Step
Okay, let’s get to the good stuff! I’ll walk you through my foolproof method for canning chicken – the same steps my grandma taught me when I was learning. Just take it slow, follow each step carefully, and you’ll end up with perfect jars every time.
Preparing the Chicken and Jars
First things first – cleanliness is everything! I always start by washing my hands like I’m prepping for surgery. Then:
- Give your chicken a quick rinse (don’t soak it – that spreads bacteria)
- Trim off any weird bits or excess fat (fat can go rancid during storage)
- Cut into chunks if you want, but I often leave pieces whole for versatility
- Meanwhile, get those jars squeaky clean – I run them through the dishwasher’s sanitize cycle or boil them for 10 minutes
Here’s my golden rule: leave exactly 1-inch headspace in each jar. Any more and you risk seal failure; any less and contents might bubble out during processing.
Packing and Processing the Jars
Now the fun part! I pack the chicken in snugly but not crammed – think “cozy” not “stuffed.” Then:
- Add salt if using (it really does make a difference in flavor)
- Pour boiling water or broth over the chicken, keeping that precious 1-inch space
- Run a chopstick around the inside to release air bubbles – you’ll see them rise to the surface
- Wipe the rims spotless with a vinegar-dampened cloth (any grease means no seal)
- Secure lids fingertip-tight – not Hercules-tight!
Processing times vary by altitude – at my place (under 1,000 ft), I do 75 minutes at 10 psi for pints, 90 minutes for quarts. Your manual will have exact times for your elevation.
Cooling and Storing Canned Chicken
When the timer dings, turn off the heat but don’t open the canner yet! Let the pressure drop naturally – rushing this can cause siphoning (when liquid gets sucked out). Once it’s safe:
- Remove jars carefully with your lifter – they’ll be HOT
- Set them on a towel-lined counter to cool undisturbed for 12-24 hours
- Test seals by pressing the center – if it pops, refrigerate and use soon
- Label with date and contents (trust me, you’ll forget otherwise)
- Store in a cool, dark place – my basement pantry stays perfect year-round
Hearing those lids “ping” as they seal never gets old – it’s like the sound of future meal prep success!
Safety Tips for Canning Chicken
Listen up – canning chicken isn’t the place for shortcuts or creativity! I learned the hard way that following USDA guidelines keeps everyone safe. Here’s what matters most:
- Always use a pressure canner – water bath canning will not reach the temperatures needed to kill bacteria
- Check your altitude and adjust pressure accordingly (I keep a post-it with my local specs right on the canner)
- Never alter recipes – no extra veggies, rice, or random seasonings in the jars
- When in doubt, throw it out – bulging lids or odd smells mean instant disposal
Trust me, one afternoon of careful canning gives you years of safe, delicious chicken at your fingertips!
Common Questions About Canning Chicken
I get asked about canning chicken all the time – here are the questions that pop up most often in my kitchen and from readers:
How long does home-canned chicken last?
Properly canned chicken stays good for at least 1-2 years, though mine never lasts that long! The USDA says up to 5 years if stored in cool, dark conditions. Just check for seal integrity before using.
Can I use frozen chicken for canning?
Technically yes, but I always thaw completely first. Trying to pack partially frozen chicken leads to uneven processing and potential safety issues. Fresh is truly best for quality.
Why did my jars lose liquid during processing?
Don’t panic! Some siphoning happens – usually from rapid pressure changes or overpacking. As long as the seal formed, it’s still safe. Just use those jars first.
Can I add spices or vegetables to the jars?
Nope! Stick to plain chicken, salt, and liquid. Adding anything else changes the density and processing requirements. Season when you cook with it later.
What if a jar doesn’t seal?
No worries – just refrigerate and use within 3-4 days. Or you can reprocess with a new lid within 24 hours.
Serving Suggestions for Canned Chicken
Oh, the possibilities! My canned chicken becomes the star of so many quick meals. Toss it into simmering broth with noodles for instant chicken soup, or mix with mayo and celery for killer sandwiches. My family goes wild when I use it in creamy casseroles or crispy chicken tacos – the meat’s already perfectly tender! For busy nights, I’ll just heat a jar with barbecue sauce for pulled chicken sliders. The best part? No thawing or extra cooking needed – just open and enjoy!
Nutritional Information for Canned Chicken
Now, I’m no nutritionist, but here’s what I’ve noticed about my home-canned chicken: it keeps all the good protein punch of fresh chicken while staying naturally low in carbs. Of course, exact numbers depend on your chicken’s cut and whether you use broth or water – but that’s why I love controlling the ingredients myself!
Share Your Canning Chicken Experience
I’d love to hear about your canning adventures! Did your jars seal perfectly? What creative dishes did you make? Drop me a note below!
Print3 Simple Steps for Safely Canning Chicken Perfectly
Learn how to safely can chicken at home for long-term storage. This method preserves the chicken’s flavor and ensures food safety.
- Prep Time: 30 minutes
- Cook Time: 75 minutes
- Total Time: 105 minutes
- Yield: 4 quarts 1x
- Category: Preserving
- Method: Pressure Canning
- Cuisine: American
- Diet: Low Fat
Ingredients
- 2–3 pounds of fresh chicken (boneless or bone-in)
- 1 teaspoon salt per quart (optional)
- Water or chicken broth (as needed)
- Lemon juice or vinegar (for acidifying, if required)
Instructions
- Prepare your jars and lids by washing and sterilizing them.
- Cut the chicken into pieces if necessary and remove excess fat.
- Pack the chicken tightly into jars, leaving 1-inch headspace.
- Add salt (optional) and fill with boiling water or broth, maintaining headspace.
- Remove air bubbles, wipe jar rims, and secure lids.
- Process in a pressure canner at the recommended pressure for your altitude.
- Allow jars to cool, check seals, and store in a cool, dark place.
Notes
- Use only fresh, high-quality chicken for canning.
- Follow USDA guidelines for safe canning practices.
- Label jars with the date for reference.
Nutrition
- Serving Size: 1/2 cup
- Calories: 120
- Sugar: 0g
- Sodium: 300mg
- Fat: 3g
- Saturated Fat: 1g
- Unsaturated Fat: 2g
- Trans Fat: 0g
- Carbohydrates: 0g
- Fiber: 0g
- Protein: 22g
- Cholesterol: 60mg