
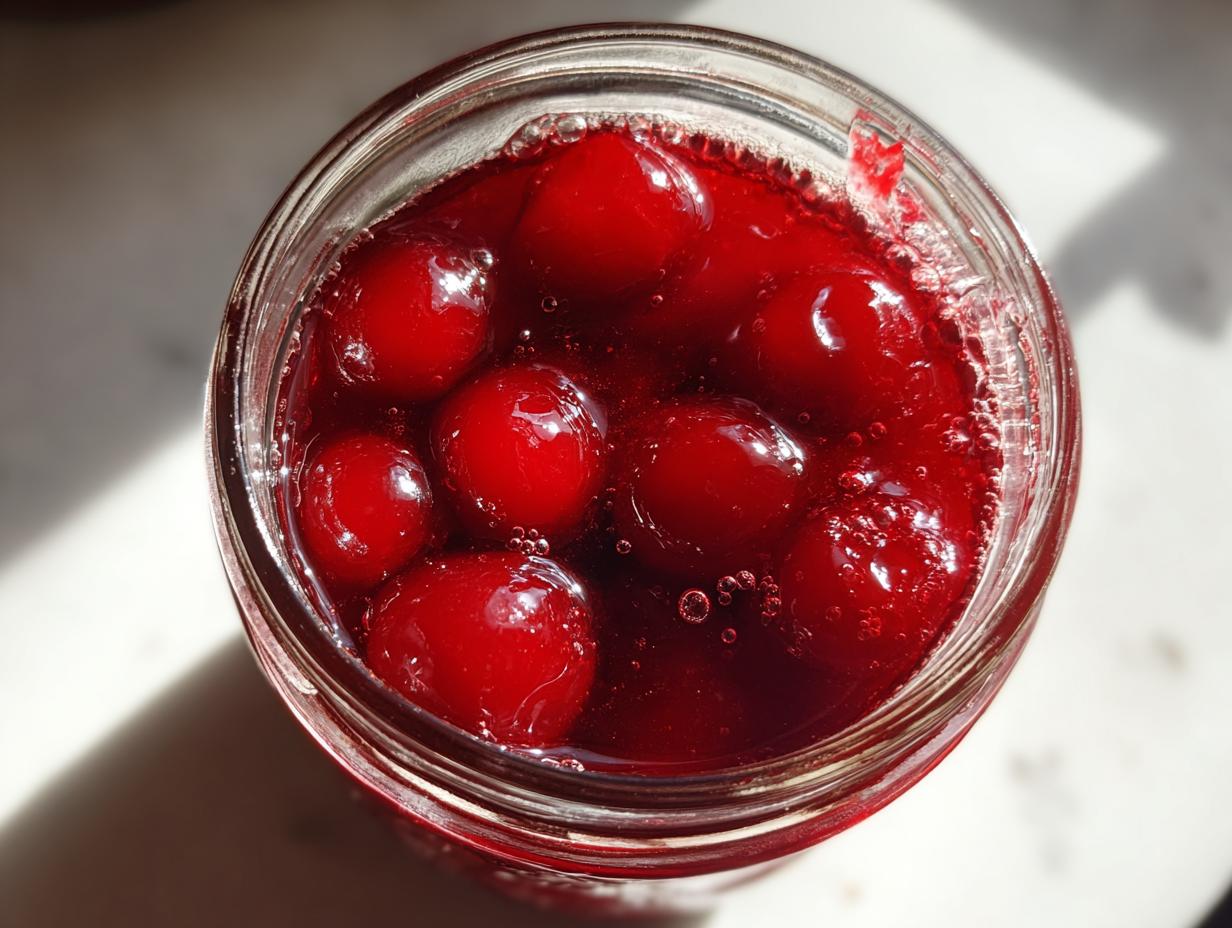
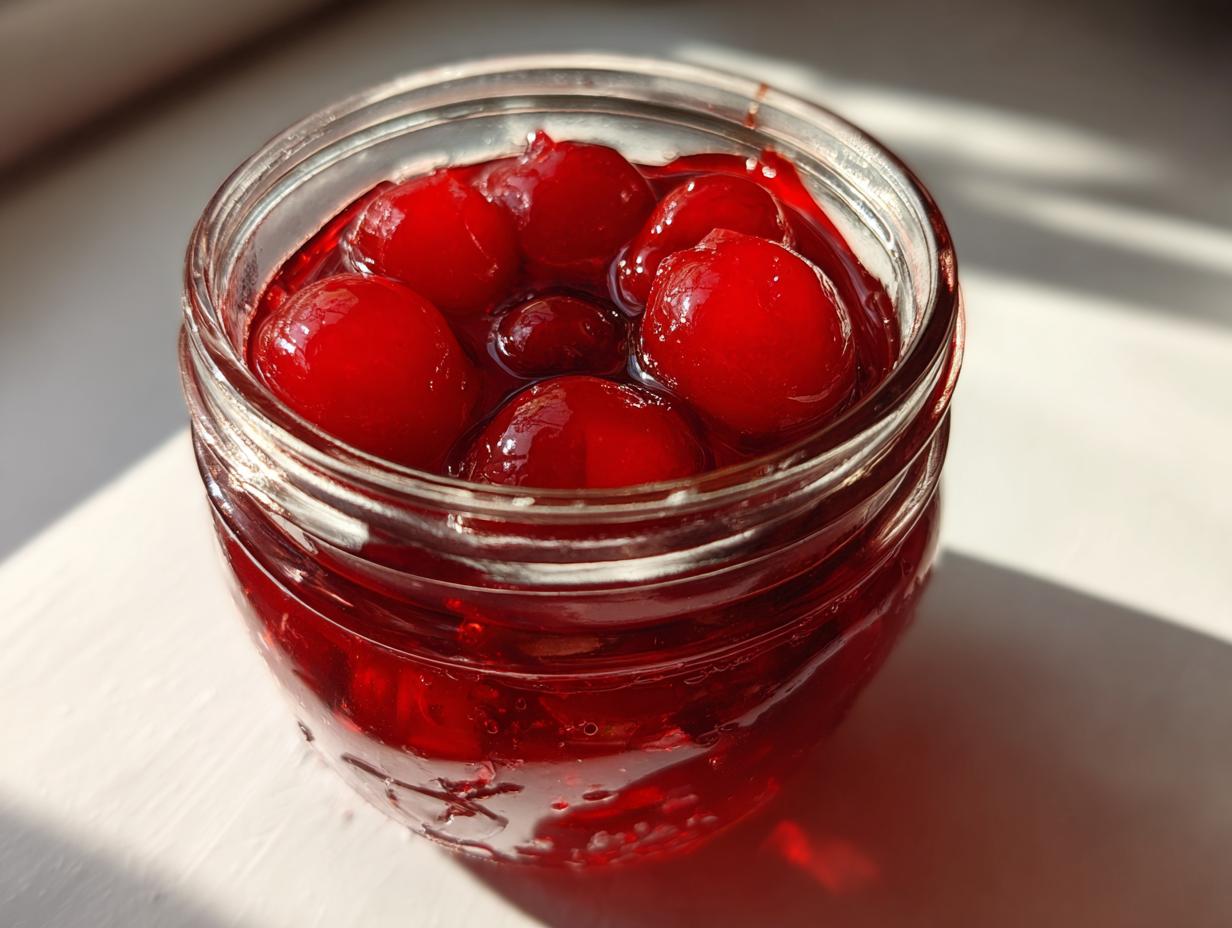
There’s nothing quite like cracking open a jar of homemade cherry pie filling in the dead of winter and getting hit with that sweet, summery burst of flavor. I’m telling you, canning cherry pie filling is one of those kitchen magic tricks that feels way fancier than it actually is—just a handful of simple ingredients and a little patience, and you’ve got yourself jars of ruby-red goodness ready to turn into pies, tarts, or even spooned over ice cream. My grandmother used to stockpile these every July when the cherries were at their peak, and now I do the same. Trust me, once you taste the difference between store-bought and your own canned filling, you’ll never go back. It’s like capturing sunshine in a jar!
Why You’ll Love This Canning Cherry Pie Filling Recipe
Oh, where do I even start? This recipe is my go-to for so many reasons:
- It’s crazy easy – No fancy skills needed, just simple ingredients and basic canning know-how
- Summer in a jar – Preserve that perfect cherry flavor when they’re at their peak
- Breakfast, dessert, midnight snack… – Pies, tarts, pancakes, yogurt topping – you name it!
- Better than store-bought – No weird additives, just pure cherry goodness with the perfect thick, glossy texture
- Gift goldmine – Jars of this stuff make the most thoughtful homemade presents
Seriously, once you try it, you’ll wonder why you ever bought the canned stuff. The flavor difference is night and day!
Ingredients for Canning Cherry Pie Filling
Here’s all you need to make magic happen – simple ingredients that turn into something spectacular:
- 6 cups pitted cherries – Fresh or frozen (thawed) work great, but make sure they’re pitted
- 1 cup granulated sugar – Adjust up or down by ¼ cup depending on your cherries’ sweetness
- ¼ cup cornstarch – The secret to that perfect pie-filling thickness
- ½ cup water – Just enough to get everything moving in the pot
- 1 tbsp lemon juice – Brightens up all that cherry goodness
- ½ tsp almond extract – My grandma’s secret weapon – it makes the cherry flavor pop!
See? Nothing fancy – just good, honest ingredients that let those cherries shine. Now let’s get cooking!
Equipment Needed for Canning Cherry Pie Filling
Don’t worry – you don’t need a fancy setup for this! Here’s my trusty canning toolkit that never lets me down:
- Large, heavy-bottomed pot – For cooking that luscious cherry filling without scorching
- Canning jars with lids & rings – Pint or half-pint jars work perfectly
- Water bath canner – Or any deep pot with a rack will do in a pinch
- Jar lifter & funnel – My two must-have tools for no-mess filling
- Ladle & wooden spoon – For stirring and spooning that gorgeous red goodness
- Clean kitchen towels – Because cherry juice stains are no joke!
That’s it! With this simple setup, you’ll be canning like a pro in no time.
How to Make Canning Cherry Pie Filling
Alright, let’s dive into the good stuff! Making cherry pie filling is easier than you think, but there are a few key steps that make all the difference. Follow along and you’ll have jars of ruby-red perfection in no time.
Preparing the Cherries
First things first – those beautiful cherries need some TLC. Give them a good rinse under cool water (I like to do this in a colander). Now comes the fun part – pitting! You can use a cherry pitter if you’ve got one, but honestly, I usually just use a chopstick or straw to push the pits out. Works like a charm! Measure out your 6 cups of pitted cherries – packed but not smashed. Frozen cherries? No problem! Just thaw them first and drain any excess liquid.
Cooking the Filling
Here’s where the magic happens! In your big pot, whisk together the sugar and cornstarch until they’re best friends. Slowly stir in the water and lemon juice – you want it smooth with no lumps. Turn the heat to medium and keep stirring until it thickens up nicely (about 5-7 minutes). It should coat the back of your spoon. Now gently fold in those gorgeous cherries and almond extract. Let it simmer for about 5 minutes – you’ll see it transform into that classic glossy pie filling texture we all love.
Canning the Cherry Pie Filling
While your filling simmers, get your jars ready. Sterilize them in boiling water or run them through a hot dishwasher cycle. Ladle the hot filling into warm jars, leaving ½-inch headspace (that’s about the width of your pinky finger). Wipe the rims clean – any sticky spots can prevent sealing. Screw on the lids fingertip-tight and process in a boiling water bath for 25 minutes. Listen for those satisfying “pings” as they cool – music to a canner’s ears!
Tips for Perfect Canning Cherry Pie Filling
After years of canning cherries (and learning from my fair share of oops moments), here are my golden rules:
- Taste as you go – Cherries vary in sweetness! Add sugar gradually until it’s just right for you.
- Don’t overcook – The filling thickens more as it cools. Pull it off the heat when it coats a spoon nicely.
- Check your seals – After processing, press the center of each lid. If it pops, it didn’t seal – refrigerate that jar instead.
- Prevent fruit float – Let the filled jars sit undisturbed for 12 hours before moving them to help cherries stay suspended.
- Label everything – Trust me, future you will thank past you for dating those jars!
Follow these tips and you’ll have perfect cherry pie filling every single time.
Serving Suggestions for Canning Cherry Pie Filling
Oh honey, this stuff isn’t just for pies (though it makes an amazing pie)! Here’s how I use my jars all year:
- Classic cherry pie with a flaky butter crust
- Swirled into cheesecake or spooned over ice cream
- Thumbprint cookies with a cherry center
- Breakfast dutch baby or pancake topping
- Layered in parfaits with whipped cream
Pro tip: Warm it slightly before serving – it’s like instant dessert magic!
Storing and Reheating Canning Cherry Pie Filling
Properly sealed jars will keep for a full year in a cool, dark place (my basement shelves are perfect). Once opened, refrigerate and use within 2 weeks. To reheat, simply scoop what you need into a saucepan with a splash of water and warm gently over low heat, stirring occasionally. Easy peasy!
Nutritional Information for Canning Cherry Pie Filling
Here’s the scoop on what’s in that delicious cherry goodness (per ½ cup serving):
- 120 calories – A sweet treat that won’t wreck your day
- 25g sugar – Naturally sweet from the cherries with a little boost
- 30g carbs – Perfect for that occasional indulgence
- 2g fiber – Thanks to all those whole cherries!
Remember – these numbers can vary based on your cherry sweetness and sugar adjustments. But hey, it’s homemade – that means it’s automatically better for you than store-bought, right?
Frequently Asked Questions About Canning Cherry Pie Filling
Over the years, I’ve gotten so many great questions about this recipe – here are the ones that pop up most often:
Can I use frozen cherries straight from the freezer?
Absolutely! Just thaw them first and drain off any extra juice. You don’t want that extra liquid watering down your perfect filling.
What if I don’t have almond extract?
No worries! Vanilla works fine, though it won’t have that same “bakeshop” flavor. A tiny drop of almond flavoring can substitute in a pinch.
Why is my filling too runny/thick?
If it’s runny, you might need a minute more simmering time. Too thick? Stir in a tablespoon of water at a time until it loosens up – the consistency should coat a spoon nicely.
How do I know if my jars sealed properly?
Listen for that satisfying “ping” as they cool! The lid should be slightly concave and not move when pressed. If it pops, just refrigerate and use that jar first.
Can I reduce the sugar?
You sure can – I’ve cut it to ¾ cup with tart cherries before. Just know it might affect the thickness and shelf life slightly.
Share Your Experience
Did you try this cherry pie filling? I’d love to hear how it turned out! Leave a comment below or tag me in your canning adventures – nothing makes me happier than seeing your jars of homemade goodness. You can also find more canning inspiration on my Pinterest page!
Print3 Secrets to Perfect Canning Cherry Pie Filling That Tastes Divine
Make your own cherry pie filling at home with this simple recipe. Perfect for pies, tarts, or desserts.
- Prep Time: 20 mins
- Cook Time: 15 mins
- Total Time: 35 mins
- Yield: 3 pints 1x
- Category: Dessert
- Method: Canning
- Cuisine: American
- Diet: Vegetarian
Ingredients
- 6 cups pitted cherries
- 1 cup granulated sugar
- 1/4 cup cornstarch
- 1/2 cup water
- 1 tbsp lemon juice
- 1/2 tsp almond extract
Instructions
- Wash and pit the cherries.
- In a large pot, mix sugar and cornstarch.
- Add water and lemon juice, stir until smooth.
- Cook over medium heat until thickened.
- Add cherries and almond extract, stir gently.
- Simmer for 5 minutes, then remove from heat.
- Fill sterilized jars, leaving 1/2-inch headspace.
- Process in a water bath canner for 25 minutes.
Notes
- Use fresh or frozen cherries.
- Adjust sugar to taste if cherries are very tart or sweet.
- Store canned filling in a cool, dark place.
Nutrition
- Serving Size: 1/2 cup
- Calories: 120
- Sugar: 25g
- Sodium: 5mg
- Fat: 0g
- Saturated Fat: 0g
- Unsaturated Fat: 0g
- Trans Fat: 0g
- Carbohydrates: 30g
- Fiber: 2g
- Protein: 1g
- Cholesterol: 0mg