
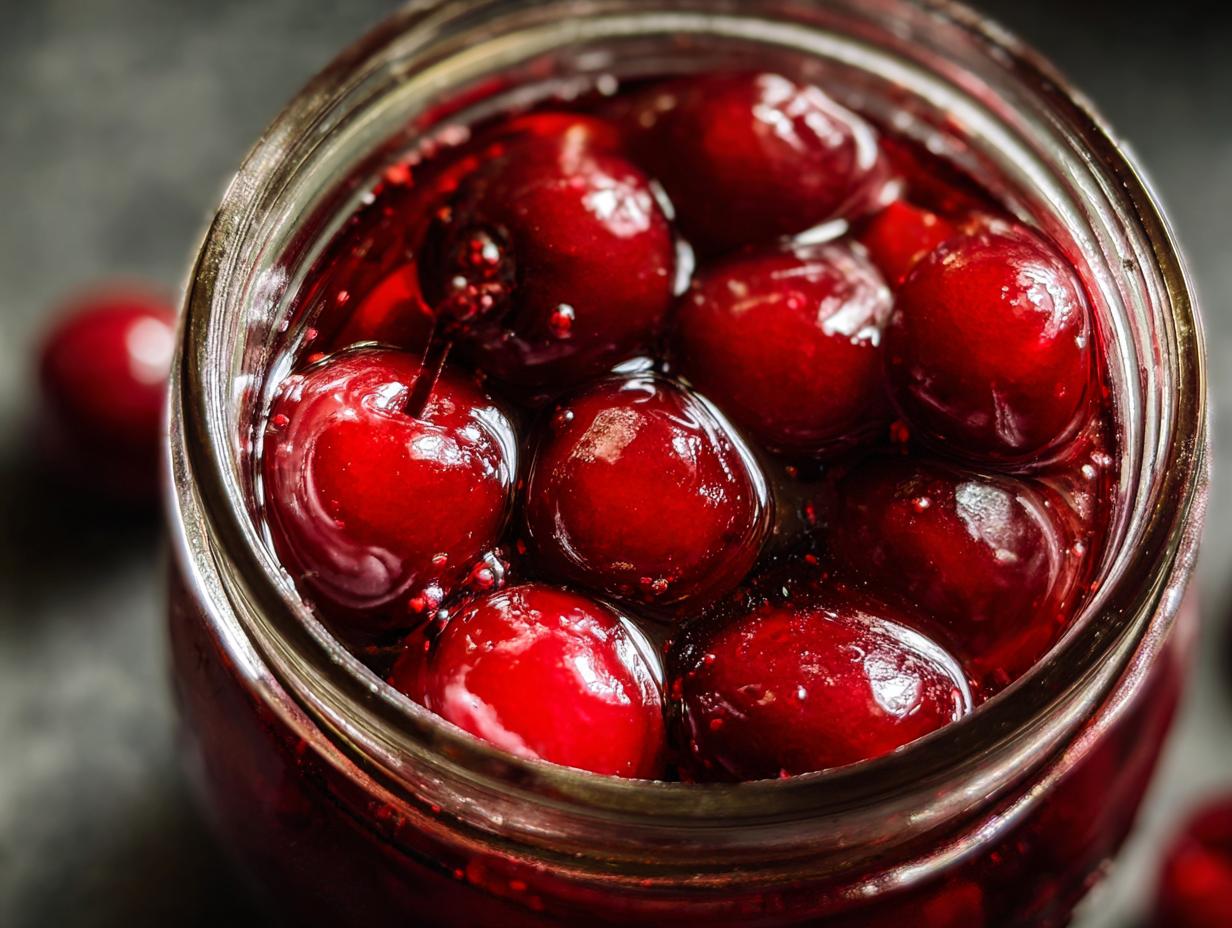
There’s nothing quite like biting into a plump, sweet cherry in the middle of January—especially when you’re the one who preserved them last summer! Canning cherries became my obsession after my neighbor gifted me buckets of fresh Bing cherries from her tree. I couldn’t bear to see them go to waste, so I dove headfirst into learning the art of home canning. Trust me, once you taste homemade canned cherries—whether spooned over ice cream or baked into a pie—you’ll never go back to store-bought. It’s easier than you think, too! Just a few simple steps, and you’ll have jars of summer sweetness ready whenever the craving hits.
Why You’ll Love Canning Cherries
Oh, where do I even start? This little kitchen project is one of those rare things that’s actually as fun as it is practical. Here’s why I’m completely hooked—and why you will be too:
- Summer in a jar: That burst of July sweetness when you pop open a jar in December? Pure magic. The flavor stays bright and fresh, like you just picked them.
- Crazy versatile: Pancakes, yogurt, cocktails—my canned cherries end up in everything! (Pro tip: the syrup makes an incredible soda fountain syrup.)
- Budget-friendly: When cherry season hits and prices drop, you can stock up instead of paying premium prices for mediocre canned fruit later.
- Surprisingly simple: No fancy equipment needed—just a big pot and some jars. Even my first attempt turned out perfectly!
Ingredients for Canning Cherries
Gather these simple ingredients—you might already have most in your kitchen! The beauty of this recipe is how few things you actually need to turn fresh cherries into pantry gold:
- 4 lbs fresh cherries (pitted): Trust me, pitting them first makes all the difference. I use a simple cherry pitter—it’s worth every penny when you’re facing a mountain of cherries!
- 1 cup sugar (optional): I like mine slightly sweet, but you can adjust or skip it entirely. The cherries’ natural sweetness really shines through either way.
- 4 cups water: Just plain tap water works perfectly for the syrup base.
- 2 tbsp lemon juice: This little bit of acid keeps the colors bright and flavors balanced.
Equipment Needed for Canning Cherries
Don’t let fancy canning tools intimidate you—you probably own most of this stuff already! Here’s what you’ll need to get started:
- Large pot with lid: Big enough to submerge jars completely. I use my stockpot—nothing special!
- Sterilized canning jars: Pint or quart sizes work great. Run them through the dishwasher or boil for 10 minutes to sterilize.
- Jar lifter: My #1 must-have—those hot jars are slippery! A sturdy pair of tongs can work in a pinch.
- Wide-mouth funnel: Saves so much mess when filling jars. Worth its weight in gold.
That’s it! See? No crazy gadgets required.
How to Can Cherries Step by Step
Okay, let’s get down to business! I’ll walk you through each step—it’s seriously foolproof if you follow these directions. Just take your time and enjoy the process. There’s something so satisfying about hearing those lids “pop” when they seal!
Preparing the Cherries
First things first: give those cherries a good rinse under cold water. I like to do this in batches in a colander—no need to be gentle, just make sure any dirt or debris is gone. Now for the pitting! I fought this step my first year (who has time for that?), but trust me, it’s worth it. A simple cherry pitter makes quick work of it—mine looks like a stapler and saves my fingers from turning purple! No pitter? A chopstick or sturdy straw works too—just poke through the stem end to push the pit out the other side.
Making the Syrup
While your cherries drain, let’s make the syrup. Combine the water, sugar (if using), and lemon juice in your big pot. Turn the heat to medium-high and stir just until the sugar dissolves—no need to boil yet. Here’s my trick: I always taste the syrup at this point. Want more lemon zing? Add another squeeze. Prefer it sweeter? Toss in another tablespoon of sugar. Once it’s perfect for you, bring it to a rolling boil—you’ll see big bubbles forming across the whole surface.
Packing and Sealing Jars
Now the fun part! Grab your sterilized jars and start packing those beautiful cherries in. Leave about ½ inch of space at the top—that’s called headspace, and it’s crucial for proper sealing. I use a ladle to pour the hot syrup over the cherries, covering them completely but still maintaining that headspace. Wipe the jar rims with a clean, damp cloth—any sticky spots can prevent sealing. Screw on the lids fingertip-tight (not too tight!), then into the water bath they go for their 25-minute spa treatment. After processing, let them cool undisturbed for a full 12 hours—I know it’s hard to wait, but those seals need time to set properly!
Tips for Perfect Canning Cherries
After years of trial and error (and a few sticky kitchen disasters), I’ve learned a few tricks that make all the difference:
- Choose firm, just-ripe cherries: Overripe ones turn mushy during processing. I look for cherries that are sweet but still have a little snap when you bite into them.
- The seal test is sacred: After cooling, press each lid’s center—if it pops, it didn’t seal! Those jars go straight into the fridge for immediate eating.
- Dark & cool storage wins: My pantry’s back corner keeps canned cherries perfect for a year. Avoid warm spots near the stove or sunlight that can fade colors.
- Leave the bubbles be: That ½ inch headspace isn’t a suggestion—it’s science! Too full and jars might burst; too empty and seals fail.
Variations for Canning Cherries
Once you’ve mastered the basic recipe, the fun begins! Here are my favorite ways to jazz up canned cherries:
- Spiced version: Toss a cinnamon stick or star anise into each jar before processing—heavenly with pancakes!
- Vanilla dreams: Split a vanilla bean lengthwise and add a piece to each jar. The flavor deepens beautifully over time.
- Sugar-free magic: Skip the sugar entirely—the cherries’ natural sweetness shines through, especially with Rainier or Bing varieties.
Feel free to experiment with what moves you—that’s half the joy of homemade!
Serving and Storing Canned Cherries
Oh, the possibilities! My favorite part about canned cherries is how they instantly jazz up anything. I love them spooned over vanilla ice cream—the syrup makes its own sauce! They’re magical stirred into yogurt for breakfast or baked into muffins when you’re feeling fancy. For cocktails? A splash of that cherry syrup transforms plain soda into something special.
Store your jars in a cool, dark pantry—they’ll keep beautifully for up to a year. Once opened, refrigerate and use within two weeks. Pro tip: Label your jars with the date—you’ll thank yourself next summer when you’re reaching for that last jar of cherry goodness!
Nutritional Information for Canned Cherries
Now, let’s talk numbers—but remember, these can change based on how much sugar you use (or skip entirely)! Here’s the scoop for my standard recipe:
- Per ½ cup serving: About 90 calories
- Sugar: 18g (mostly natural fruit sugars!)
- Fat & Sodium: Zero—nada—zilch!
Want it lighter? Skip the added sugar—the cherries’ natural sweetness still shines through beautifully. Either way, you’re getting all that cherry goodness preserved at its peak!
Common Questions About Canning Cherries
I get asked these questions all the time—here are the answers straight from my cherry-stained notebook:
- Can I skip the sugar entirely? Absolutely! The first time I made sugar-free canned cherries, I was shocked at how delicious they were. The natural sweetness of ripe cherries really shines through—just add an extra tablespoon of lemon juice to keep the flavors bright.
- How long do home-canned cherries last? Properly sealed jars keep beautifully for up to a year in the pantry. I’ve used mine at 18 months with no issues, but for peak flavor, try to enjoy them within that first year. Once opened, they’ll last about two weeks in the fridge.
- Do I need a pressure canner? Nope! Cherries are high-acid, so the boiling water bath method works perfectly. Save the pressure canner for low-acid veggies—this simple pot-and-jars setup is all you need for sweet cherry success.
Got more questions? Ask away—I love talking cherries!
Share Your Experience
Did you try canning cherries? I’d love to hear how it went! Leave a comment below with your favorite way to enjoy them—or any brilliant tips you discovered along the way. Happy canning!
For more inspiration, check out our Pinterest boards!
PrintSweet Summer in a Jar: 4 lb Canning Cherries Made Easy

Learn how to can cherries at home with this simple guide. Preserve your cherries for long-term storage and enjoy them year-round.
- Prep Time: 20 minutes
- Cook Time: 30 minutes
- Total Time: 50 minutes
- Yield: 4 pints 1x
- Category: Preserving
- Method: Boiling Water Bath
- Cuisine: American
- Diet: Vegetarian
Ingredients
- 4 lbs fresh cherries
- 1 cup sugar (optional)
- 4 cups water
- 2 tbsp lemon juice
Instructions
- Wash and pit the cherries.
- Combine water, sugar, and lemon juice in a pot and bring to a boil.
- Add cherries and simmer for 5 minutes.
- Pack cherries into sterilized jars, leaving 1/2 inch headspace.
- Pour hot syrup over cherries, ensuring they are fully covered.
- Wipe jar rims and seal with lids.
- Process jars in a boiling water bath for 25 minutes.
- Remove jars and let them cool for 12 hours.
Notes
- Use firm, ripe cherries for best results.
- Adjust sugar to taste or skip for a sugar-free version.
- Check seals before storing—lids should not flex when pressed.
Nutrition
- Serving Size: 1/2 cup
- Calories: 90
- Sugar: 18g
- Sodium: 0mg
- Fat: 0g
- Saturated Fat: 0g
- Unsaturated Fat: 0g
- Trans Fat: 0g
- Carbohydrates: 23g
- Fiber: 2g
- Protein: 1g
- Cholesterol: 0mg