
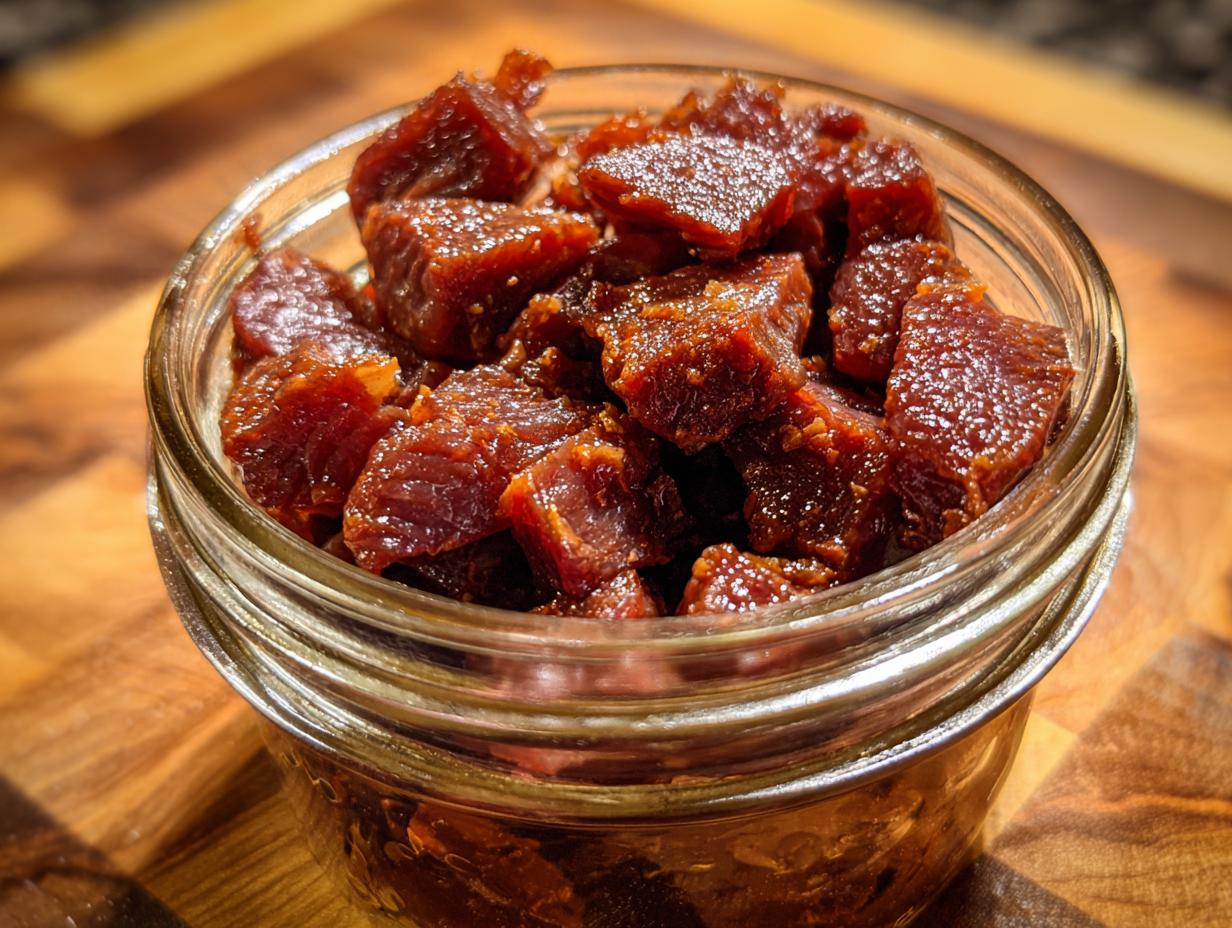
Let me tell you about my beef canning revelation – it changed my kitchen life! There’s nothing like opening a jar of home-canned beef months later and finding it just as tender and flavorful as the day you packed it. I remember my first attempt – I was nervous, but wow, the results blew me away. Now I always keep several jars ready for quick meals.
Beef canning recipes give you the ultimate pantry power. Imagine having perfectly cooked beef ready for stews, tacos, or sandwiches anytime. No freezer burn worries, no last-minute thawing – just pop open a jar and dinner’s halfway done. My family loves the rich taste that pressure canning locks in, and I love the convenience. Once you try it, you’ll wonder how you ever lived without canned beef in your pantry!
Why You’ll Love These Beef Canning Recipes
Trust me, once you taste that first forkful of home-canned beef, you’ll be hooked. Here’s why this method is a total game-changer:
- Flavor that lasts: Pressure canning locks in that rich, meaty taste better than freezing ever could. My beef stew made with canned meat tastes like it simmered all day.
- Pantry power: No freezer space needed! These jars keep for years in your cupboard (though they never last that long in my house).
- Dinner in minutes: When time’s tight, grab a jar – the beef’s already cooked and ready to star in tacos, sandwiches, or gravy.
- Budget-friendly: Canning seasonal beef sales means I always have affordable, high-quality protein on hand.
Honestly, the convenience alone makes this worth trying. But wait till you taste it!
Ingredients for Beef Canning Recipes
Now, let’s gather your simple but mighty ingredients – this is where the magic starts! Here’s exactly what you’ll need for foolproof canned beef:
- 2 lbs beef (chuck roast works best, cut into 1-inch cubes – trim that fat well!)
- 1 tsp salt (use canning or kosher salt – iodized can make things murky)
- 1/2 tsp black pepper (freshly ground adds the best flavor)
- 1 tbsp white vinegar (just the plain stuff – keeps everything perfectly balanced)
- 2 cups water (filtered is ideal if your tap water has strong flavors)
See? Nothing fancy – just good ingredients prepped right. The beef is the star here, so pick something nice and marbled!
Equipment Needed for Beef Canning Recipes
You won’t need much gear, but don’t skip these essentials! I learned the hard way that proper tools make all the difference:
- Pressure canner (not a pressure cooker – must be a proper canner that reaches 10-15 PSI)
- Glass canning jars (pint or quart size, sterilized – I reuse mine for years!)
- New lids and rings (never reuse lids – the seals won’t be reliable)
- Jar funnel (trust me, this saves so much mess when filling jars)
- Bubble remover tool (a chopstick works in a pinch, but this handy tool’s worth having)
That’s it! With these basics, you’re set for perfect canned beef every time.
How to Prepare Beef Canning Recipes
Alright, let’s dive into the fun part – turning that beautiful beef into shelf-stable gold! I’ll walk you through each step just like my grandmother taught me, with all her little tricks for perfect results.
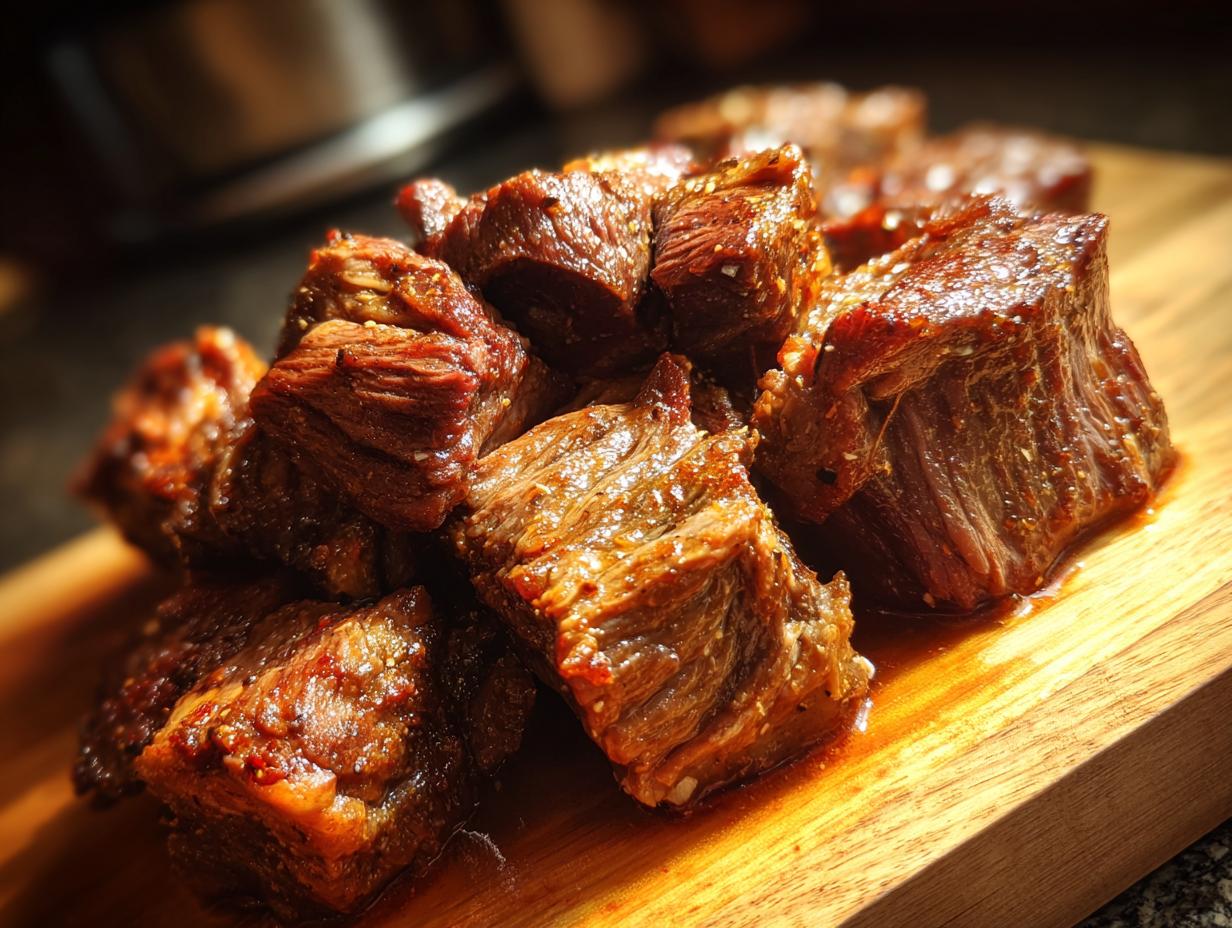
Preparing the Beef
First things first – grab your sharpest knife and let’s get trimming! I like to cut my beef into 1-inch cubes (no bigger!) and be ruthless about removing excess fat. That white stuff can make your jars greasy and affect the seal. Season the cubes generously with salt and pepper – this isn’t just for flavor, it helps preserve the meat too.
Here’s my pro tip: don’t pack the beef too tightly in your jars. Leave some room for the magic to happen! I learned this the hard way when my first batch came out tough from overcrowding. The beef needs space to move and tenderize during processing.
Packing and Sealing Jars
Now for the satisfying part – filling those sparkling clean jars! Use your funnel (seriously, lifesaver) and pack the beef in snug but not squished. Leave a full 1-inch headspace at the top – I measure with my finger because grandma didn’t need fancy tools!
Pour in your vinegar-water mixture to cover the beef, then take that bubble remover (or chopstick) and gently run it around the inside of the jar. You’ll see little air pockets rise to the surface – get them all out! Wipe the rims with a clean, damp cloth (no soap residue!) before placing the lids on. This step is crucial for a good seal, so don’t rush it.
Pressure Canning Process
Here’s where we turn up the heat – literally! Load your canner with the jars and lock that lid tight. For beef, we process at 10 PSI (11 PSI if you’re above 1,000 ft elevation) for a full 75 minutes. Set a timer – no peeking!
When time’s up, turn off the heat and let the pressure drop naturally. This slow cooling is key to preventing siphoning (that’s when liquid leaks out). Once the canner’s safe to open, carefully remove the jars and let them cool completely. You’ll hear those satisfying “pings” as the seals set! Check each lid the next day – if it doesn’t flex when pressed, you’ve got success.
Tips for Perfect Beef Canning Recipes
After canning countless batches (and learning from my mistakes!), here are my can’t-miss tips for beef that stays tender and delicious:
- Buy fresh, never frozen: Fresh beef gives the best texture – frozen meat can get mushy during processing.
- Choose lean cuts wisely: Chuck roast is my go-to – enough fat for flavor but not so much that it affects your seals.
- Salt matters: Use pure canning salt – additives in table salt can cloud your liquid.
- Test seals after 24 hours: Press each lid’s center – if it pops, refrigerate and eat that jar first!
- Label everything: Write dates with a grease pencil – beef stays best within 1 year (though mine never lasts that long).
Follow these, and you’ll have beef that tastes like you just cooked it – even months later!
Storing and Using Canned Beef
Here’s the beautiful part – your hard work pays off for months! Store those sealed jars in a cool, dark place (my basement pantry works perfectly). Properly canned beef stays delicious for up to a year, though I bet you’ll use it way sooner. My favorite quick meals? Beef barley soup straight from the jar, tender taco filling, or rich gravy over mashed potatoes. Once you taste the possibilities, you’ll be canning beef all season!
Beef Canning Recipes FAQ
Got questions? I’ve been there! Here are the top beef canning questions I get from friends (and learned the hard way myself):
Can I use frozen beef for canning?
Oh honey, don’t do it! Frozen beef turns mushy during processing. Always start with fresh – that firm texture makes all the difference when the jars are done.
How long does home-canned beef last?
Properly sealed jars stay good for 1 year in a cool, dark place. But let’s be real – mine never lasts more than six months because we use it so often!
Is the vinegar really necessary?
Yes ma’am! That tablespoon of white vinegar helps keep the pH balanced for safe canning while making the beef extra tender. Learned this lesson after a too-tough batch!
Can I add seasonings or veggies?
Hold the extras for now! Plain canned beef gives you the most flexibility. You can always add onions, garlic, or spices when you’re ready to cook with it.
Nutritional Information for Beef Canning Recipes
Just a quick heads up – these numbers are ballpark figures based on average ingredients. Your exact nutrition may vary depending on beef cuts and brands. That said, home-canned beef keeps all the protein-packed goodness of fresh beef while locking in flavor!
Ready to Try Beef Canning Recipes?
What are you waiting for? Grab that pressure canner and get started – your future self will thank you when busy nights roll around! I’d love to hear how your first batch turns out. Trust me, once you taste that home-canned beef, you’ll be hooked just like I was! Check out more canning ideas on Pinterest.
Print**5 Irresistible Beef Canning Recipes for Pantry Perfection**
Learn how to can beef at home for long-term storage. This method ensures your beef stays flavorful and tender.
- Prep Time: 20 minutes
- Cook Time: 75 minutes
- Total Time: 95 minutes
- Yield: 4 pints 1x
- Category: Preserving
- Method: Pressure Canning
- Cuisine: American
- Diet: Halal
Ingredients
- 2 lbs beef (cut into cubes)
- 1 tsp salt
- 1/2 tsp black pepper
- 1 tbsp vinegar
- 2 cups water
Instructions
- Trim excess fat from beef and cut into 1-inch cubes.
- Season beef with salt and pepper.
- Add vinegar and water to a pressure canner.
- Pack beef tightly into sterilized jars, leaving 1-inch headspace.
- Process jars in a pressure canner for 75 minutes at 10 PSI.
Notes
- Use fresh, high-quality beef for best results.
- Always check jar seals before storing.
- Store canned beef in a cool, dark place.
Nutrition
- Serving Size: 1/2 cup
- Calories: 210
- Sugar: 0g
- Sodium: 300mg
- Fat: 12g
- Saturated Fat: 4g
- Unsaturated Fat: 6g
- Trans Fat: 0g
- Carbohydrates: 0g
- Fiber: 0g
- Protein: 24g
- Cholesterol: 70mg