

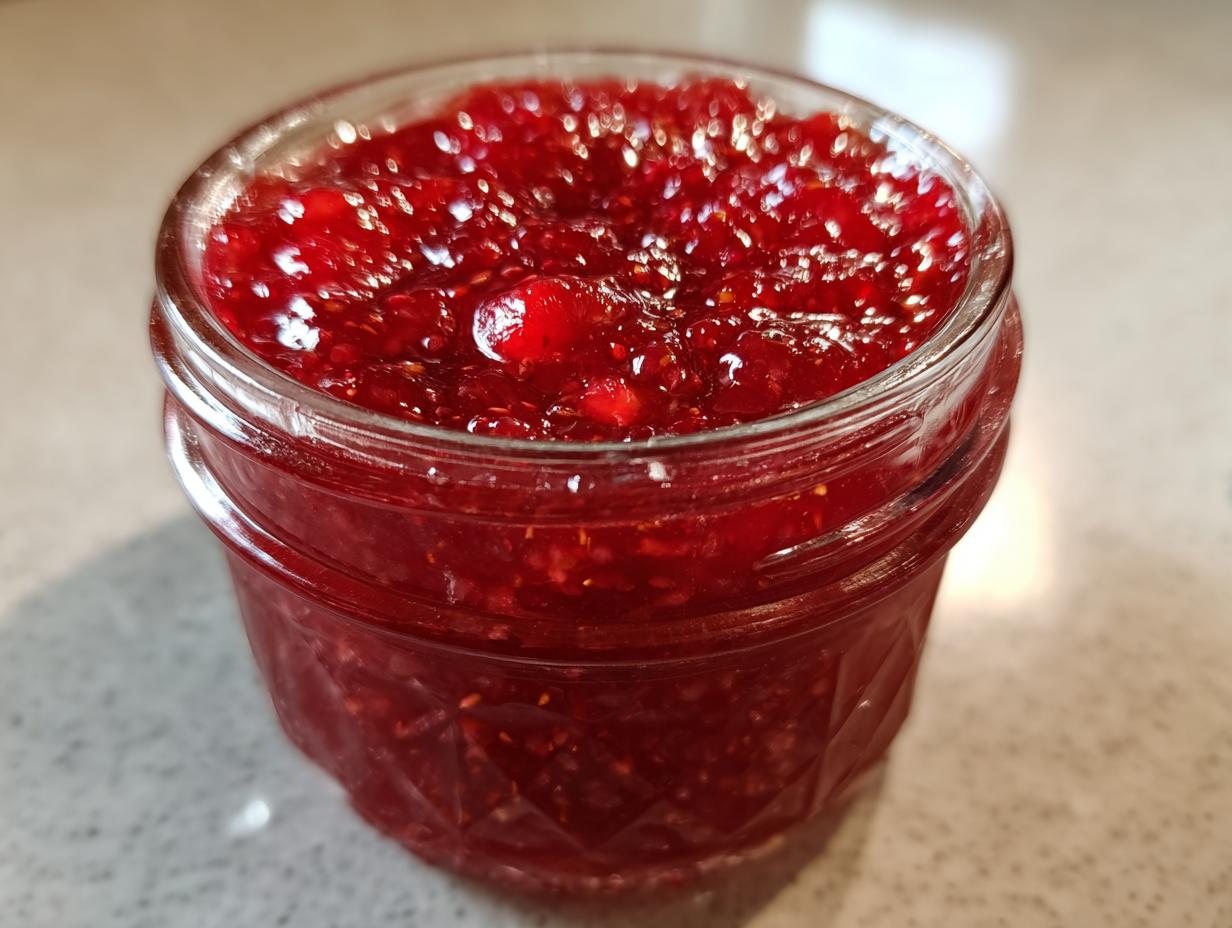
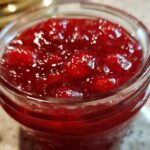
There’s something magical about homemade strawberry preserves that just can’t be beat. That first spoonful of sweet, ruby-red goodness takes me right back to my grandmother’s kitchen every time. She’d make big batches in June when the berries were at their peak, and the whole house would smell like summer.
What I love most about this strawberry preserves recipe is how simple it is – just fresh berries, sugar, and a splash of lemon juice transform into something extraordinary. No fancy equipment or hard-to-find ingredients needed. Just honest, old-fashioned goodness that tastes like sunshine in a jar. Trust me, once you try homemade, you’ll never go back to store-bought again!
Why You’ll Love These Strawberry Preserves
These strawberry preserves are my go-to recipe for good reason:
- They’re so easy to make – just three ingredients and one pot
- The flavor is unbeatable – fresh, bright, and bursting with real strawberry taste
- They’re versatile – perfect on toast, in yogurt, or swirled into desserts
- You’ll know exactly what’s in them – no weird additives or preservatives
- They make thoughtful gifts – everyone loves homemade strawberry preserves
Once you taste these, you’ll understand why I make big batches every summer!
Ingredients for Strawberry Preserves
Here’s all you need to make the most amazing strawberry preserves – just three simple ingredients that create pure magic together:
- 4 cups fresh strawberries – hulled and chopped (about 2 pounds whole berries)
- 2 cups granulated sugar – the perfect amount to balance the berries’ natural tartness
- 2 tablespoons lemon juice – fresh squeezed is best for that bright, tangy kick
That’s it! No fancy additives – just good, honest ingredients that let the strawberries shine. I always look for the ripest, reddest berries I can find – their natural sweetness makes all the difference.
Equipment You’ll Need
You probably have most of these kitchen essentials already! Here’s what you’ll want to gather before starting:
- A large, heavy-bottomed pot (at least 4 quarts) to prevent scorching
- Wooden spoon for stirring – it won’t react with the acidic fruit
- Sterilized jars with lids and bands (I usually use 3 half-pint jars)
- Canning funnel – trust me, this makes filling jars so much cleaner
- Jar lifter and boiling water bath canner if preserving long-term
That’s really all it takes to turn fresh berries into jars of strawberry sunshine!
How to Make Strawberry Preserves
Making strawberry preserves is easier than you might think! Just follow these simple steps, and you’ll have jars of sweet, ruby-red goodness ready to enjoy.
Preparing the Strawberries
First, give your strawberries a good rinse under cool water – I like to let them soak briefly to remove any dirt. Gently pat them dry, then hull each berry by removing the green top. Chop them into small pieces – about 1/4-inch chunks work perfectly. You’ll want about 4 cups of chopped berries for this recipe.
Cooking the Strawberry Preserves
Now comes the fun part! Combine your chopped strawberries, sugar, and lemon juice in that large pot I mentioned. Turn the heat to medium and stir frequently as the mixture comes to a boil. Careful – it can splatter! Once boiling, reduce the heat to a gentle simmer. You’ll want to keep stirring every few minutes to prevent sticking.
After about 20-25 minutes, you’ll notice the mixture thickening beautifully. Test it by dipping a cold spoon in – if the liquid coats the back and doesn’t run right off, it’s ready! Skim off any foam that forms on top for clearer preserves.
Canning the Strawberry Preserves
While your preserves cook, sterilize your jars by boiling them for 10 minutes. Keep them hot until ready to fill. When the preserves are done, carefully ladle the hot mixture into your jars, leaving about 1/4-inch headspace at the top. Wipe the rims clean, then screw on the lids finger-tight.
Process the jars in a boiling water bath for 10 minutes to seal them properly. Remove them with your jar lifter and let them cool completely – you’ll hear that satisfying “pop” as they seal! Any jars that don’t seal should be refrigerated and used within 2 weeks.
Tips for Perfect Strawberry Preserves
After making countless batches of strawberry preserves, I’ve learned a few tricks that guarantee success every time:
- Use the ripest berries you can find – they’ll give you the sweetest, most flavorful preserves
- Don’t rush the cooking – a gentle simmer develops the best texture and flavor
- Check thickness by putting a spoonful on a chilled plate – it should wrinkle when pushed
- Skim the foam for clearer preserves, but don’t stress – it doesn’t affect the taste
- Watch for scorching – stir frequently, especially as it thickens
- Leave headspace in jars – preserves expand when hot!
Follow these simple tips, and you’ll be amazed at how professional your homemade strawberry preserves turn out!
Variations and Substitutions
While I adore the classic strawberry preserves recipe, sometimes it’s fun to mix things up! Here are my favorite twists:
- Lower sugar: Reduce to 1 1/2 cups if your berries are super sweet
- Herb-infused: Add 2-3 sprigs of fresh mint or basil while cooking
- Citrus zest: Stir in 1 teaspoon orange or lemon zest for extra brightness
- Spiced: A pinch of cinnamon or cardamom adds warmth
- Chunky style: Leave berries in bigger pieces for texture
Feel free to play around – that’s the joy of homemade preserves!
Serving Suggestions for Strawberry Preserves
Oh, the places these strawberry preserves will go! My favorite way is slathered thick on warm, buttery toast – pure breakfast heaven. But don’t stop there! Try swirling them into yogurt for a sweet-tart punch, dolloping on pancakes or waffles, or as the star in thumbprint cookies. They’re magical stirred into oatmeal or as a cake filling – I even sneak spoonfuls straight from the jar when no one’s looking!
Storing and Reheating Strawberry Preserves
Proper storage keeps your homemade strawberry preserves tasting fresh! Unopened jars will last about a year in a cool, dark pantry – but trust me, they never sit that long at my house. Once opened, pop them in the fridge where they’ll stay delicious for 2-3 weeks. If your preserves thicken too much in the fridge, just stir in a teaspoon of warm water to loosen them up. No need to reheat unless you’re using them in baking – then microwave in 10-second bursts until spreadable.
Strawberry Preserves FAQs
I get asked about strawberry preserves all the time, so here are answers to the questions that pop up most often:
Can I use frozen strawberries? Absolutely! Just thaw them completely first and drain any excess liquid. The texture might be slightly softer, but the flavor will still be wonderful. I actually keep frozen berries in winter for emergency strawberry preserves cravings!
How do I know if my preserves are set properly? The spoon test never fails me – when a spoonful holds its shape on a chilled plate and wrinkles when you push it, you’re golden. Don’t panic if it seems thin at first – strawberry preserves thicken as they cool.
Why is there liquid on top of my jars? That’s just natural fruit syrup – no worries! Give the jar a gentle stir when you open it, and everything will blend right back together. Happens to me all the time.
Can I reduce the sugar? You can, but the sugar isn’t just for sweetness – it helps preserve the fruit and affects the texture. I wouldn’t go below 1 1/2 cups for this recipe, or your strawberry preserves might be runny.
How long do they really last? Properly canned jars keep about a year in the pantry, but opened jars need refrigeration. Mine never last more than a month anyway – they disappear too fast!
Nutritional Information
Just a quick note – these nutritional values are estimates per tablespoon and may vary slightly based on your specific ingredients. Strawberry preserves are all about enjoying sweet summer flavors in moderation!
- Calories: 50
- Sugar: 12g
- Carbohydrates: 13g
- Fiber: 0.5g
Remember, a little goes a long way – that spoonful on your morning toast is packed with real fruit goodness!
Print3-Ingredient Magical Strawberry Preserves That Never Fail
Homemade strawberry preserves made with fresh strawberries, sugar, and lemon juice for a sweet and tangy spread.
- Prep Time: 15 minutes
- Cook Time: 25 minutes
- Total Time: 40 minutes
- Yield: 3 half-pint jars 1x
- Category: Preserves
- Method: Stovetop
- Cuisine: American
- Diet: Vegetarian
Ingredients
- 4 cups fresh strawberries, hulled and chopped
- 2 cups granulated sugar
- 2 tablespoons lemon juice
Instructions
- Wash and hull strawberries, then chop them into small pieces.
- Combine strawberries, sugar, and lemon juice in a large pot.
- Bring the mixture to a boil over medium heat, stirring frequently.
- Reduce heat and simmer for 20-25 minutes, or until thickened.
- Skim off any foam and remove from heat.
- Ladle hot preserves into sterilized jars, leaving 1/4-inch headspace.
- Seal jars and process in a boiling water bath for 10 minutes.
Notes
- Use ripe strawberries for the best flavor.
- Store unopened jars in a cool, dark place for up to a year.
- Once opened, refrigerate and use within 2 weeks.
Nutrition
- Serving Size: 1 tablespoon
- Calories: 50
- Sugar: 12g
- Sodium: 0mg
- Fat: 0g
- Saturated Fat: 0g
- Unsaturated Fat: 0g
- Trans Fat: 0g
- Carbohydrates: 13g
- Fiber: 0.5g
- Protein: 0g
- Cholesterol: 0mg