
There’s something magical about opening a jar of home-canned carrots in January that taste like you just pulled them from the garden. I’ll never forget my first time canning carrots – that satisfying “pop” of the seal taking hold, knowing I’d captured summer’s sweetness for dreary winter days. Once you taste the difference, those flabby grocery store canned carrots just won’t cut it anymore.
Canning carrots at home saves money, reduces food waste, and gives you control over what goes in your food (no mysterious ingredients here!). The process might seem intimidating at first, but trust me, after you do it once you’ll wonder why you didn’t start sooner. I’ve canned everything from baby carrots to those giant ugly ones from my neighbor’s garden – they all transform into little jars of gold when processed right.
My grandma taught me her canning secrets, like adding just a splash of lemon juice to keep the carrots bright and firm. Now I’m passing that knowledge to you, along with all the tips I’ve picked up through years of trial and error. Let’s get those carrots from your garden or farmer’s market into jars where they’ll stay delicious for months to come!
Why You’ll Love Canning Carrots
Once you start canning carrots at home, you’ll wonder how you ever lived without this skill! Here’s what makes it so special:
- Summer taste in winter: Nothing beats opening a jar of carrots that still taste garden-fresh months later
- Budget-friendly: Preserve seasonal abundance when prices are low – no more paying premium prices for mushy store-bought carrots
- Pantry power: Always have ready-to-use carrots for soups, stews, or quick sides without last-minute grocery runs
- Zero waste: Save those slightly imperfect carrots from the compost bin – they can beautifully in jars
- Control what you eat: Know exactly what’s in your food – just carrots, water, and maybe a pinch of salt
Trust me, that first “pop” of a successfully sealed jar will hook you for life!
Ingredients for Canning Carrots
Gathering your ingredients is the first step to perfect home-canned carrots. Here’s what you’ll need – simple stuff, but each plays an important role:
- 2 lbs fresh carrots – washed, peeled, and cut into even pieces (I like 1-inch chunks for canning – they hold their shape beautifully)
- 1 tsp salt (optional) – I prefer canning salt but regular works too
- 4 cups water – filtered is best if your tap water has strong flavors
- 1 tsp lemon juice (optional) – my grandma’s trick for keeping carrots bright
That’s it! No fancy ingredients needed. Just be sure your carrots are firm and fresh – no rubbery ones allowed in my canning jars!
Equipment Needed for Canning Carrots
Don’t worry – you don’t need fancy gadgets to start canning carrots! Here’s my tried-and-true equipment list (most of which you probably already have):
- Pressure canner – essential for safe low-acid foods like carrots
- Glass canning jars – pints work great for carrots
- New lids and rings – never reuse old lids!
- Large pot – for blanching those carrot pieces
- Jar lifter – saves your fingers from steam burns
- Bubble remover – a chopstick works in a pinch
That’s really all you need! Though I do love my funnel for mess-free filling – it’s worth the $2 investment.
How to Prepare Canning Carrots
Alright, let’s get down to the fun part – turning those fresh carrots into shelf-stable gold! I’ve broken this down into simple steps so you can nail it on your first try. Just follow along and you’ll be hearing those satisfying “pops” in no time.
Preparing the Carrots
First things first – give those carrots a good scrub under cold water. I like to peel mine (those bits of dirt love hiding in the crevices!), but you can leave the skins on if they’re super fresh. Cut them into even pieces – I find 1-inch chunks work best. They hold their shape beautifully during processing. Now here’s my secret: blanch them in boiling water for exactly 3 minutes, then plunge into ice water. This stops the cooking but keeps that perfect crisp-tender texture!
Packing the Jars
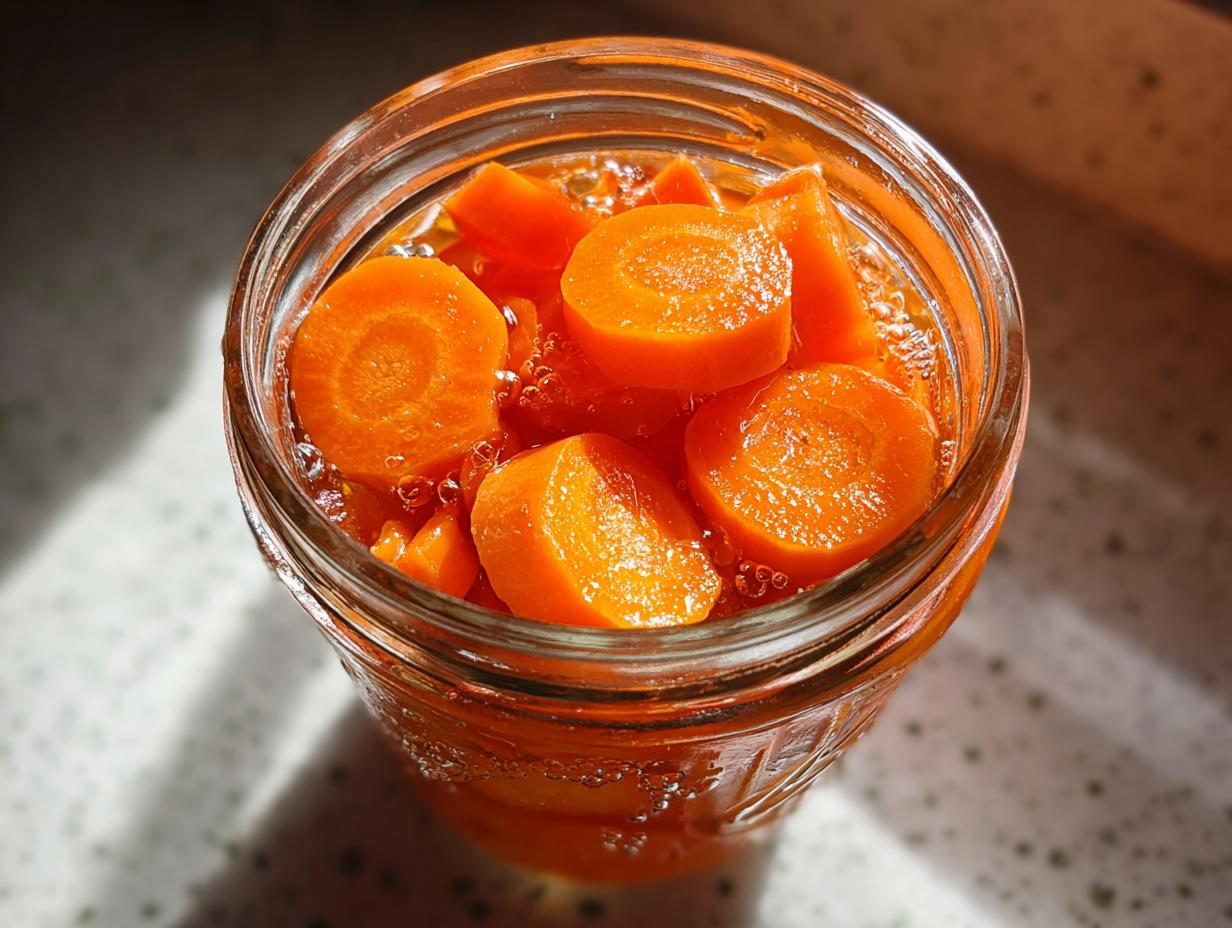
Pack those carrot pieces tightly into sterilized jars – really wedge them in there! Leave 1-inch headspace (I use my handy ruler to check). Now’s when you’d add that optional teaspoon of salt or lemon juice if you’re using it. Pour boiling water over the carrots, keeping that same headspace. Run your bubble remover (or clean chopstick) around the inside to release any trapped air. Wipe those rims spotless with a damp cloth – any little crumb can ruin your seal!
Processing the Jars
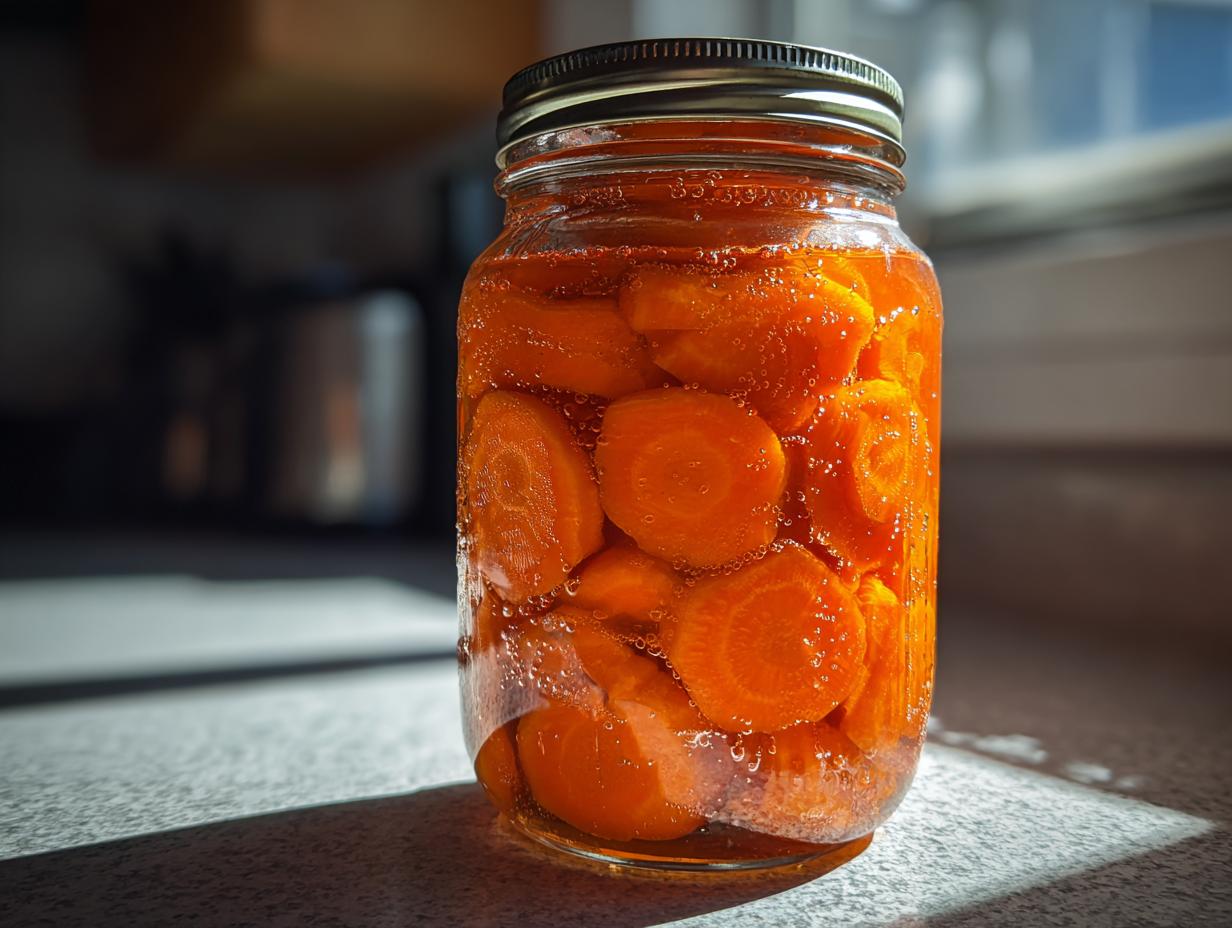
Pop on your lids and rings (finger-tight, not Hercules-tight!), then into the pressure canner they go. Process pint jars at 10 psi for 25 minutes (adjust for altitude if needed). When time’s up, turn off the heat and let the pressure drop naturally – no peeking! Once the canner’s safe to open, remove the jars and let them cool undisturbed for 12-24 hours. You’ll know you succeeded when you press the lids and don’t hear that telltale “click” – that’s the sound of victory!
Tips for Successful Canning Carrots
After years of canning carrots (and learning from my fair share of mistakes!), I’ve collected some golden rules for perfect results every time:
- Fresh is best: Use carrots harvested the same day if possible – limp ones turn mushy in the jar
- Watch your altitude: Add 1 psi for every 2,000 feet above sea level – my cousin in Denver learned this the hard way!
- Label everything: Write the date with a grease pencil – future you will thank past you
- Keep it clean: Sanitize everything twice – better safe than sorry with home canning
- Relax! That first “pop” never gets old – celebrate every successful jar
Storing and Using Canned Carrots
Properly sealed jars will keep for 12-18 months in a cool, dark place – my pantry shelves are lined with last summer’s bounty! Once opened, refrigerate and use within a week. These gems are ready to shine in soups straight from the jar, or gently reheated with a pat of butter for the easiest side dish ever. Just drain and toss into stews – no thawing needed like frozen veggies!
Nutritional Information for Canning Carrots
Home-canned carrots keep nearly all their natural goodness! While exact numbers vary by carrot size and your optional additions, they’re packed with vitamin A and stay low in calories. Remember, these are estimates – your results may differ slightly based on your specific ingredients.
Common Questions About Canning Carrots
Over the years, I’ve gotten the same great questions from friends learning to can carrots. Here are the ones that come up most often:
Can I reuse canning jars? Absolutely! Just check for chips or cracks first. But never reuse lids – those one-time-use seals are why we hear that magical “pop.” Rings are reusable though!
How long do home-canned carrots last? Properly sealed jars keep 12-18 months. After opening, refrigerate and use within a week. I date all my jars because even I can’t remember when “last summer” was!
Why pressure canning for carrots? Unlike pickles or tomatoes, carrots are low-acid. Pressure canning gets them hot enough to kill any nasty bacteria. Water bath canning just won’t cut it here.
My carrots floated to the top – did I mess up? Nope! This happens sometimes. As long as they’re properly processed and sealed, floating carrots are perfectly safe to eat. They’ll still taste amazing!
Share Your Canning Carrots Experience
I’d love to hear about your canning adventures! Did your jars seal with that magical pop? Find any creative uses for your carrots? Drop a comment below – your tips might help another home canner just starting out. Happy preserving!
PrintCanning Carrots: 25 Minutes to Preserve Summer’s Sweetness
A simple guide to canning carrots at home to preserve their freshness and flavor.
- Prep Time: 20 minutes
- Cook Time: 30 minutes
- Total Time: 50 minutes
- Yield: 4 pint jars 1x
- Category: Preserving
- Method: Pressure Canning
- Cuisine: American
- Diet: Vegetarian
Ingredients
- 2 lbs fresh carrots
- 1 tsp salt (optional)
- 4 cups water
- 1 tsp lemon juice (optional)
Instructions
- Wash and peel the carrots, then slice them into even pieces.
- Boil water in a large pot and blanch carrots for 3 minutes.
- Pack carrots tightly into sterilized jars, leaving 1-inch headspace.
- Add salt and lemon juice if using.
- Pour boiling water over the carrots, maintaining headspace.
- Remove air bubbles, wipe jar rims, and seal with lids.
- Process jars in a pressure canner for 25 minutes at 10 psi.
- Let jars cool, check seals, and store in a cool, dark place.
Notes
- Use fresh, firm carrots for best results.
- Adjust processing time for altitude if needed.
- Label jars with the date for reference.
Nutrition
- Serving Size: 1/2 cup
- Calories: 25
- Sugar: 3g
- Sodium: 50mg
- Fat: 0g
- Saturated Fat: 0g
- Unsaturated Fat: 0g
- Trans Fat: 0g
- Carbohydrates: 6g
- Fiber: 2g
- Protein: 1g
- Cholesterol: 0mg