
You know that moment when you’re scrambling to get dinner on the table, and you wish you had cooked ground beef ready to go? That’s exactly why I fell in love with canning hamburger meat! I’ll never forget the first time I grabbed a jar of my home-canned ground beef to whip up spaghetti sauce in minutes – total game changer. Now my pantry always has these handy protein-packed jars waiting for busy nights, camping trips, or unexpected guests.
But here’s the thing – canning meat isn’t like preserving jam or pickles. You’ve got to follow USDA guidelines to the letter for safety. Trust me, I learned this the hard way after a few failed batches early on. The good news? Once you get the hang of pressure canning ground beef, you’ll have shelf-stable, ready-to-use meat that stays delicious for up to a year. No freezer burn, no last-minute thawing – just pop open a jar and dinner’s halfway done!
Why You’ll Love Canning Hamburger Ground Beef
Once you try canning your own ground beef, you’ll wonder how you ever lived without it! Here’s why this method has become my kitchen secret weapon:
- Emergency protein that’s always ready – Power outage? Snowed in? Your canned beef has got you covered when the freezer fails
- Meal prep magic – I can whip up tacos, chili, or spaghetti in half the time with pre-cooked beef waiting in the pantry
- No more freezer burn – Say goodbye to that weird icy texture thawed ground beef sometimes gets
- Camping and road trip essential – Our family never travels without a few jars for easy campfire meals
- Budget-friendly preservation – When beef goes on sale, I stock up and can it… saves me a fortune!
Seriously, the first time you grab a jar to make last-minute sloppy joes, you’ll be hooked just like I was!
Ingredients for Canning Hamburger Ground Beef
Here’s the beautiful simplicity of canning ground beef – you only need three basic ingredients! But trust me, choosing the right ones makes all the difference:
- 5 lbs ground beef (80% lean) – That 20% fat is perfect – enough for flavor but not so much you’re swimming in grease after browning
- 1 tsp salt per pint jar (optional) – My grandma always added it for flavor, but you can skip if watching sodium
- Water (as needed) – Just enough to cover the meat in jars – I use hot from my tea kettle
See? Nothing fancy – just good quality beef and a pinch of salt if you want it. That’s the magic!
Equipment Needed for Canning Hamburger Ground Beef
Don’t let the list scare you – you probably have most of this already! Here’s what you’ll need to get started:
- Pressure canner (must-have!) – Water bath canners won’t cut it for meat – I use my trusty Presto 16-quart
- Pint or quart jars – Wide-mouth jars make packing the beef so much easier
- New lids & bands – Never reuse lids – the seal won’t be safe
- Jar lifter & canning funnel – These keep your hands safe from hot jars
- Bubble remover tool – Just a plastic chopstick works in a pinch!
That’s really it – simple tools for serious food preservation magic!
How to Can Hamburger Ground Beef Step by Step
Alright, let’s get down to business! Canning ground beef might seem intimidating at first, but once you’ve done it once, you’ll realize how straightforward it really is. Just follow these steps carefully – I’ve included all my hard-earned tips to make sure your first batch turns out perfect.
Preparing the Ground Beef
First things first – that beef needs browning! I throw my ground beef in my biggest skillet (you’ll want to work in batches if needed) and cook it over medium heat. Here’s my trick: I don’t stir too much at first. Let it get a nice sear before breaking it up – it adds so much flavor! Then I use a potato masher to crumble it into small pieces (perfect for recipes later).
Now the important part – draining. I scoop the beef into a colander and let it drain well. Too much fat left in the jars can interfere with sealing. If you’re like me and hate wasting anything, save that flavorful fat for cooking vegetables or making gravy!
Packing and Sealing the Jars
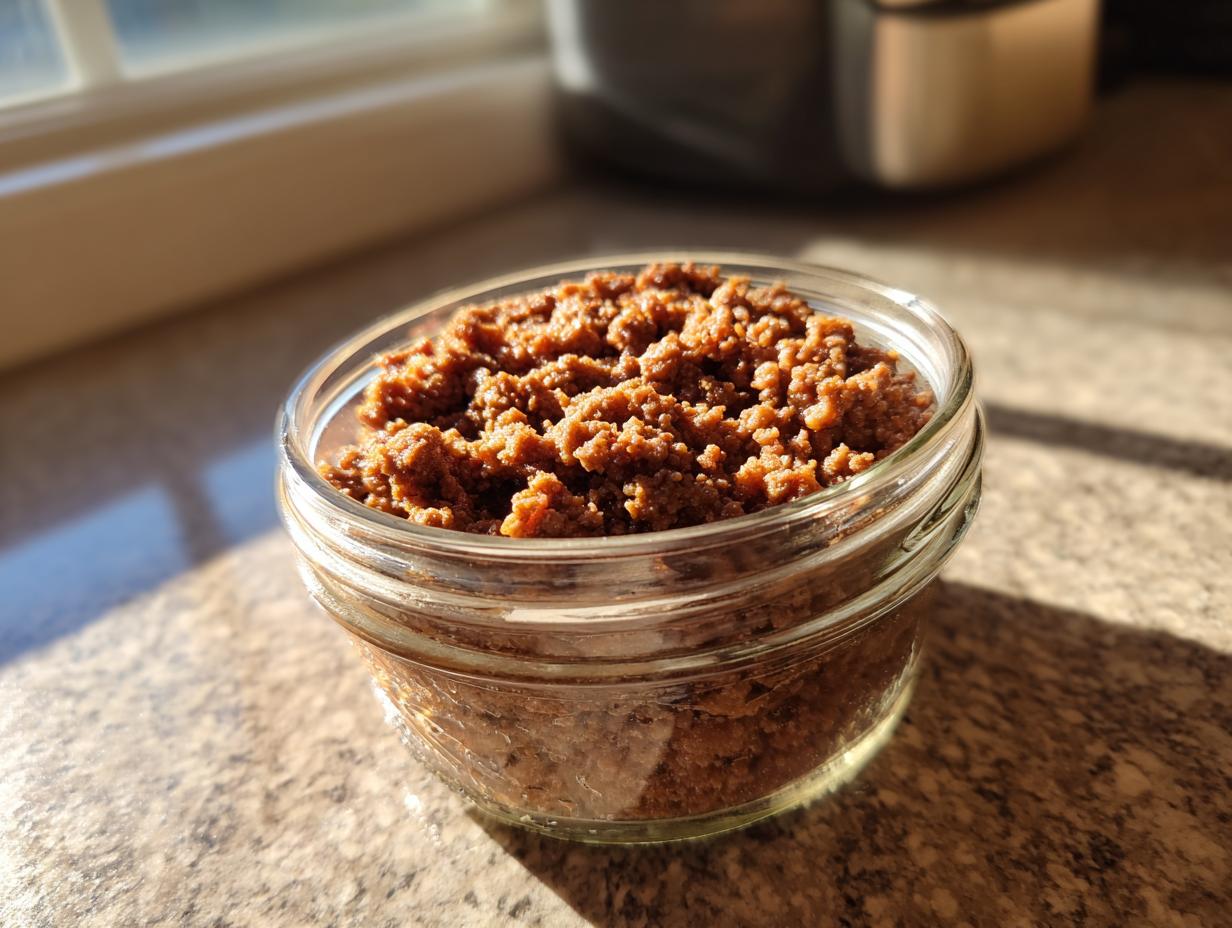
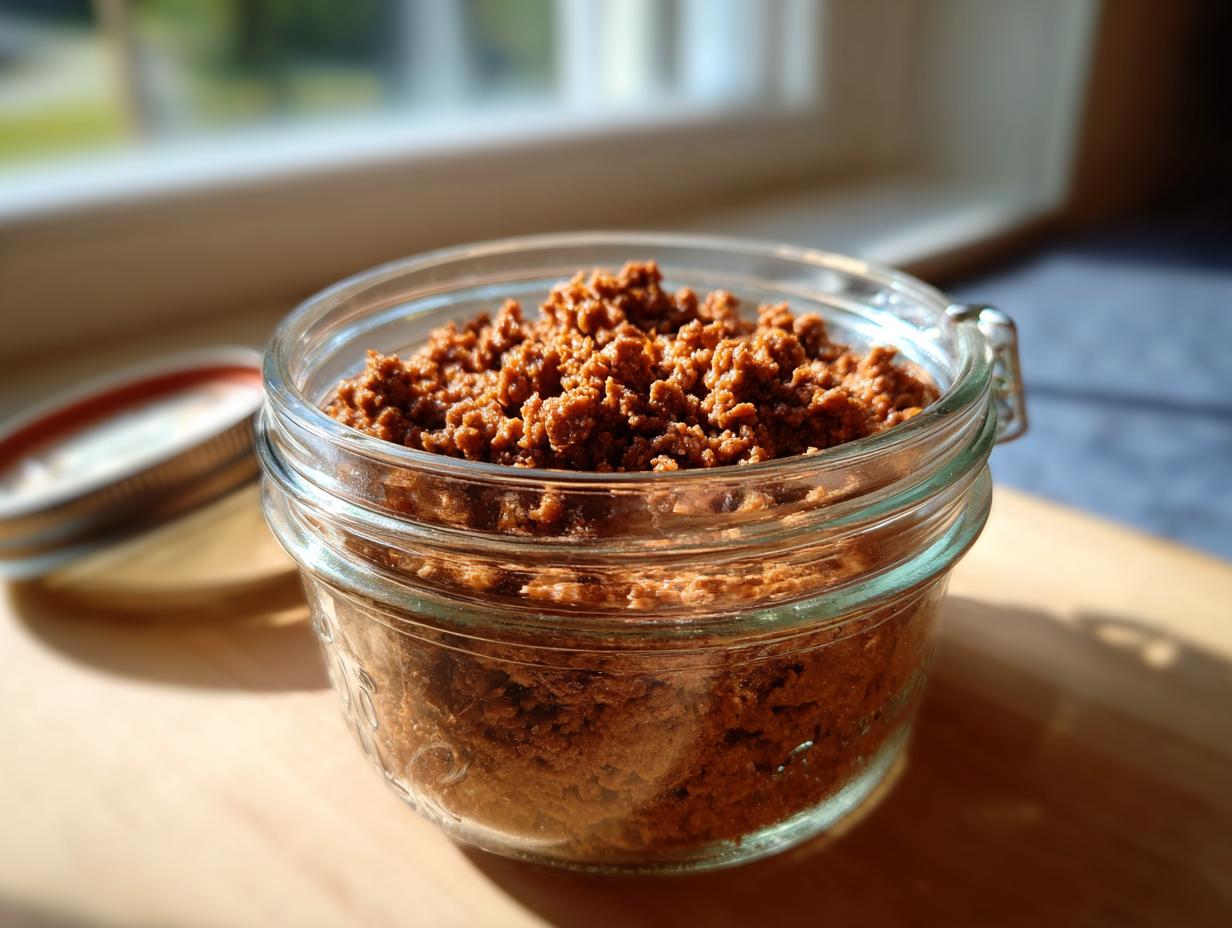
While the beef is still warm (trust me, it packs better warm), start filling your sterilized jars. I use a wide-mouth funnel – life saver! Pack it in firmly but don’t smash it – leave about 1 inch of headspace at the top. That space is crucial for proper sealing.
Here’s where I add my secret: a teaspoon of salt per pint jar. It’s optional, but oh boy does it make a difference in flavor! Then I pour hot water over the beef just until covered, leaving that same 1-inch space. Quick wipe of the rims with a clean, damp cloth (any grease means no seal), then lid and band on finger-tight – not too loose, not too tight.
Pressure Canning Process
Now for the magic! Place your jars in the pressure canner with 2-3 inches of hot water. Follow your canner’s instructions for venting (I let mine steam for 10 minutes before putting the weight on). This part is non-negotiable: process at 10 lbs pressure for 75 minutes for pints, 90 for quarts.
Pro tip from my fails: Don’t peek! Keep that pressure steady the whole time. When time’s up, turn off the heat and let the canner depressurize naturally – no quick releases here. Then lift those beautiful jars out and let them cool undisturbed for 24 hours. That “ping” of lids sealing? Best sound ever!
Tips for Success When Canning Hamburger Ground Beef
After canning dozens of batches (and learning from plenty of mistakes!), here are my foolproof tips for perfect hamburger ground beef every time:
- Test every seal – After cooling, press each lid’s center. If it pops, that jar didn’t seal – refrigerate and use within 3 days
- Store smart – Keep jars in a cool, dark place (my basement pantry works great) and rotate your stock
- Check before using – If a jar looks cloudy, smells off, or the lid bulges, toss it immediately
- Label everything – I write the canning date with a grease pencil – memory fails, dates don’t!
- Skim the fat – When opening, I remove any fat layer on top with a spoon for better texture
Follow these simple checks, and your canned beef will be safe and delicious all year long!
Storing and Using Your Canned Hamburger Ground Beef
Now for the best part – putting all that delicious canned beef to work! Properly sealed jars will keep for up to a year in a cool, dark place (my basement shelves are packed with them). Just give each jar a quick inspection before opening – the lid should be slightly concave with no give when pressed.
When you’re ready to use it, the beef reheats beautifully. I just dump it into a saucepan with a splash of water and warm gently, or sometimes I’ll add it straight to simmering soups and sauces. Our family favorites? Instant taco nights, quick beef barley soup, and my famous “emergency” chili that saves me on busy weeknights. The flavor stays rich and meaty – you’d never guess it wasn’t just cooked!
Pro tip: That gelatinous liquid in the jar? Don’t pour it out! It’s packed with flavor – I stir it right into whatever dish I’m making.
Hamburger Ground Beef Canning FAQs
I get the same questions over and over about canning ground beef – and honestly, I asked most of them myself when I started! Here are the answers that took me years of trial and error to figure out:
Can I use frozen ground beef for canning?
Technically yes, but I don’t recommend it. I tried this early on thinking I’d save time, but the texture suffers. Fresh meat gives you much better control over doneness and fat content when browning. If you must use frozen, thaw completely in the fridge first and drain off all that excess liquid before cooking.
How long does canned ground beef last?
Properly processed jars stay good for about a year in my experience – but I date every lid with a grease pencil anyway. The USDA says one year for best quality, though I’ve used jars at 18 months that were still perfect. Just remember: when in doubt, throw it out!
What recipes work best with canned ground beef?
Oh my goodness – everything! My favorites are quick skillet meals where the meat just needs reheating. Think tacos (just add seasoning!), spaghetti sauce, sloppy joes, or beef stroganoff. It’s also fantastic in soups, casseroles, and shepherd’s pie – basically anywhere you’d use freshly cooked ground beef. The only thing I avoid? Burgers – the texture’s not quite right after canning.
Nutritional Information for Canned Hamburger Ground Beef
Here’s the scoop on what’s in those handy jars! A half-cup serving of my canned hamburger beef (made with 80% lean) packs about 250 calories, 20g protein, and 18g fat. Remember, these numbers can shift a bit depending on how much fat you drain and whether you add salt. The beauty? All that protein stays locked in, ready when you need it!
Share Your Canning Hamburger Ground Beef Experience
I’d love to hear about your canning adventures! Did you try my method? What recipes did you make with your canned beef? Drop a comment below – your tips might help another home canner! You can also find more great canning ideas on Pinterest.
PrintCanning Hamburger Ground Beef in 3 Simple Steps for Year-Round Meals
Learn how to can hamburger ground beef for long-term storage. This method ensures your meat stays fresh and ready to use.
- Prep Time: 30 minutes
- Cook Time: 1 hour 15 minutes
- Total Time: 1 hour 45 minutes
- Yield: 4-6 pints 1x
- Category: Preserving
- Method: Pressure Canning
- Cuisine: American
- Diet: Low Lactose
Ingredients
- 5 lbs ground beef (80% lean)
- 1 tsp salt per pint jar (optional)
- Water (as needed)
Instructions
- Brown the ground beef in a large skillet, breaking it into small pieces.
- Drain excess fat.
- Pack the cooked ground beef into sterilized pint or quart jars, leaving 1-inch headspace.
- Add 1 tsp salt per pint jar if desired.
- Wipe jar rims clean and seal with lids and bands.
- Process in a pressure canner at 10 lbs pressure for 75 minutes for pints, 90 minutes for quarts.
- Let jars cool completely before storing.
Notes
- Use only fresh, high-quality ground beef.
- Follow proper canning safety guidelines.
- Check seals before storing.
- Use within 1 year for best quality.
Nutrition
- Serving Size: 1/2 cup
- Calories: 250
- Sugar: 0g
- Sodium: 75mg
- Fat: 18g
- Saturated Fat: 7g
- Unsaturated Fat: 9g
- Trans Fat: 1g
- Carbohydrates: 0g
- Fiber: 0g
- Protein: 20g
- Cholesterol: 75mg