
Oh wow, do I remember my first attempt at water bath canning—what a mess! I stood there sweating over a boiling pot, watching jars bob around like little glass boats, praying I wouldn’t lose another batch of tomatoes. Then I discovered the magic of an electric pressure canner. Game. Changer. Suddenly, I wasn’t babysitting a temperamental stove anymore. This thing locks in pressure like a dream, keeps temps steady as a heartbeat, and turns what used to be an all-day ordeal into something I can do while folding laundry (okay, fine, while binge-watching my favorite cooking shows). Whether you’re putting up summer peaches or Grandma’s famous dilly beans, trust me—once you go electric, you’ll wonder why you ever wrestled with those old-school methods.
Why You’ll Love Using an Electric Pressure Canner
Let me tell you why this gadget became my kitchen MVP:
- Speed: Cuts processing time in HALF compared to water bath canning—those green beans? Done in 25 minutes flat.
- Safety: No more guessing if you’ve hit the right pressure. The digital display keeps you perfectly in the safe zone.
- Precision: Set-it-and-forget-it controls mean perfectly preserved pickles every single time.
- Versatility: From jam to chili, it handles low-acid foods water bath canning can’t touch.
Seriously, it’s like having a canning fairy godmother in your kitchen.
Essential Equipment for Electric Pressure Canning
You’ve got your shiny new electric pressure canner—now let’s talk about its trusty sidekicks. First up: mason jars. I always keep extras in my basement because nothing’s worse than running out mid-canning spree. Get the heavy-duty ones—thin jars might crack under pressure (literally). Don’t forget new lids every time—those rubber seals aren’t reusable, no matter how much you beg them to be. My grandma’s old jar lifter is my hero—saves my fingertips from steam burns when fishing out hot jars. And that weird little bubble remover tool? Turns out it’s magic for getting rid of air pockets before sealing. Oh, and keep a stack of clean towels handy—trust me, you’ll thank me later when the syrup spills.
Ingredients for Electric Pressure Canning
Here’s the beauty of pressure canning—you can preserve almost anything, but let’s talk staples. For fruits, grab fresh-picked produce at peak ripeness (no mushy peaches allowed!). Vegetables need thorough washing and chopping—I keep my green beans uniform so they pack neatly. Always use distilled water or the canning liquid specified in your recipe—tap water minerals can cloud your jars. And don’t skimp on the citric acid or lemon juice for tomatoes—safety first! My secret? A pinch of kosher salt in each jar makes flavors pop. Just remember: follow tested recipes to the letter—this isn’t the time for improvisation!
Step-by-Step Guide to Using Your Electric Pressure Canner
Okay, let’s get down to business! I’ll walk you through my foolproof process—the same one that’s saved me from countless canning disasters. Follow these steps, and you’ll have shelves stocked with home-preserved goodness in no time.
Preparing Your Ingredients
First things first: wash everything—your produce, jars, lids, even your hands. I give my jars a hot soapy bath and keep them warm (cold jars + hot food = cracks, and nobody wants that). Chop veggies uniformly so they cook evenly—I aim for 1-inch pieces for things like carrots and green beans. When packing jars, leave the right headspace (usually 1 inch for veggies, ½ inch for jams). My trick? A wooden chopstick marked with measurements keeps me from guessing. And don’t forget to remove air bubbles! Run that little tool around the inside of the jar like you’re stirring a tiny cauldron.
Loading the Electric Pressure Canner
Now for the main event! Place your rack in the bottom—this keeps jars from direct heat. I arrange jars so they’re not touching, leaving room for steam to circulate. Pour in 3 quarts of hot water (or whatever your manual says—this part’s important!). Too little and you’ll scorch; too much and you’ll dilute flavors. Wipe jar rims with a vinegar-dampened cloth to ensure perfect seals. Screw on bands finger-tight—no Hulk strength needed here! Close the lid and double-check that the sealing ring is properly seated. Learned that one the hard way when tomato sauce became kitchen ceiling art.
Setting Pressure and Time
Here’s where electric models shine—no more jiggling weights! Select pressure based on your recipe (usually 10-15 PSI for most foods). My canner beeps if pressure drops, which is way better than my old stovetop method of frantic gauge-staring. Set the timer according to your recipe—green beans need 25 minutes, while hearty stews might go 90. Pro tip: Write down start times because “I think it was around 2:30?” leads to overprocessed mush. Walk away confidently knowing your canner’s got this!
Natural Pressure Release
Patience, grasshopper! When time’s up, turn off the canner but don’t open it. Let pressure drop naturally—this can take 30-45 minutes. That little float valve will eventually drop, signaling it’s safe. I set a timer because peeking too soon risks siphoning (aka losing half your liquid). Once pressure’s fully released, crack the lid away from your face—steam burns are no joke! Use your jar lifter to remove jars, setting them on a towel-lined counter. Ahhh, listen for those satisfying pops as they seal!
Tips for Successful Electric Pressure Canning
Here’s my hard-earned wisdom for perfect jars every time! First, always test your seals—press the lid center. If it pops, refrigerate and eat within a week. Second, keep that canning log—jot down dates, pressures, and recipes (future-you will thank past-you). For storage, remove bands and wipe jars—rusty rings ruin pantry aesthetics! My grandma taught me to store jars in a cool, dark place—no direct sunlight or they’ll fade faster than jeans in the ’90s. Oh, and label everything! “Mystery jam summer 2022” leads to questionable toast toppings. Lastly, if your canner’s acting up, check the sealing ring for nicks—mine once had a tiny tear that ruined a whole batch of pickles. Trust me, these little tricks turn good canning into great preserving!
Common Electric Pressure Canner FAQs
Over the years, I’ve gotten the same panicked texts from friends starting their canning journey—so let me save you some stress with these quick answers!
Can I use my grandma’s old water bath recipes in an electric pressure canner?
Oh honey, no! Pressure canning requires scientifically tested recipes—especially for low-acid foods like veggies and meats. Stick to trusted sources like the National Center for Home Food Preservation or your canner’s manual. That vintage pickle recipe might taste amazing, but botulism isn’t worth the risk!
How do I know if my jars sealed properly?
Listen for the magical “pop” as they cool! After 24 hours, press the lid center—if it doesn’t move, you’re golden. Unsealed jars go straight to the fridge (or my midnight snack stash). Pro tip: Remove the bands to check—sometimes they fake-seal from suction!
Why won’t my canner build pressure?
Nine times out of ten, it’s the sealing ring—either not seated right or needing replacement. Also check that the steam vent isn’t clogged with food bits (ask me how I know). If all else fails, unplug it for 10 minutes—mine sometimes just needs a “reset.”
Can I stack jars to fit more in?
Nope! Single-layer only—stacking blocks steam circulation and leads to underprocessed food. But hey, more reason to buy that second canner… I mean, “for safety.”
Serving and Storing Your Canned Goods
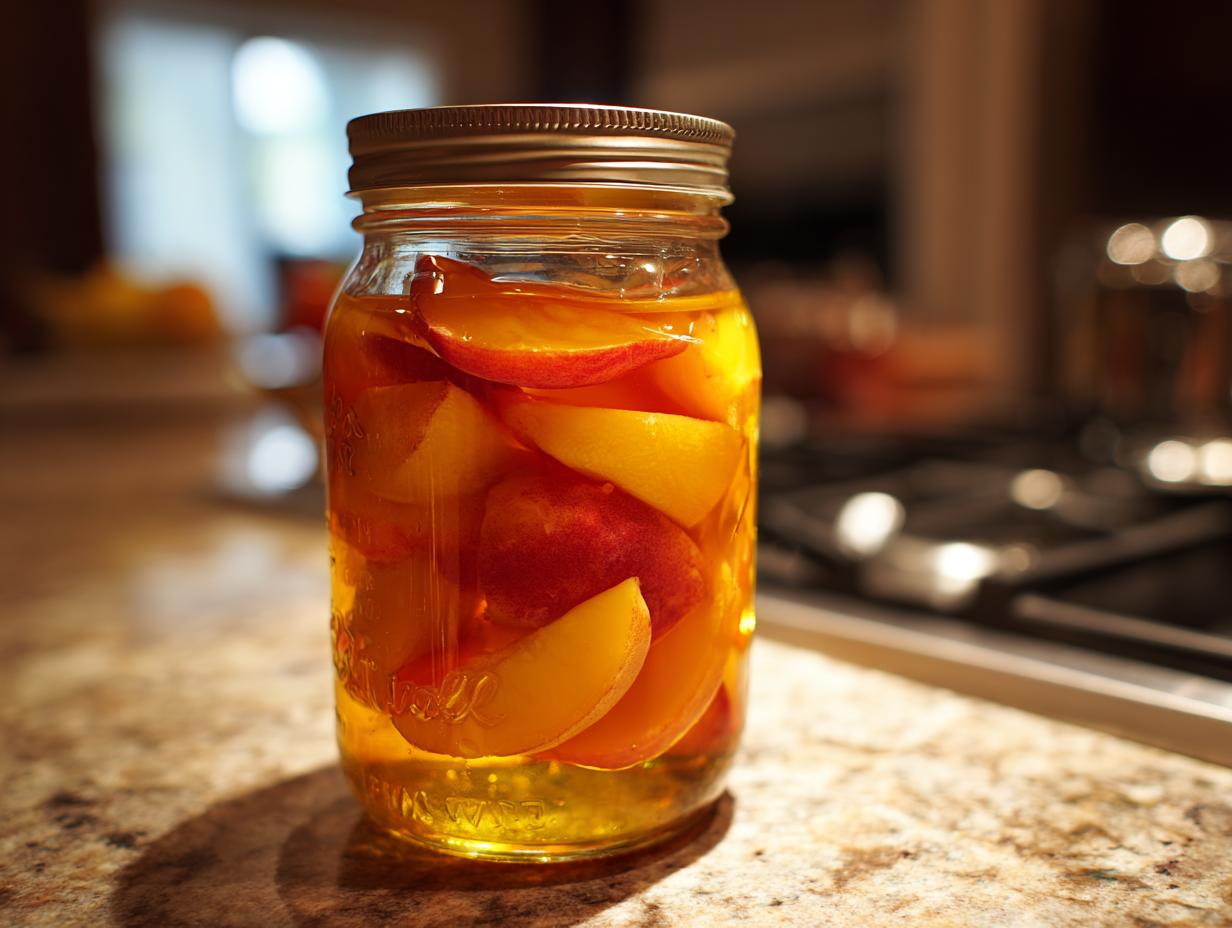
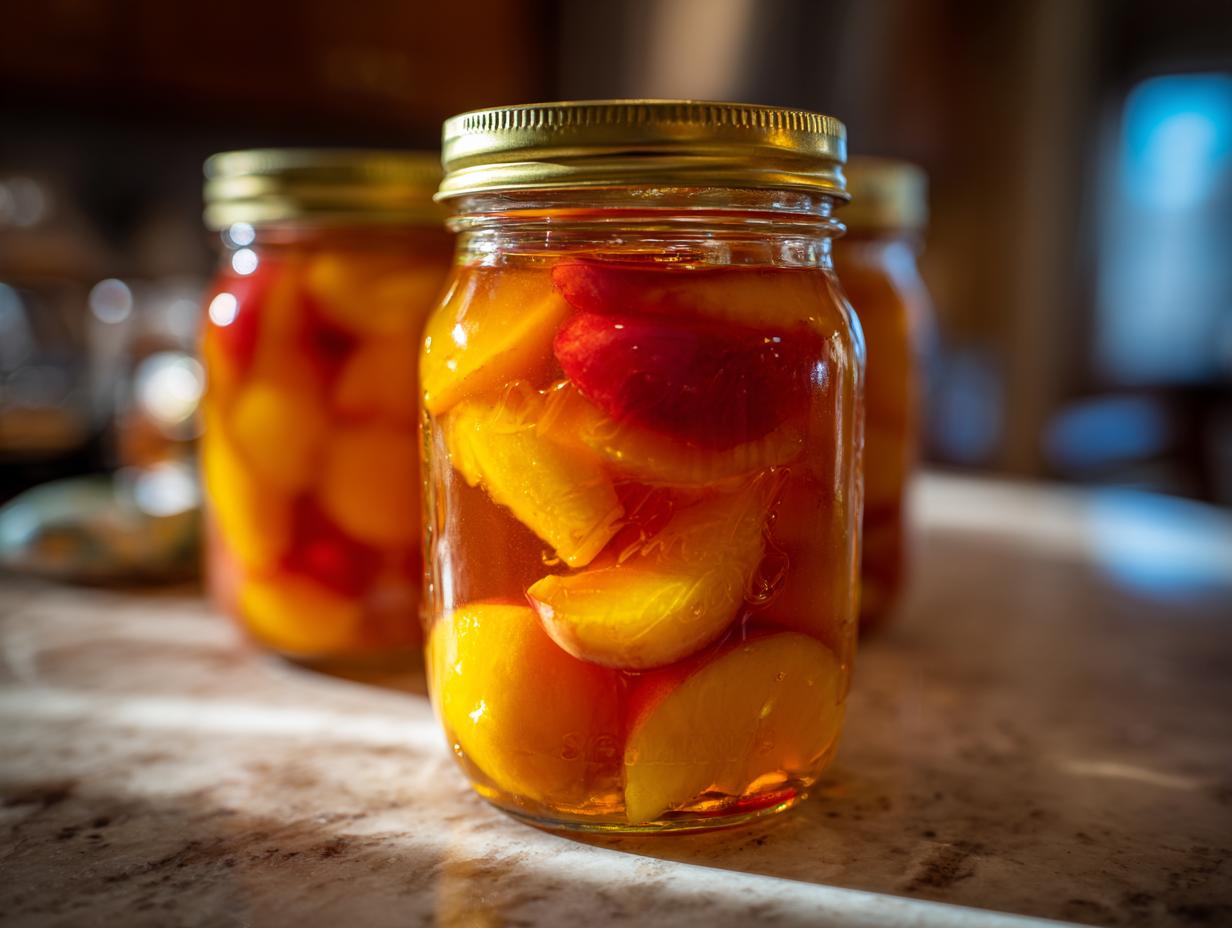
Alright, you’ve done the hard work—now let’s talk about enjoying those beautiful jars! First, wait at least 24 hours before moving them—those seals need time to set properly. I store mine without the rings (they just trap moisture and rust) in a cool, dark pantry. Most home-canned goodies stay perfect for 12-18 months, though I’ve happily eaten my grandma’s peaches after 2 years (shhh!). Before opening, always check for bulging lids, spurting liquid, or funky smells—when in doubt, throw it out! My rule? If it doesn’t look or smell like it did when I canned it, it’s not worth the risk. Happy (and safe) eating!
Nutritional Information
Here’s the thing about home-canned goods—their nutrition depends entirely on what you put in those jars! Fresh-picked tomatoes will have different vitamins than store-bought, and your grandma’s secret jam recipe? Well, let’s just say it might not be diet-friendly. Always check individual ingredients for specifics, but generally, pressure canning preserves nutrients better than water bath methods. Just don’t ask me to calculate calories in my famous peach bourbon preserves—some things are better left mysterious!
Share Your Electric Pressure Canning Experience
Alright, spill the beans—how did your canning adventure go? Did your jars seal like a dream or give you a little drama? Drop your triumphs (or tomato-splattered fails!) in the comments below. I’m all ears for your tips, questions, and “why did my pickles turn pink?” mysteries—let’s swap stories!
PrintElectric Pressure Canner Makes Canning Effortless in 25 Minutes

An electric pressure canner simplifies home canning with precise temperature control.
- Prep Time: 20 minutes
- Cook Time: varies by recipe
- Total Time: varies by recipe
- Yield: varies by recipe
- Category: Canning
- Method: Pressure Canning
- Cuisine: Global
- Diet: Vegetarian
Ingredients
- 1 electric pressure canner
- Canning jars with lids
- Fresh produce or ingredients for canning
- Water or canning liquid as needed
Instructions
- Prepare your ingredients by washing and cutting them.
- Fill jars with ingredients, leaving recommended headspace.
- Place jars in the electric pressure canner and add water.
- Secure the lid and set the pressure and time.
- Start the canner and wait for it to finish.
- Let the pressure release naturally before opening.
Notes
- Follow manufacturer’s instructions for your specific model.
- Use tested canning recipes for safety.
- Check jar seals after cooling.
Nutrition
- Serving Size: varies by recipe
- Calories: varies by recipe
- Sugar: varies by recipe
- Sodium: varies by recipe
- Fat: varies by recipe
- Saturated Fat: varies by recipe
- Unsaturated Fat: varies by recipe
- Trans Fat: varies by recipe
- Carbohydrates: varies by recipe
- Fiber: varies by recipe
- Protein: varies by recipe
- Cholesterol: varies by recipe