
Let me tell you about my first time pressure canning – I was terrified that my kitchen might explode (it didn’t!) but oh my, was it worth it. Pressure canning is this magical way to lock in summer’s bounty so you can enjoy garden-fresh flavors all year long. I’ll never forget opening my first successful jar of green beans in January – that crisp taste took me right back to harvest season.
What makes pressure canning so special? It’s the only safe way to preserve low-acid foods like vegetables, meats, and soups. Unlike water bath canning, pressure canning reaches temperatures high enough to destroy dangerous bacteria. My pantry shelves are now packed with home-canned goodness that’ll keep for years. Trust me, once you taste your own pressure-canned peaches or beef stew, you’ll be hooked too!
Why You’ll Love Pressure Canning
Once you start pressure canning, you’ll wonder how you ever lived without it. Here’s why it’s become my favorite kitchen magic trick:
- Year-round garden goodness: Nothing beats opening a jar of summer tomatoes in February—the taste is like sunshine in a jar!
- Serious shelf life: Properly canned foods stay delicious for years. My oldest successful jar? Three-year-old carrots that still tasted fresh as the day I picked them.
- Safe and sound: Unlike water bathing, pressure canning reaches the high temps needed to zap nasty bacteria in low-acid foods—no botulism worries here.
- Convenience in a jar: Weeknight dinners get so much easier when you’ve got ready-to-eat soups, beans, or meats waiting on your shelf.
- Waste-free wins: That bumper crop of green beans or sale-priced meat won’t go bad when you can preserve it at its peak.
I’ll never forget my grandmother’s pantry—rows of jewel-toned jars that meant we always had good food, no matter the season. Now my shelves look just like hers, and that makes me so proud.
Essential Equipment for Pressure Canning
You’ll need just a few key things to get started – but trust me, they make all the difference between success and a kitchen disaster. Here’s what I always have ready before I begin:
- A proper pressure canner: Not a pressure cooker! You need one specifically designed for canning with a dial or weighted gauge. Mine’s an old Presto that’s been going strong for 15 years.
- Mason jars: Only use jars made for canning – those old mayo jars just won’t cut it. I stick with Ball or Kerr wide-mouth quarts for veggies.
- New lids every time: The flat lids can’t be reused for safe sealing, but rings are good forever (unless they rust).
- Basic tools: My canning kit has a jar lifter (lifesaver!), bubble remover, and funnel that keeps my counters clean.
That’s really it! With these tools, you’re set to preserve like a pro.
Ingredients for Pressure Canning
Here’s the beautiful thing about pressure canning – the ingredients couldn’t be simpler! But getting them just right makes all the difference between “meh” and “wow.” Here’s what I always have prepped before starting:
- Fresh produce or meat: About 6-8 cups of veggies (green beans, carrots, etc.) or 2-3 pounds of meat per batch. Always use peak-quality ingredients – they’ll taste so much better later!
- Water: Enough to cover your jars by 1-2 inches in the canner. I use filtered water to avoid any funky mineral tastes.
- Salt (optional): 1 teaspoon per quart jar if you want seasoning. I love using sea salt for its clean flavor.
- Vinegar or lemon juice (for tomatoes): 1 tablespoon per pint to ensure proper acidity. My grandma swore by white vinegar, but I sometimes use apple cider vinegar for a subtle tang.
Pro tip from experience: Prep everything before you start – washed, chopped, and ready to go. Once that canner starts hissing, you’ll want all hands on deck!
Step-by-Step Pressure Canning Instructions
Okay, let’s get down to the nitty-gritty! I remember how nervous I was my first time – but follow these steps exactly, and you’ll be canning like a pro. Just promise me you’ll read through everything before starting (I learned that lesson the hard way!).
Preparing Jars and Lids
First rule: everything must be sparkling clean! I wash my jars in hot soapy water, then keep them piping hot in simmering water (about 180°F) until filling time. Never reuse lids – those flat discs are one-and-done for safety. I drop the new lids in a small pot of hot (not boiling!) water to soften the sealing compound.
Here’s my canning confession: I once skipped sterilizing because I was in a hurry. Big mistake! Cloudy jars and failed seals taught me patience pays off.
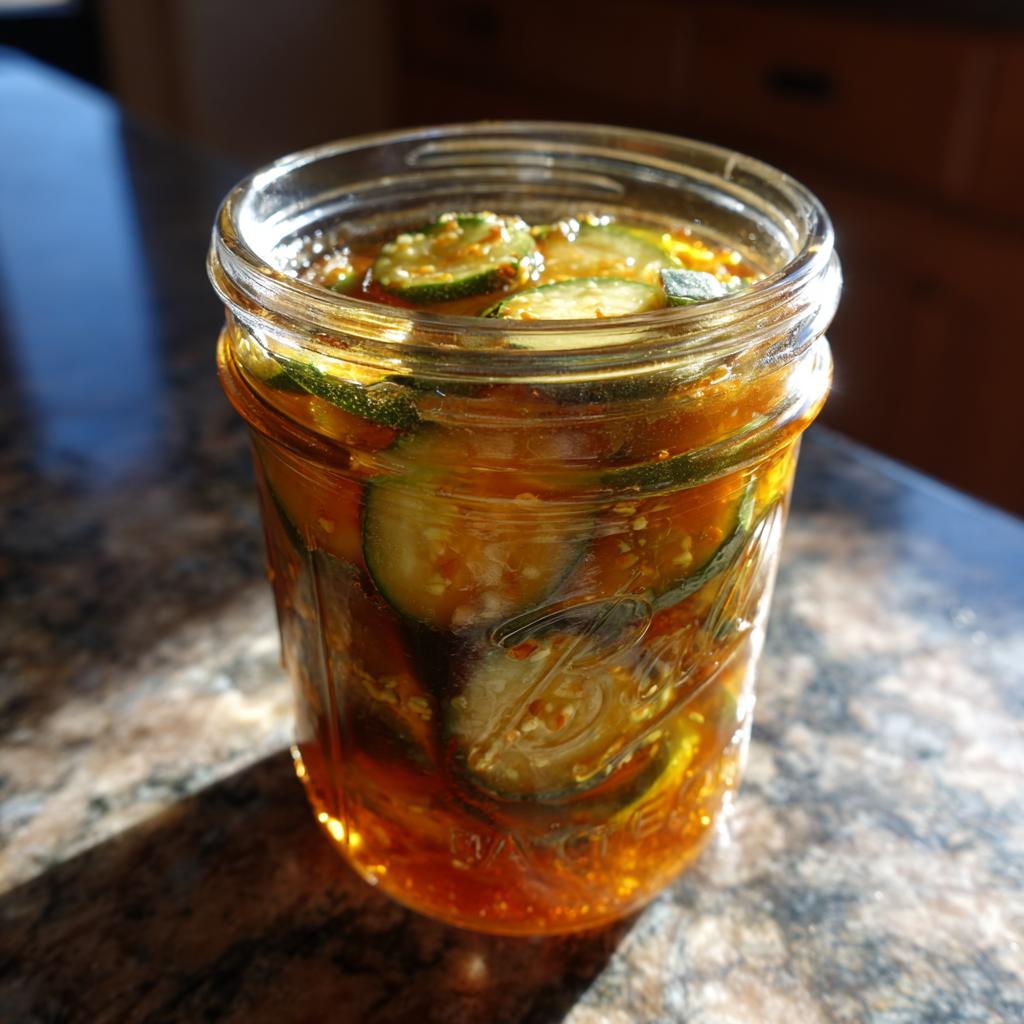
Filling and Sealing Jars
Pack your prepared food into hot jars, leaving proper headspace (usually 1 inch for most foods). Use a chopstick or bubble remover to release air pockets – those sneaky bubbles can ruin your seal! Wipe the rims with a clean, damp cloth (a stray speck of food can prevent sealing).
Now, lids go on fingertip-tight – not cranked down! I tighten just until I feel resistance, then give a tiny extra turn. Too loose and contents boil out; too tight and air can’t escape during processing.
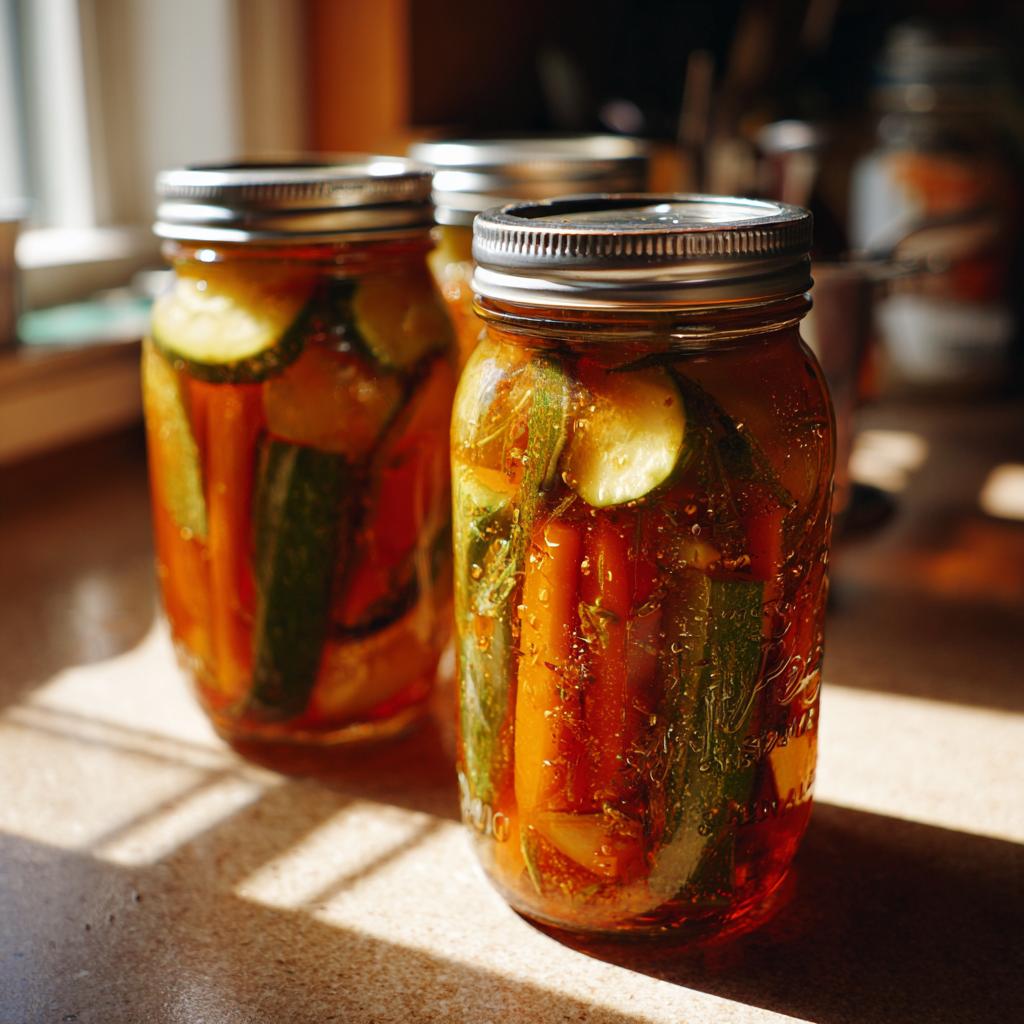
Using the Pressure Canner
Place jars on the rack in your canner with 2-3 inches of hot water (follow your manual). Put the lid on securely and let steam vent for 10 minutes before adding the weight. Here’s where altitude matters – I process at 10 psi where I live, but you might need 15 psi if you’re higher up.
Start timing only when the correct pressure is reached! My first batch of carrots was underprocessed because I got impatient. Maintain steady pressure – fluctuations can affect safety. When time’s up, turn off heat and let the canner depressurize naturally. No peeking!
After the pressure drops completely, wait 5 more minutes before opening. Use your jar lifter to remove jars – they’ll be hot and might still be bubbling. Set them on a towel away from drafts to cool overnight. That magical “ping” of sealing lids is the best sound!
Safety Tips for Pressure Canning Success
Listen, I know safety talk isn’t exciting, but trust me—this stuff matters more than anything else in pressure canning. Here’s what I’ve learned keeps my family safe after years of filling jars:
- Altitude is everything: I keep an altitude chart taped inside my pantry door. At higher elevations, you’ll need to increase pressure or processing time—no exceptions!
- Seal checks don’t lie: After cooling, press each lid’s center. If it pops, that jar didn’t seal and needs refrigeration. The rings should come off easily—stuck rings mean trouble.
- When in doubt, throw it out: Cloudy liquid, strange odors, or bulging lids? Toss it! No tasting questionable food—botulism doesn’t mess around.
- Canner maintenance saves lives: Clean the vent pipe before each use with a pipe cleaner (my secret weapon!) and replace worn gaskets annually.
Follow these rules like gospel, and you’ll enjoy your home-canned goods with total peace of mind.
Common Pressure Canning FAQs
I get questions all the time from friends starting their canning journey – here are the ones that pop up most often with my tried-and-true answers:
Can I reuse canning lids?
Oh honey, no! Those flat lids are strictly one-time use for safety. The sealing compound gets compressed during processing and won’t seal properly again. But the rings? Those metal bands are totally reusable (just watch for rust).
How long does home-canned food last?
Properly canned goods stay safe indefinitely if the seal holds, but quality peaks at 1-2 years. My rule? Eat low-acid foods like veggies within a year, high-acid foods like tomatoes within 18 months. Label everything with dates – future you will be grateful!
Why did my jars break in the canner?
Usually from thermal shock – cold jars meeting hot water or rapid temperature changes. Always preheat jars in simmering water first, and don’t overcrowd the canner. And never use chipped jars!
Can I can butter or dairy?
Nope nope nope! These are unsafe for home canning – no matter what your aunt’s neighbor’s cousin says. Stick with tested recipes from reliable sources like the National Center for Home Food Preservation.
Storing and Using Your Canned Goods
Now comes the best part – enjoying your hard work! But first, let’s talk storage. I keep my jars in a cool, dark pantry (basements work great too). Light and heat are the enemies here – they’ll fade colors and zap flavors faster than you’d think. I learned this the hard way when I stored jars near my oven!
Before using any jar, I do the “sniff and look” test. Check for:
- Bulging lids (big red flag!)
- Cloudy liquid or strange colors
- Any spurting when opening
- Off smells – trust your nose!
When everything checks out, that first bite of home-canned goodness is pure magic. My favorite? Heating up jarred soup on snowy days – tastes like I just made it fresh!
Nutritional Information
Here’s the beautiful thing about home-canned foods – you control exactly what goes in! Nutritional values will vary wildly based on your ingredients. My garden green beans? Basically zero calories. That beef stew packed with potatoes? Heartier, of course. The best part? No mystery preservatives – just pure, simple food exactly how you like it.
Share Your Pressure Canning Experience
I’d love to hear about your canning adventures! Did you try this method? What’s your favorite thing to preserve? Drop your questions or stories in the comments below – we’re all learning together in this delicious journey!
Print“Pressure Canning Secrets: 7 Foolproof Steps to Perfect Jars Every Time”
Pressure canning is a method to preserve food by sealing it in jars and heating it under pressure to kill bacteria and prevent spoilage.
- Prep Time: 30 minutes
- Cook Time: 60 minutes
- Total Time: 90 minutes
- Yield: 6-8 jars
- Category: Preservation
- Method: Pressure Canning
- Cuisine: Global
- Diet: Low Salt
Ingredients
- Fresh vegetables or meat (quantity as needed)
- Water (enough to cover the jars)
- Salt (optional, to taste)
- Vinegar (optional, for acidity)
Instructions
- Prepare your jars and lids by washing them thoroughly.
- Fill the jars with your chosen food, leaving the recommended headspace.
- Add water, salt, or vinegar as needed.
- Seal the jars with lids and rings.
- Place the jars in the pressure canner and add water according to the manufacturer’s instructions.
- Process the jars at the required pressure and time for your food type.
- Let the canner cool naturally before opening.
- Check the seals and store the jars in a cool, dark place.
Notes
- Always follow tested recipes for safety.
- Adjust processing times for altitude if necessary.
- Use only jars and lids designed for canning.
Nutrition
- Serving Size: 1 jar
- Calories: Varies by food
- Sugar: 0g
- Sodium: Varies
- Fat: Varies
- Saturated Fat: Varies
- Unsaturated Fat: Varies
- Trans Fat: 0g
- Carbohydrates: Varies
- Fiber: Varies
- Protein: Varies
- Cholesterol: Varies