
You know that moment when you’re staring at your pantry at 5pm, wishing you had something quick, healthy, and delicious? That’s when my stash of home-canned tuna saves the day every time. I’ll never forget my first time canning tuna—I was so nervous about getting it right, but that feeling of popping open a jar months later to make the best tuna salad of my life? Worth every minute.
Canning tuna at home gives you restaurant-quality fish that’s ready whenever you need it, without any questionable additives. It’s cheaper than store-bought, lasts for years when done properly, and lets you control exactly what goes in your food. Just imagine having your own sustainable protein source that didn’t come from a grocery store tin!
I’ll walk you through everything from picking the freshest fish to that satisfying “ping” of sealing jars. Trust me, once you taste your own home-canned tuna, you’ll wonder why you didn’t start sooner.

Why You’ll Love Canning Tuna at Home
Once you start canning tuna yourself, you’ll never look at those little store-bought tins the same way again. Here’s why:
- Crazy cost savings: Buying fresh tuna in bulk and preserving it yourself cuts costs by half compared to premium canned brands—and the quality blows them out of the water.
- Total ingredient control: No mystery liquids or preservatives—just pure tuna, salt, and maybe a splash of lemon juice if you’re feeling fancy.
- Meal prep magic: Grab a jar anytime for instant protein—perfect for quick salads, pasta tosses, or emergency sandwiches when you’re too tired to cook.
- Shelf-stable superstar: Properly canned tuna stays good for years, meaning you’ll always have delicious, healthy protein at your fingertips.
- Flavor that improves: Unlike store-bought versions, home-canned tuna develops richer, deeper flavor as it ages in the jar.
Seriously, the first time you crack open a jar of your own tuna, you’ll do a little happy dance in your kitchen. I still do!
Essential Equipment for Canning Tuna
Don’t worry—you don’t need a fancy kitchen to can tuna, but you do need a few key tools to do it safely. Here’s what I always have ready:
- Pressure canner (not cooker!): A 16-quart or larger model with a weighted or dial gauge—this is non-negotiable for safe fish canning.
- Pint or quart mason jars: Wide-mouth jars make packing fish easier. I reuse jars but always use new lids.
- Basic canning toolkit: Jar lifter, canning funnel, headspace tool, and bubble remover—this $15 set saves so much frustration.
- Safety gear: Oven mitts (steam burns are no joke!) and a thick towel for setting hot jars.
That’s it! With these basics, you’re ready to start preserving that beautiful tuna.
Ingredients for Canning Tuna
Gathering the right ingredients makes all the difference in home-canned tuna. Here’s exactly what you’ll need:
- 4 lbs fresh tuna: Skinless, cut into 1-inch chunks (about 2-3 tuna steaks)
- 1 tbsp salt per pint jar: Use pure canning salt—no anti-caking agents!
- 1/2 tsp citric acid OR 2 tbsp lemon juice per pint: This keeps everything safely acidic
- Water or olive oil (optional): For packing—water keeps it lean, oil adds richness
Ingredient Notes & Substitutions
Freshness is non-negotiable—fish should smell clean and ocean-fresh, never “fishy.” Canning salt is ideal, but pure sea salt works in a pinch (just no iodized table salt!). The acid is crucial for safety—either citric acid or lemon juice, never vinegar. And whatever you do, don’t skip the salt—it’s your flavor preserver and safety net rolled into one!
Step-by-Step Guide to Canning Tuna
Ready to transform that beautiful tuna into shelf-stable gold? Follow these steps carefully—it’s easier than you think once you get the rhythm!
Preparing the Tuna
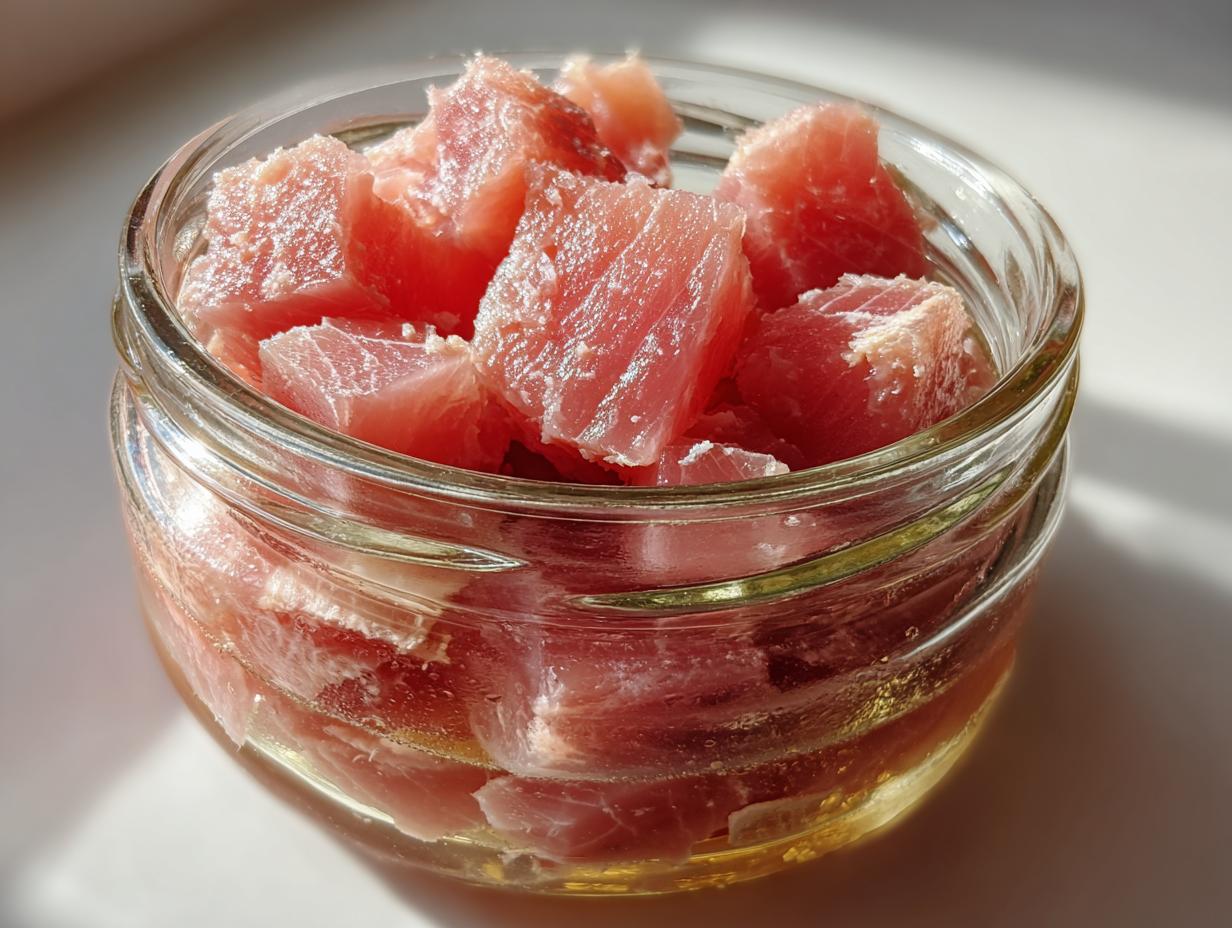
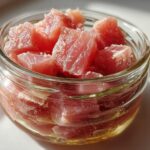
Start with cold, firm tuna—if it feels mushy, walk away! Cut against the grain into 1-inch chunks, removing any dark bloodlines (they taste bitter). Rinse briefly in cold water and pat dry. Your fish should glisten like the ocean at sunrise!
Jar Packing Method
Pack chunks tightly into sterilized jars—no air gaps! Add salt and acid to each pint. Pour warm water or oil over fish, leaving 1-inch headspace (measure with your handy tool!). Run a chopstick around the edges to release trapped air bubbles—those little devils can ruin your seal.
Pressure Canning Process
Here’s where magic happens! Process pints for 100 minutes at 10 psi (adjust for altitude—check your manual!). Vent steam for 10 full minutes before pressurizing. Never walk away—maintain steady pressure like it’s your favorite soap opera! Turn off heat and let pressure drop naturally—impatience here leads to siphoning disasters. When the lid lifts freely, voilà—you’re a canning rockstar!
Safety Tips for Canning Tuna
Listen, I know canning tuna might seem intimidating, but following these simple safety rules will keep your jars delicious and safe:
- Test every seal: After cooling, press each lid—if it pops, refrigerate immediately! Properly sealed lids stay firmly concave.
- Store smart: Keep jars in a cool, dark place (not above 95°F). Basements or pantries work great—just avoid temperature swings.
- Watch for danger signs: Bulging lids, spurting liquid, or funky smells mean toss it out! Better safe than sorry with home-canned fish.
Always follow USDA guidelines for processing times and pressures—they exist for good reason. When in doubt, throw it out! Your future tuna salad deserves the best.
Serving Suggestions for Canned Tuna
Oh, the places your home-canned tuna will go! Here are my favorite ways to enjoy those beautiful jars:
- The Classic Tuna Salad: Mix with mayo, celery, and a squeeze of lemon—perfection on crackers or sandwiched between crusty bread.
- Pasta Powerhouse: Toss with hot noodles, olive oil, garlic, and capers for a 10-minute pantry meal.
- Loaded Baked Potato: Top a fluffy spud with flaked tuna, cheese, and green onions—comfort food heaven!
- Asian-Inspired Bowl: Stir into rice with soy sauce, sesame oil, and quick-pickled veggies.
- Emergency Pizza: Spread on flatbread with pesto and mozzarella—broil until bubbly!
The best part? Every jar tastes like you just caught it!
Storing and Using Your Canned Tuna
Here’s the beautiful thing about your home-canned tuna—it practically takes care of itself! Store those sealed jars in a cool, dark pantry (I use the back of my bottom cabinet) where they’ll stay perfect for 1-2 years. Label each lid with the date—trust me, future-you will thank present-you when you’re grabbing dinner in a hurry.
For everyday use, keep one jar in the fridge after opening—it’ll stay fresh for 3-4 days. Pro tip: rotate your stock by putting newer jars behind older ones. That way, you’ll always use the oldest tuna first and never waste a single precious bite!
Nutritional Information
Here’s the scoop on what’s in your home-canned tuna (values are per ½ cup serving):
| Calories | 180 |
|---|---|
| Protein | 35g |
| Fat | 4g |
| Sodium | 300mg |
Remember—these numbers shift slightly based on whether you packed with water or oil. Either way, you’re getting pure, unprocessed nutrition!
Common Questions About Canning Tuna
I get asked about canning tuna all the time—here are the questions that pop up most often in my kitchen (and at family gatherings where I’ve converted skeptics into canning believers!):
Can I use frozen tuna? Absolutely! Just thaw it completely in the fridge first—never start with partially frozen fish. The texture stays perfect if you handle it gently.
Why is pressure canning required? Fish is low-acid, meaning nasty bacteria can grow if not processed at high enough temps. Your stovetop pot can’t reach the 240°F needed—only a pressure canner can!
Do I really need to add acid? Yes, yes, a thousand times yes! The lemon juice or citric acid isn’t just for flavor—it’s your safety net against botulism.
How full should jars be? Leave 1-inch headspace—any more and you risk siphoning; any less and lids might not seal properly. I keep a wooden chopstick marked at 1″ as my cheat tool!
Can I reuse store-bought jars? For the love of tuna, no! Commercial jars aren’t tempered for home canning. Stick with proper mason jars—your safety’s worth the few extra bucks.
There you go—everything I wish I’d known when I started canning. Now go forth and fill those jars with confidence!
PrintCanning Tuna: 3 Simple Steps to Perfect Homemade Protein
Learn how to can tuna at home for long-term storage and easy meal prep.
- Prep Time: 30 minutes
- Cook Time: 100 minutes
- Total Time: 130 minutes
- Yield: 4 pint jars 1x
- Category: Preserving
- Method: Pressure Canning
- Cuisine: International
- Diet: Low Fat
Ingredients
- 4 lbs fresh tuna, cleaned and cut into chunks
- 1 tbsp salt per pint jar
- 1/2 tsp citric acid or 2 tbsp lemon juice per pint jar
- Water or oil (optional for packing)
Instructions
- Prepare your jars and lids by washing and sterilizing them.
- Cut the tuna into chunks and pack tightly into jars.
- Add salt and citric acid or lemon juice to each jar.
- Fill jars with water or oil, leaving 1-inch headspace.
- Wipe jar rims clean and seal with lids and bands.
- Process in a pressure canner at 10 lbs pressure for 100 minutes (pints) or 115 minutes (quarts).
- Let cool, check seals, and store in a cool, dark place.
Notes
- Use only fresh, high-quality tuna for best results.
- Always follow tested canning methods for safety.
- Check jar seals before storing – if lid pops, refrigerate and use immediately.
- Properly canned tuna lasts 1-2 years.
Nutrition
- Serving Size: 1/2 cup
- Calories: 180
- Sugar: 0g
- Sodium: 300mg
- Fat: 4g
- Saturated Fat: 1g
- Unsaturated Fat: 2g
- Trans Fat: 0g
- Carbohydrates: 0g
- Fiber: 0g
- Protein: 35g
- Cholesterol: 40mg