
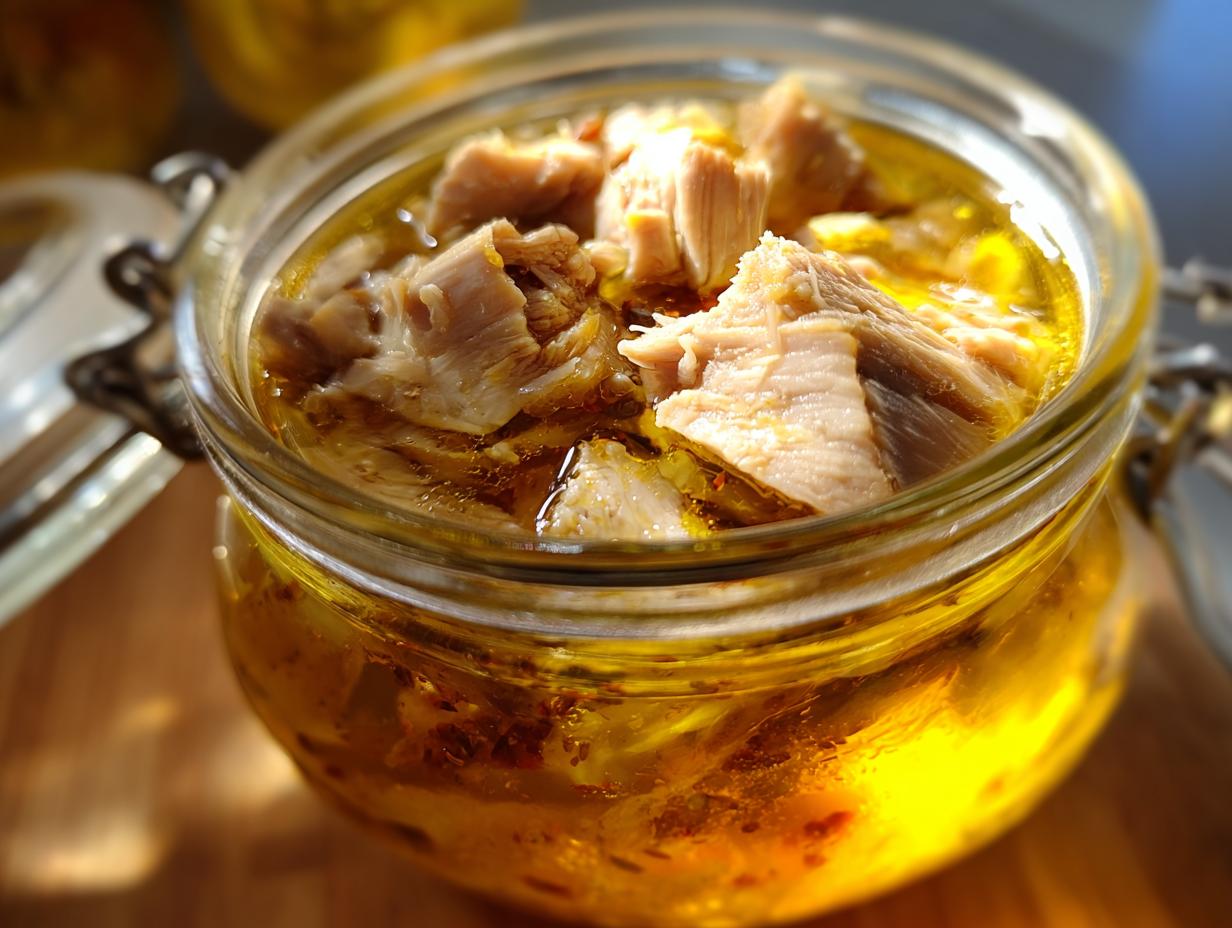
There’s something magical about opening a jar of home-canned turkey months after Thanksgiving and smelling that rich, savory aroma all over again. Canning turkey became my go-to preservation method after one too many freezer failures left me with frostbitten meat. Now, my pantry stays stocked with ready-to-use turkey that tastes just as good as the day I canned it.
Trust me, once you try properly canned turkey, you’ll never go back to freezing alone. The meat stays tender and flavorful for over a year when processed correctly. I love having it on hand for quick soups, casseroles, or sandwiches when I’m too busy to cook from scratch.
Safety comes first when canning turkey – you absolutely must use a pressure canner to prevent any risk of botulism. But don’t let that scare you! With the right equipment and tested methods, canning turkey is surprisingly simple. The payoff of having shelf-stable, home-preserved turkey makes every minute worth it.
Why You’ll Love Canning Turkey
Once you try canning turkey at home, you’ll wonder why you didn’t start sooner! Here’s why it’s become my favorite way to preserve turkey:
- Lasts forever (almost) – Properly canned turkey stays good for 1-2 years, while frozen turkey only lasts a few months
- Ready when you are – No thawing needed! Just pop open a jar for instant protein in soups, salads, or casseroles
- Saves money – I stock up on turkey when it’s on sale and preserve it for later when prices skyrocket
- Endless possibilities – My canned turkey works in everything from pot pies to tacos to quick skillet meals
The convenience alone makes canning turkey worth it – I always have delicious, home-preserved meat at my fingertips!
The Simple Ingredients You’ll Need
One of the best parts about canning turkey? You only need a few basic ingredients! Here’s what I always have ready:
- Turkey meat (4 lbs) – Use cooked or raw, cut into 1-inch chunks or strips (I prefer dark meat for extra flavor)
- Salt (1 tsp per pint jar) – Optional, but enhances flavor (I use sea salt)
- Water or broth – Just enough to cover the meat while leaving that crucial 1-inch headspace
That’s it! The turkey shines here – no fancy ingredients needed. Pro tip: homemade turkey broth makes the canned meat even more delicious, but plain water works perfectly fine too.
Equipment Needed for Canning Turkey
Gathering the right tools makes canning turkey a breeze! Here’s what I always have ready before starting:
- Pressure canner (must-have!) – Regular water bath canners won’t get hot enough for meat
- Sterilized jars & new lids – Pint or quart sizes work great (I reuse jars but never lids!)
- Non-metallic bubble remover – A chopstick works in a pinch if you don’t have the fancy tool
- Jar lifter – Those jars get HOT – this saves your fingers from burns
That’s really all you need! Just make sure your canner’s in good shape – I learned the hard way that old gaskets can fail at the worst moment.
How to Prepare Turkey for Canning
Canning turkey might sound intimidating, but I promise it’s just a few simple steps! The key is taking your time and following each stage carefully. Here’s exactly how I do it in my kitchen:
Step 1: Preparing the Turkey
First, I cut all the turkey into uniform 1-inch chunks – whether using raw or pre-cooked meat. Uniform pieces mean even processing in the canner. (Confession: I often use leftover holiday turkey for this!) Remove excess fat and skin, but don’t worry about getting every bit – some fat adds wonderful flavor.
Step 2: Packing the Jars
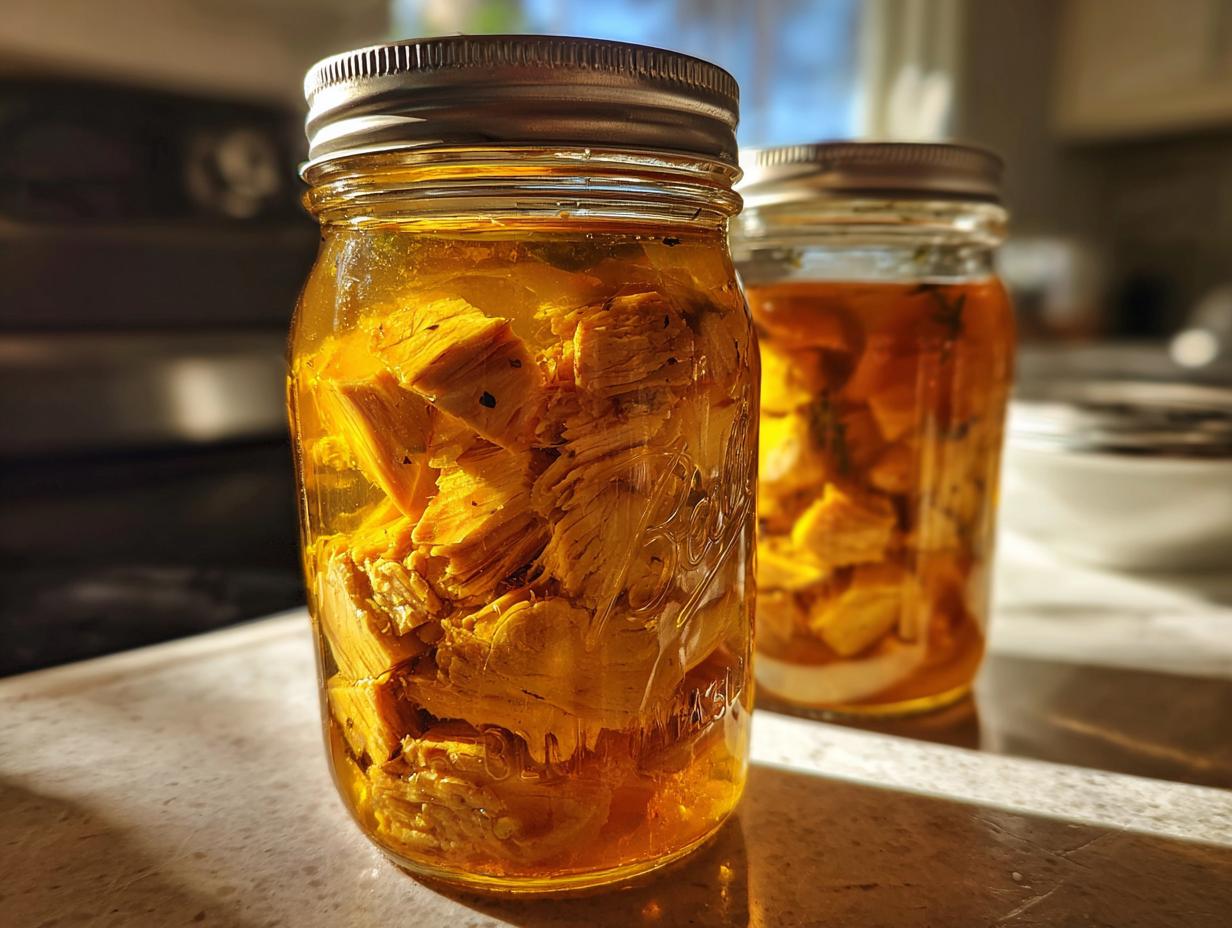
Now for the satisfying part! I pack the turkey tightly into sterilized jars, leaving that crucial 1-inch headspace. This is where I add a teaspoon of salt per pint if I want extra flavor. Don’t overpack – you need room for the liquid and expansion during processing!
Step 3: Processing in the Canner
After adding hot water or broth (same 1-inch headspace!), I remove air bubbles and wipe the rims clean. Then it’s into the pressure canner! Pints process for 75 minutes, quarts for 90 minutes at 10-11 PSI (adjust for altitude – I add 1 PSI since I’m at 3,000 feet). The wait is worth it!
Safety Tips for Canning Turkey
Listen, I know canning turkey can seem scary with all the botulism warnings, but stick to these simple rules and you’ll be golden! First – always use a pressure canner (no exceptions!). Water bath canning just doesn’t get hot enough for meat. I learned this the hard way when my first batch of turkey spoiled in just weeks.
Here are my non-negotiable safety rules:
- Follow tested recipes only – no winging it with processing times!
- Check your altitude and adjust pressure accordingly (I add 1 PSI where I live)
- Test every seal after cooling – if the lid pops, refrigerate and eat within 3 days
- When in doubt, throw it out! Never taste questionable canned food
And please – no shortcuts like oven canning or open-kettle methods. Your turkey deserves better, and so does your stomach!
Storing and Using Canned Turkey
After the canner’s done its magic, I resist the urge to peek and let my jars cool completely overnight – patience prevents seal failures! Once cool, I check each lid’s seal (that satisfying “ping” means success) and label with the date. Properly sealed jars keep beautifully for 1-2 years in a cool, dark pantry.
When I’m ready to use my turkey, I just pop open a jar – no thawing needed! The meat works perfectly in soups (just dump the whole jar in!), casseroles, or even quick turkey salad sandwiches. For the best texture, I gently reheat it in its own juices rather than boiling. That first bite always takes me right back to Thanksgiving!
Nutritional Information for Canned Turkey
Here’s the best part about canned turkey – it’s packed with protein and stays lean! My home-canned turkey typically comes out to about 160 calories per ½ cup serving, with 28g of protein and just 4g of fat. Of course, these numbers can vary slightly depending on the turkey cut and whether I use broth or water.
I love that it’s naturally low-carb too – zero grams of carbs or sugar in every jar. The sodium content stays reasonable even when I add salt (about 60mg per serving). Just remember – always check your own ingredients, as store-bought turkey or broth might change these numbers slightly.
Common Questions About Canning Turkey
Over the years, I’ve gotten all sorts of questions about canning turkey – and made plenty of mistakes myself! Here are the answers to the most common ones that pop up:
“Can I use frozen turkey?” Absolutely! Just thaw it completely first – I learned the hard way that partially frozen turkey leads to uneven processing. Pat it dry too, or you’ll get too much liquid in your jars.
“How long does canned turkey last?” Properly canned turkey stays good for 1-2 years, but honestly? Mine never lasts that long because we eat it too fast! Just store it in a cool, dark place and check seals before using.
“Is a pressure canner really mandatory?” Yes, yes, a thousand times yes! I tried skipping this once (don’t ask) and had to toss the whole batch. Turkey must be pressure canned – water bath canning just doesn’t get hot enough to kill bacteria.
“Can I add other ingredients?” I stick to plain turkey for safety, but you can season it when cooking later. The USDA doesn’t recommend adding veggies or other ingredients unless you’re following a tested recipe specifically for that combination.
Share Your Canning Turkey Experience
I’d love to hear about your canning adventures! Did you try this method? Any tips to share? Drop your questions or stories below – let’s swap turkey tales! You can also find more great canning ideas on Pinterest.
PrintCanning Turkey: 4 Simple Steps for Perfectly Preserved Meat
Learn how to can turkey safely at home to preserve it for long-term storage.
- Prep Time: 30 minutes
- Cook Time: 90 minutes
- Total Time: 2 hours
- Yield: 4 pints 1x
- Category: Preserving
- Method: Pressure Canning
- Cuisine: American
- Diet: Low Fat
Ingredients
- 4 lbs turkey meat (cooked or raw)
- 1 tsp salt per pint jar (optional)
- Water or broth (as needed)
Instructions
- Prepare your turkey by cutting it into chunks or strips.
- Pack the turkey tightly into sterilized canning jars, leaving 1-inch headspace.
- Add salt if desired.
- Pour boiling water or broth over the turkey, maintaining 1-inch headspace.
- Remove air bubbles with a non-metallic tool.
- Wipe jar rims clean and secure lids.
- Process pints for 75 minutes and quarts for 90 minutes in a pressure canner at 10-11 PSI.
- Allow jars to cool naturally before storing.
Notes
- Use only tested canning methods for safety.
- Adjust pressure for high-altitude locations.
- Check seals before storing.
Nutrition
- Serving Size: 1/2 cup
- Calories: 160
- Sugar: 0g
- Sodium: 60mg
- Fat: 4g
- Saturated Fat: 1g
- Unsaturated Fat: 2g
- Trans Fat: 0g
- Carbohydrates: 0g
- Fiber: 0g
- Protein: 28g
- Cholesterol: 70mg